SZTUKA
Piękno i dobre samopoczucie
RZEMIOSŁO
KULTURA I HISTORIA
ROZRYWKA
ŚRODOWISKO
JEDZENIE I NAPOJE
INŻYNIERIA ODWROTNA
NAUKI
LEKKOATLETYKA
TECHNOLOGIA
URZĄDZENIA DO NOSZENIA
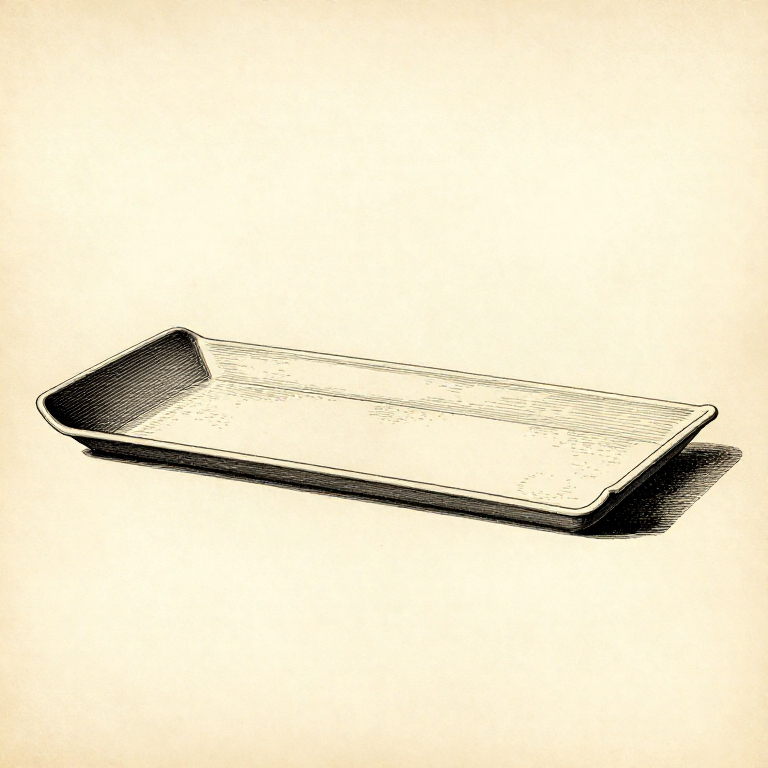


Warping: Why Big Flat Parts Lift at the Corners
Plastic goes down hot and shrinks as it cools. Each new layer shrinks onto the layers below, which have already cooled and cannot follow — so every layer pulls inward on the one beneath it.
Near the middle of a part those pulls cancel. At a corner they do not, and the corner lifts off the plate. That is warping, and it is why it always starts at corners and always on long flat parts.
The cure is not more adhesive. It is keeping the whole part near one temperature so the shrinkage happens evenly — which is what a heated bed does, what an enclosure does, and what choosing PLA over ABS does.
Średniozaawansowany
3 hours
Instrukcje
1
1
Material first: some plastics barely warp
Material first: some plastics barely warp
PLA shrinks very little and warps very little. ABS shrinks several times as much and will warp off an open printer almost regardless of what else you do. PETG and ASA sit between them.
So the first question about a warping part is whether it needs to be in that material at all. A prototype that only has to hold a shape is a PLA part; ABS is chosen for heat resistance or solvent smoothing, and then the warping is a cost accepted in exchange.
Wet filament makes everything worse. Moisture absorbed from the air turns to steam at the nozzle, which gives poor layer welds and a rough surface — and a part with weak layers warps more because the layers cannot hold each other. A filament dryer is not an accessory for hygroscopic materials, it is required.
Materiały do tego kroku:
 Filament do druku 3D (PLA)1 sztuka
 Filament ABS1 sztuka
 Filament ASA1 sztuka
Potrzebne narzędzia:
 Suszarka do filamentu
 Drukarka 3D z filamentem (FDM)
2
2
Keep the part hot: bed, enclosure, no draughts
Keep the part hot: bed, enclosure, no draughts
A heated bed keeps the lower layers above the temperature where the plastic goes rigid, so they can still move as the upper ones shrink. That is why bed temperature matters far beyond the first layer.
An ENCLOSURE does the same for the whole part. It is the single most effective measure for ABS and ASA, and it costs nothing to test — a cardboard box over the printer will tell you in one print whether it is the answer.
And stop the draughts. A printer near an open window or a door will produce a part that warps on one side only, which is a genuinely confusing fault until the cause is noticed. Turning the cooling fan DOWN for ABS is the same idea applied deliberately.
Materiały do tego kroku:
Filament ABS1 sztukaPotrzebne narzędzia:
 Obudowa drukarki 3D (trudnopalna)Drukarka 3D z filamentem (FDM)
 Płyta robocza drukarki 3D (stal sprężynowa z PEI)
3
3
Design the corners away
Design the corners away
Warping concentrates at sharp corners, so round them. A 5 mm radius on the corners of a large flat part removes most of the stress concentration and often fixes warping on its own — at no cost in material or time.
MOUSE EARS are the crude version: small thin discs added at each corner that spread the adhesion, printed as part of the model and snapped off afterwards. They are ugly and they work.
A BRIM does the same thing all the way round: a flat skirt of extra first layer attached to the part. A RAFT goes further and prints the whole part on a sacrificial platform, which helps adhesion but adds a rough bottom face — so a brim is usually the better trade.
Materiały do tego kroku:
Filament do druku 3D (PLA)1 sztukaPotrzebne narzędzia:
 Program do cięcia plików 3MF
 Komputer stacjonarny
 Gradownik
4
4
Reduce the area that can pull
Reduce the area that can pull
A long flat part warps because there is a long flat run of cooling plastic pulling on itself. Break that up and the force has nowhere to accumulate.
Splitting a big part into two printed pieces and joining them removes the problem entirely, and often prints faster because both halves can be oriented better. Cutting large windows or lightening holes into a flat panel does the same thing for the same reason.
Lower infill also helps, because there is less material contracting. That is a real trade against strength, and it is the next rung — but it is worth knowing that a warping part and an over-infilled part are often the same part.
Materiały do tego kroku:
Filament do druku 3D (PLA)1 sztukaPotrzebne narzędzia:
Program do cięcia plików 3MFKomputer stacjonarny Suwmiarka cyfrowa 6 cali
Materiały
3- 3 sztukZastępnik
- 2 sztukZastępnik
- 1 sztukaZastępnik
Wymagane narzędzia
8- Suszarka do filamentu10% prowizjiZastępnik
- Zastępnik
- Obudowa drukarki 3D (trudnopalna)10% prowizjiZastępnik
- Zastępnik
- Zastępnik
- Zastępnik
- Zastępnik
- Zastępnik
Powiązane blueprinty
Te blueprinty dzielą się wiedzą — technikami, materiałami lub zasadami



CC0 Domena publiczna
Ten plan jest udostępniany na licencji CC0. Możesz go swobodnie kopiować, modyfikować, rozpowszechniać i wykorzystywać do dowolnych celów, bez konieczności uzyskiwania zgody.
Wesprzyj Makera kupując produkty przez jego plan, za co zarabia Prowizja Makera ustalony przez sprzedawców, lub stwórz nową iterację tego planu i dołącz go jako połączenie w swoim własnym planie, aby dzielić się przychodami.