SZTUKA
Piękno i dobre samopoczucie
RZEMIOSŁO
KULTURA I HISTORIA
ROZRYWKA
ŚRODOWISKO
JEDZENIE I NAPOJE
INŻYNIERIA ODWROTNA
NAUKI
LEKKOATLETYKA
TECHNOLOGIA
URZĄDZENIA DO NOSZENIA
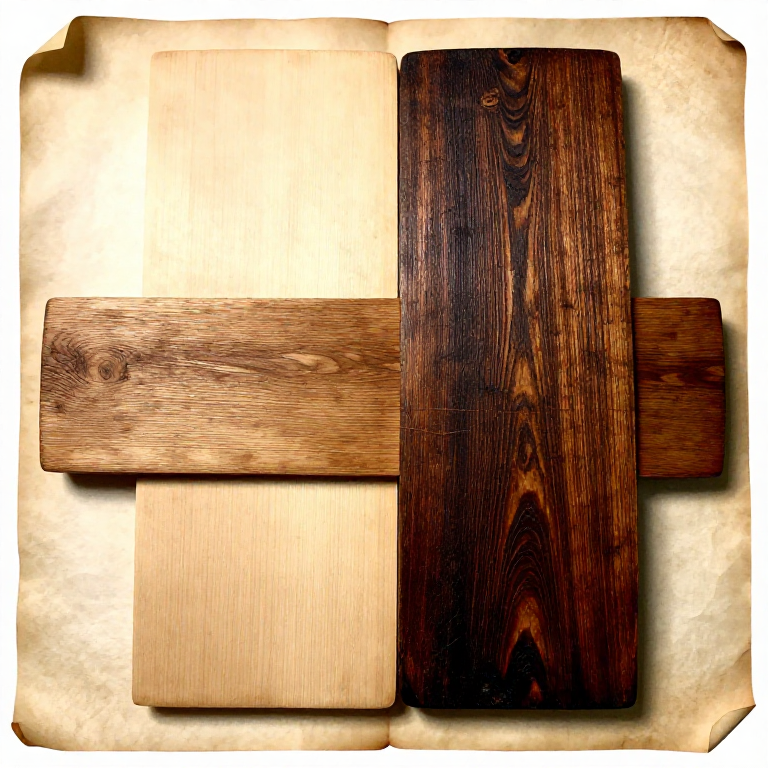


Why Finish Wood At All: Three Jobs, and They Pull Against Each Other
A finish does three things: it slows moisture moving in and out of the wood, it protects the surface from wear and dirt, and it changes how the wood looks.
No finish does all three well. A hard film protects against wear and is difficult to repair; an oil is trivially repairable and offers almost no wear resistance; wax looks and feels wonderful and protects against very little. Choosing is a matter of deciding which of the three the piece actually needs.
160 published blueprints on Youblob use a finish and every published technique is a specific historical one. This batch is the general practice underneath them.
Początkujący
2 hours
Instrukcje
1
1
Moisture: a finish slows it, nothing stops it
Moisture: a finish slows it, nothing stops it
Wood takes up and gives off water vapour with the seasons, and it swells and shrinks across the grain as it does. A finish slows that exchange; it does not prevent it, and no finish ever has.
Which means a finish reduces how FAST wood moves, not how far it moves eventually. A tabletop finished on one side only will cup, because one face responds to a humidity change faster than the other. Finish both faces of anything wide, including the underside nobody sees.
The design has to allow for movement regardless — that is what a breadboard end and a slotted fixing are for. A finish buys time and evens out short-term swings; it is not a substitute for building in room to move.
Materiały do tego kroku:
 Deska z drewna liściastego1 sztuka
Potrzebne narzędzia:
 Lupa zegarmistrzowska
2
2
Protection: in the film, or in the wood
Protection: in the film, or in the wood
FILM finishes — varnish, polyurethane, lacquer, shellac — build a layer that sits on the surface. The layer takes the wear, so protection is good, but damage shows as a scratch in the film and repair usually means recoating an entire surface.
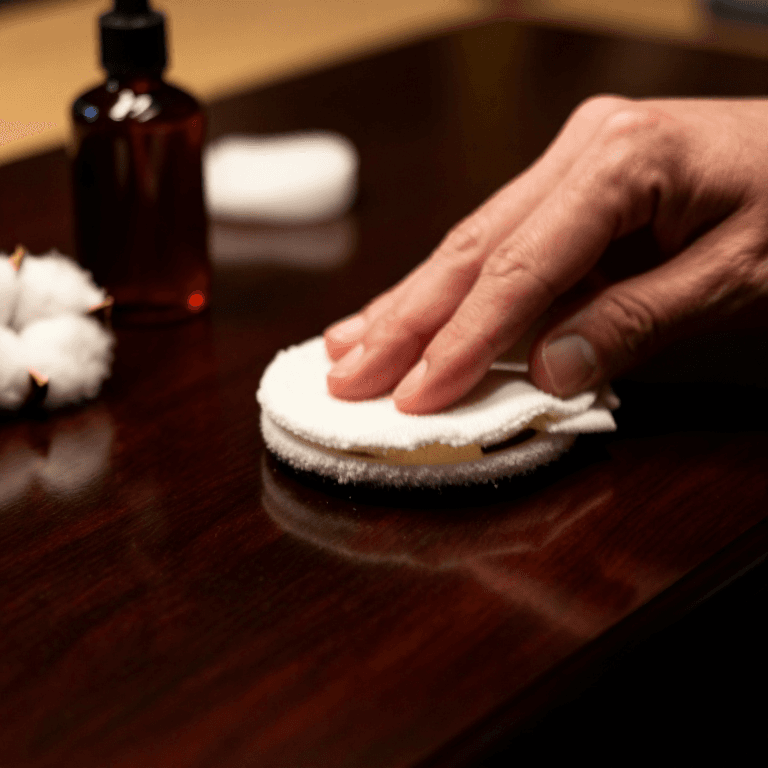
PENETRATING finishes — oils — soak into the fibres and harden there. There is almost no film, so there is very little wear resistance, but there is also nothing to scratch through: damage is repaired by wiping on more oil, blending invisibly.
That is the real trade, and it is about repairability as much as toughness. A kitchen table in daily use is better served by a finish that can be touched up in five minutes than by a tougher one that must be stripped.
Materiały do tego kroku:
 Poliuretan - olejny1 sztuka
 Olej duński - naturalny1 sztuka
Potrzebne narzędzia:
 Tkanina bawełniana
 Pędzel piankowy
3
3
Appearance: what a finish does to the colour
Appearance: what a finish does to the colour
Almost every finish darkens wood and deepens its figure — the 'wet look' you see when you wipe a board with solvent. Wiping the bare surface with mineral spirits shows you very closely what an oil or oil-based varnish will look like, and it evaporates away with no commitment.
Do that BEFORE deciding. Some timbers change dramatically, and a finish chosen from a photograph on a tin is a guess.
Water-based finishes stay much clearer and leave pale timbers pale, which is sometimes exactly what is wanted and sometimes makes a warm timber look lifeless. Oil-based ones also continue to yellow for years, which matters on light woods and not at all on walnut.
Materiały do tego kroku:
 Benzyna lakowa1 sztukaDeska z drewna liściastego2 sztuk
Potrzebne narzędzia:
Tkanina bawełniana Rękawice nitrylowe
4
4
Always test on an offcut of the same board
Always test on an offcut of the same board
Keep an offcut from the actual timber, prepare it exactly as you prepared the work — same grit, same sequence — and try the whole finishing schedule on it.
The same board matters. Sapwood and heartwood take finish differently, one board of oak differs from another, and the timber the tin's photograph was shot on was none of them.
Label the sample with the products and the number of coats and keep it. A drawer of labelled samples is the most useful reference in finishing, because it answers in one second the question every project starts with — and it is a physical answer rather than a remembered one.
Materiały do tego kroku:
Deska z drewna liściastego2 sztukOlej duński - naturalny1 sztukaPoliuretan - olejny1 sztukaPotrzebne narzędzia:
Tkanina bawełniana Zestaw papierów ściernych
Materiały
4- 2 sztukZastępnik
- 2 sztukZastępnik
- 2 sztukZastępnik
- 1 sztukaZastępnik
Wymagane narzędzia
5- Zastępnik
- Zastępnik
- Zastępnik
- Zastępnik
- Zastępnik
Powiązane blueprinty
Te blueprinty dzielą się wiedzą — technikami, materiałami lub zasadami
CC0 Domena publiczna
Ten plan jest udostępniany na licencji CC0. Możesz go swobodnie kopiować, modyfikować, rozpowszechniać i wykorzystywać do dowolnych celów, bez konieczności uzyskiwania zgody.
Wesprzyj Makera kupując produkty przez jego plan, za co zarabia Prowizja Makera ustalony przez sprzedawców, lub stwórz nową iterację tego planu i dołącz go jako połączenie w swoim własnym planie, aby dzielić się przychodami.