SZTUKA
Piękno i dobre samopoczucie
RZEMIOSŁO
KULTURA I HISTORIA
ROZRYWKA
ŚRODOWISKO
JEDZENIE I NAPOJE
INŻYNIERIA ODWROTNA
NAUKI
LEKKOATLETYKA
TECHNOLOGIA
URZĄDZENIA DO NOSZENIA
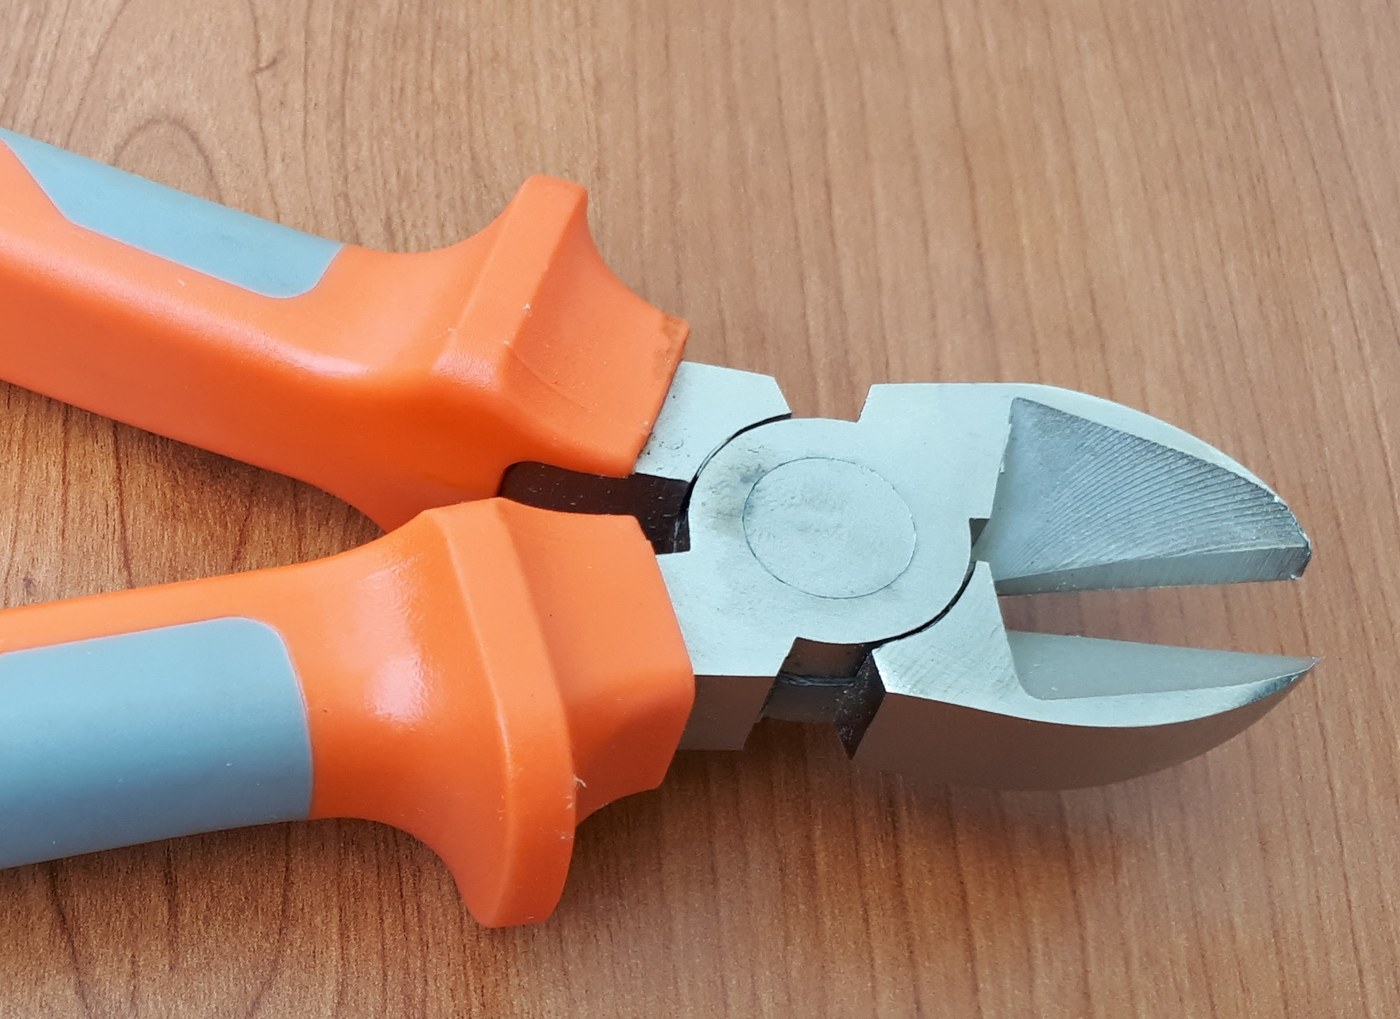


Wire Cutters: Diagonal Pliers Forged with Hardened V-Edged Jaws
Diagonal pliers cut wire by pressing two V-shaped edges into it until it splits, not by shearing like scissors. The edges sit at an angle to the joint rivet, which gives them their name, and the jaws must be hardened or steel wire dents them. Forge two halves from tool steel, rivet them, grind the edges and harden the jaws.
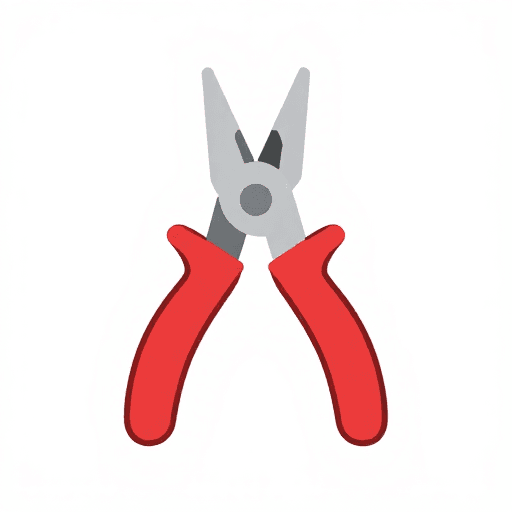
The picture: the jaws and joint of a modern pair; its handles are dipped in plastic, ours are bare steel.
Zaawansowany
Two days
Instrukcje
1
1
Forge the halves
Forge the halves
Forge two mirror halves from tool steel: a short, thick jaw set at an angle, a flat boss for the joint, and a handle (our sizes: jaw 18 mm, handle 120 mm from the joint).
Materiały do tego kroku:
 Pręt ośmiokątny ze stali narzędziowej0.3 kg
 Węgiel drzewny2 as required
Potrzebne narzędzia:
 Kuźnia kowalska
 Kowadło
 Młotek z rąbem poprzecznym
 Szczypce kowalskie
 Rękawice spawalnicze
 Okulary ochronne
2
2
Anneal and fit the joint
Anneal and fit the joint
Anneal both halves. File the bosses flat so they lap closely, drill them together and rivet them so the jaws close without play.
Materiały do tego kroku:
 Nity stalowe1 sztuka
Potrzebne narzędzia:
Kuźnia kowalska Pilnik do metalu
 Wiertarka ręczna
 Ciężkie imadło warsztatoweMłotek z rąbem poprzecznymKowadło
3
3
Grind the edges
Grind the edges
Grind each jaw to a symmetrical V so the two edges meet along their whole length when closed. Check against the light.
Potrzebne narzędzia:
 ToczydłoPilnik do metalu
4
4
Harden the jaws
Harden the jaws
Heat the jaws only to cherry red and quench in water. Polish them bright, then warm the joint and let the colour run to the edges; quench at straw (our temper).
Materiały do tego kroku:
 Woda10 litrów
Potrzebne narzędzia:
Kuźnia kowalska Kadź hartowniczaSzczypce kowalskieRękawice spawalniczeOkulary ochronne
5
5
Hone and test
Hone and test
Hone the edges lightly on the stone and try them on soft copper wire first. A dent in the edge means the jaw is too soft.
Potrzebne narzędzia:
 Osełka o gradacji 1000
6
6
Force at the edges
Force at the edges
Wczytywanie notatnika Jupyter…
Materiały
4- Zastępnik
- 2 as requiredZastępnik
- 1 sztukaZastępnik
- 10 litrówZastępnik
Wymagane narzędzia
12- Zastępnik
- Zastępnik
- Zastępnik
- Zastępnik
- Zastępnik
- Zastępnik
- Zastępnik
- Zastępnik
- Zastępnik
- Zastępnik
- Zastępnik
- Zastępnik
Według tego planu powstaje
Powiązane blueprinty
Te blueprinty dzielą się wiedzą — technikami, materiałami lub zasadami
CC0 Domena publiczna
Ten plan jest udostępniany na licencji CC0. Możesz go swobodnie kopiować, modyfikować, rozpowszechniać i wykorzystywać do dowolnych celów, bez konieczności uzyskiwania zgody.
Wesprzyj Makera kupując produkty przez jego plan, za co zarabia Prowizja Makera ustalony przez sprzedawców, lub stwórz nową iterację tego planu i dołącz go jako połączenie w swoim własnym planie, aby dzielić się przychodami.