Drawing Wire Through a Drawplate — Reducing Iron Rod to Fine Wire
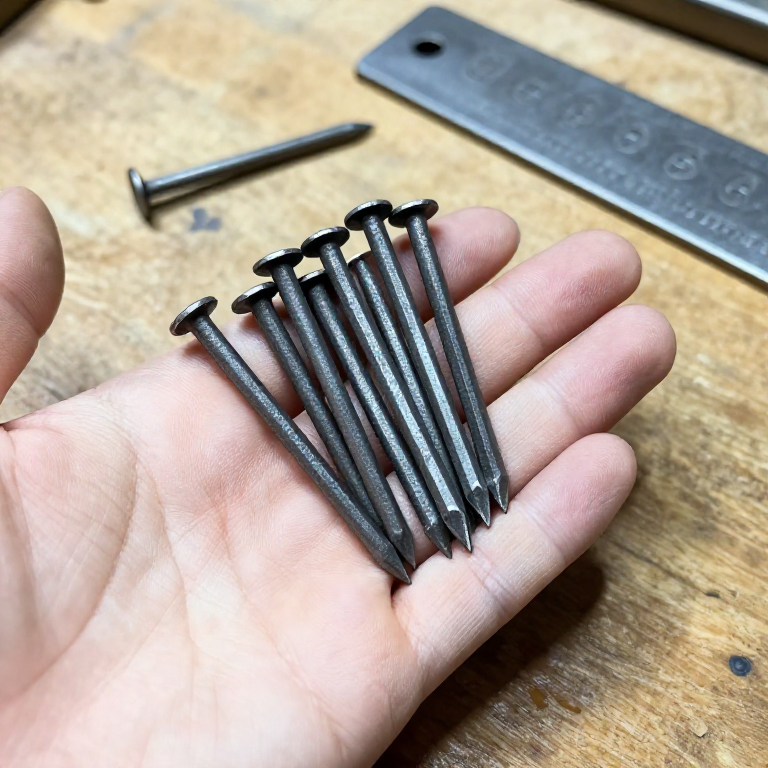
Wire drawing is the process of pulling a metal rod through a series of progressively smaller holes in a hardened steel plate (a drawplate) to reduce its diameter. Known since at least the Viking age and refined in medieval Europe, this technique produces wire of consistent gauge for chainmail, jewellery, pins, needles, musical instrument strings, and countless other uses. The metal is pointed, fed through a hole, gripped with draw tongs, and pulled through with steady force. Between passes the wire is annealed (softened by heating) to prevent it from becoming brittle. This blueprint covers drawing iron wire from a 6 mm rod down to approximately 2 mm — the same method scales to any ductile metal.
Instrukcje
Select the starting stock
Select the starting stock
Materiały do tego kroku:
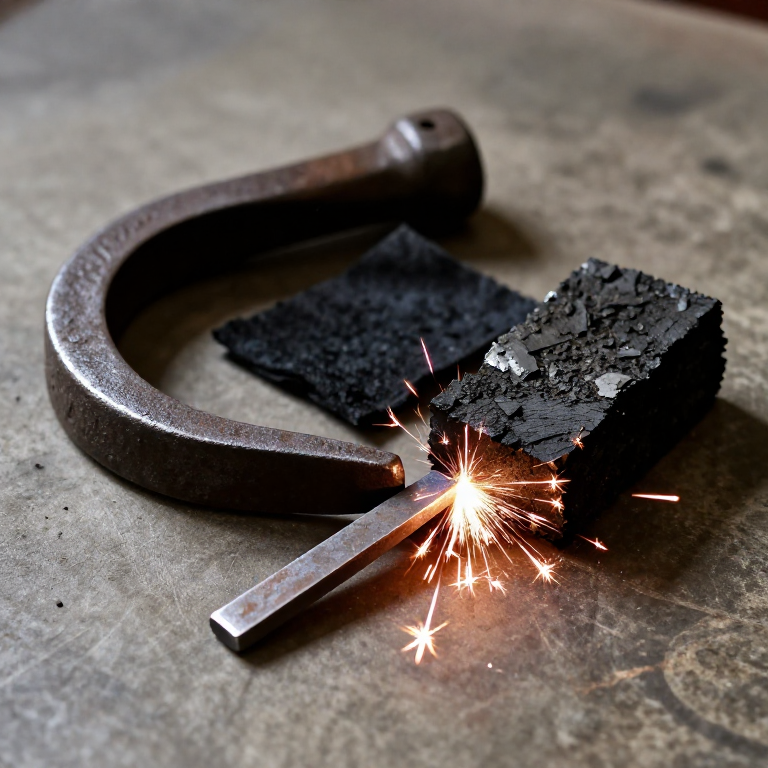
 Mild Steel Rod (6mm)1 sztuka
Prepare the drawplate
Prepare the drawplate
Tools needed:
 Steel Drawplate
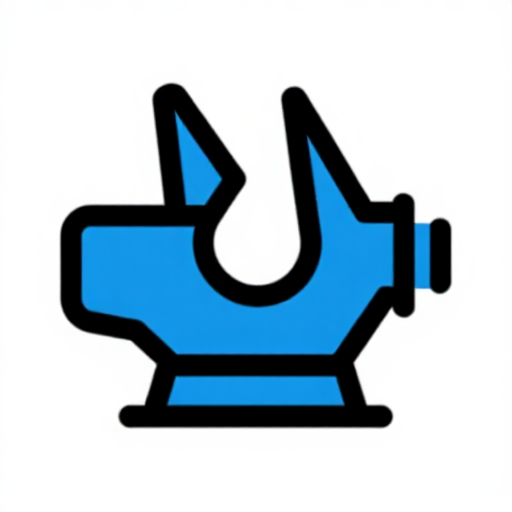 Heavy Bench Vice
Point the rod
Point the rod
Anneal the rod
Anneal the rod
Lubricate the rod
Lubricate the rod
Materiały do tego kroku:
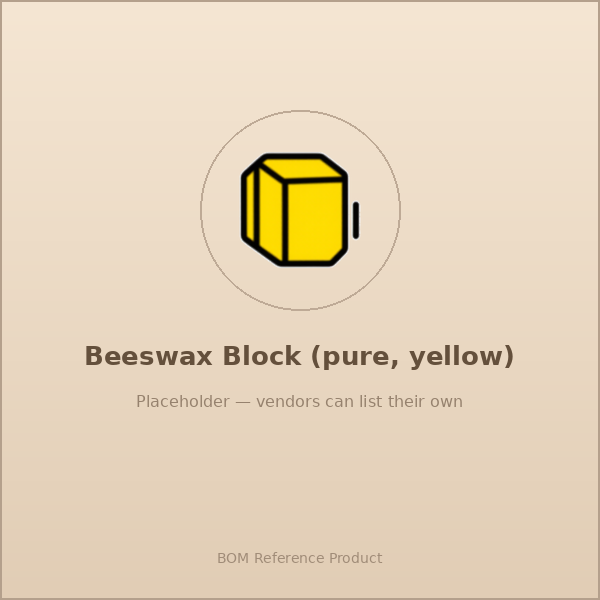 Beeswax Block1 sztuka
Feed and grip the rod
Feed and grip the rod
Tools needed:
 Draw Tongs
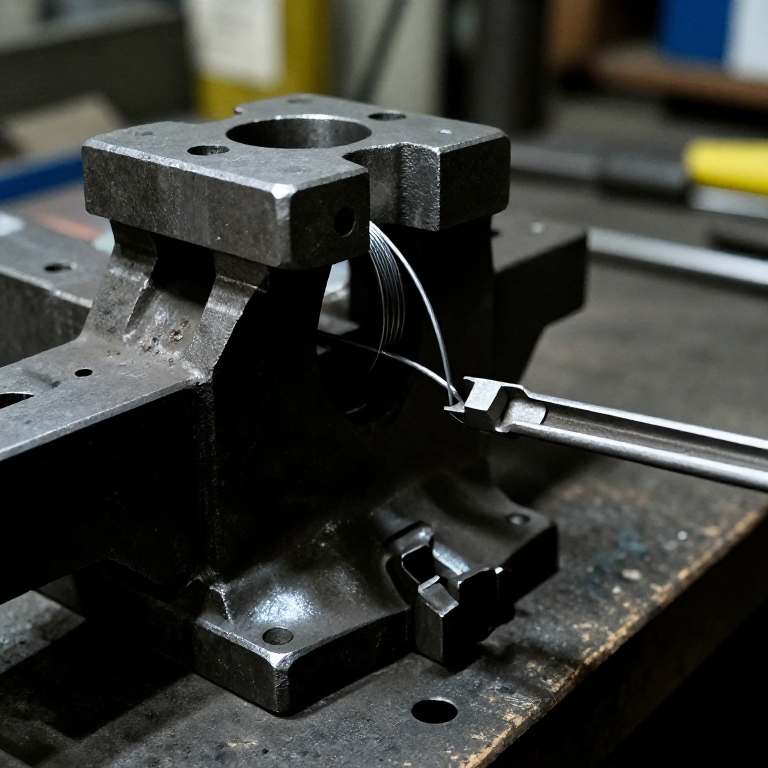
Pull through the first hole
Pull through the first hole
Move to the next smaller hole
Move to the next smaller hole
Anneal between passes
Anneal between passes
Continue drawing to final gauge
Continue drawing to final gauge
Straighten the wire
Straighten the wire
Final anneal or temper
Final anneal or temper
Materiały
2- 1 sztukaPlaceholder
- 1 sztukaPlaceholder
Wymagane narzędzia
3- Placeholder
- Placeholder
- Placeholder
Materiały z połączonych planów
Powiązane blueprinty
Te blueprinty dzielą się wiedzą — technikami, materiałami lub zasadami
Related blueprints
Other builds that share materials, tools, or techniques with this one.


CC0 Domena publiczna
Ten plan jest udostępniany na licencji CC0. Możesz go swobodnie kopiować, modyfikować, rozpowszechniać i wykorzystywać do dowolnych celów, bez konieczności uzyskiwania zgody.
Wesprzyj Makera kupując produkty przez jego plan, za co zarabia Prowizja Makera ustalony przez sprzedawców, lub stwórz nową iterację tego planu i dołącz go jako połączenie w swoim własnym planie, aby dzielić się przychodami.