Сотрудничество
ИСКУССТВО
КРАСОТА И ЗДОРОВЬЕ
РЕМЕСЛО
КУЛЬТУРА И ИСТОРИЯ
РАЗВЛЕЧЕНИЯ
ЭКОЛОГИЯ
ЕДА И НАПИТКИ
ОБРАТНАЯ ИНЖЕНЕРИЯ
НАУКИ
СПОРТ
ТЕХНОЛОГИИ
НОСИМЫЕ УСТРОЙСТВА
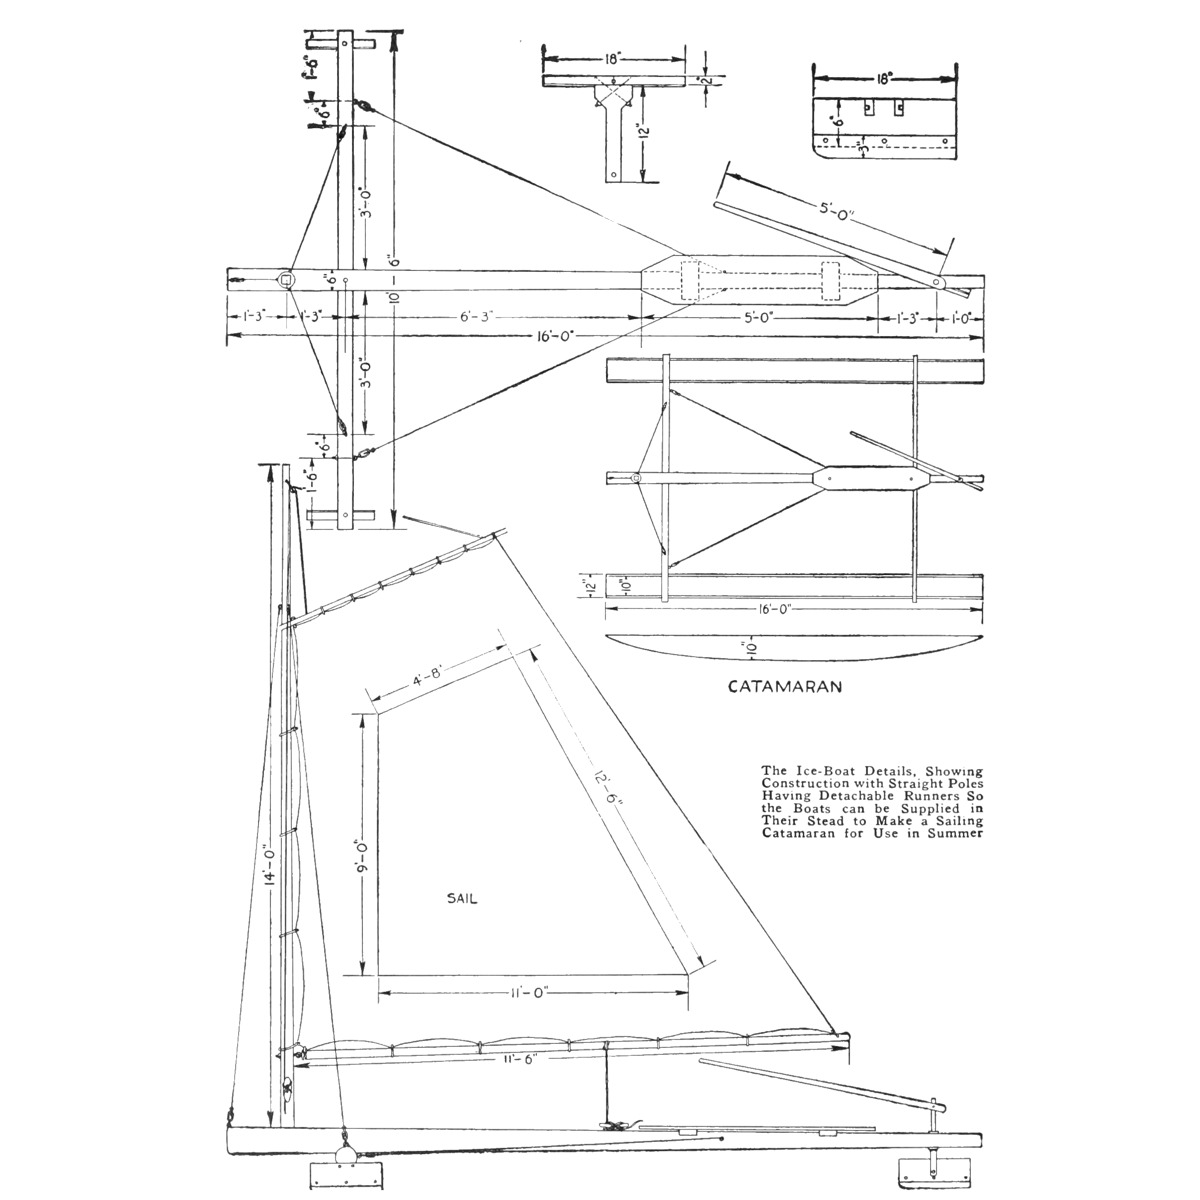


Ice Boat: Crossed Timbers, Skate-Edged Runners, Bicycle-Fork Steering and a Gaff Sail (Boy Mechanic, 1915)
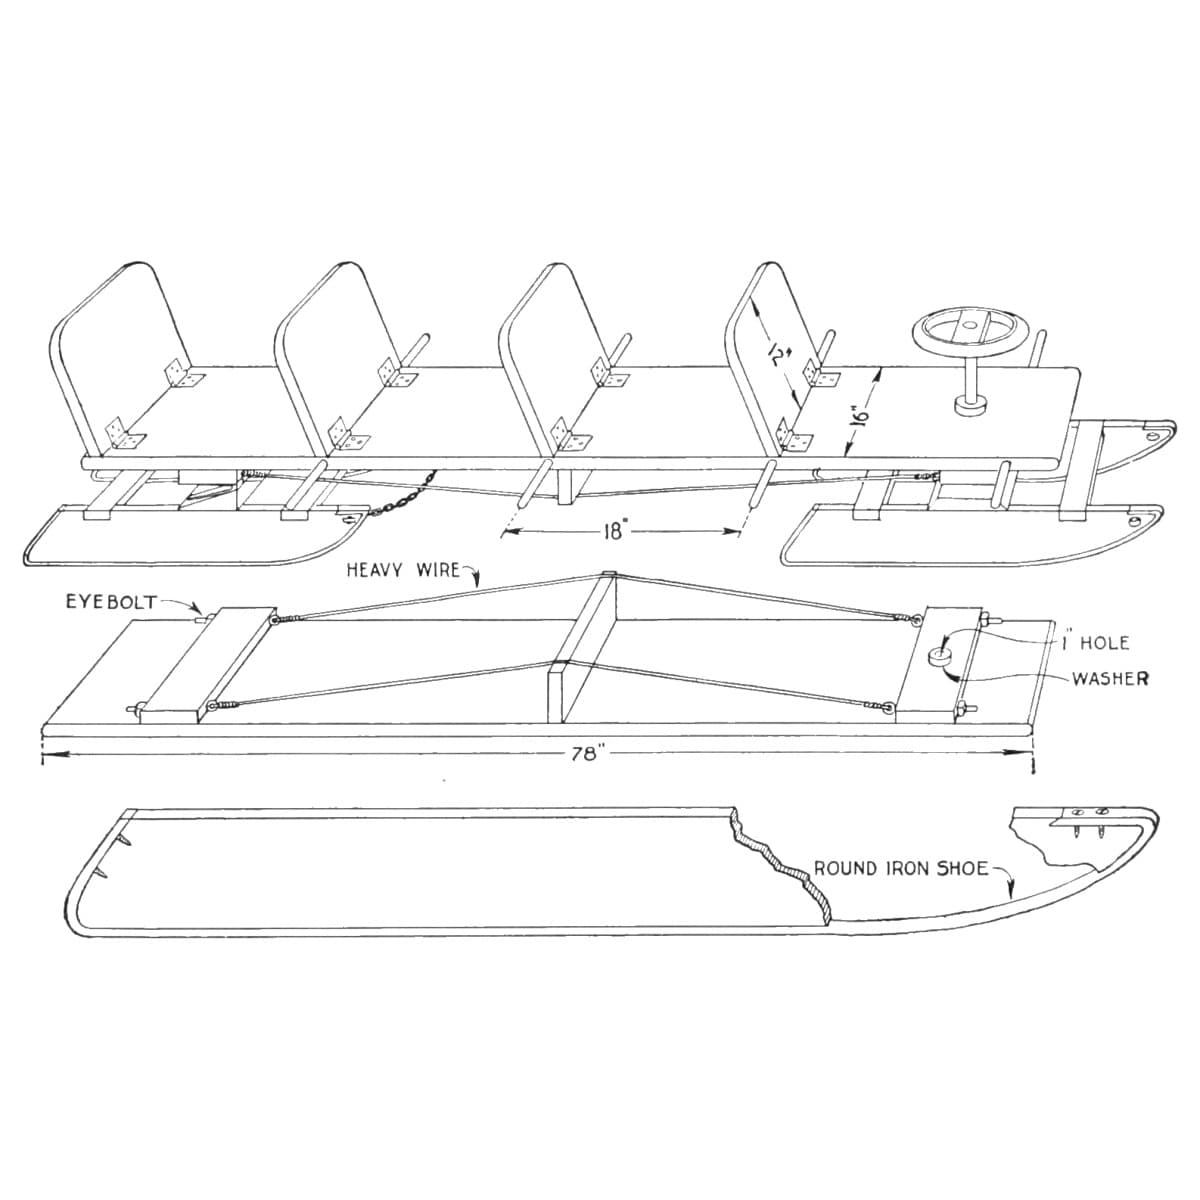
Robert K. Patterson's ice boat from The Boy Mechanic, Book 2 (1915): a 16 ft timber crossed by a 10-1/2 ft one and braced with wires, two front runners of band iron ground like a skate edge, and a rear steering runner clamped in a cut-down bicycle fork worked by a lever. His text and his drawing differ on the mast (about 12 ft against 14 ft); both are given.
Продвинутый
About 1 week
Инструкции
1
1
Text against drawing
Text against drawing
Загрузка блокнота Jupyter…
2
2
Read The Boy Mechanic, Book 2
Read The Boy Mechanic, Book 2
"In constructing the ice boat, use two poles, or timbers, one 16 ft. and the other 10-1/2 ft. long, crossed at a point 2-1/2 ft. from one end of the longer timber. The crossed pieces are firmly braced with wires, as shown."
3
3
Cross and brace the frame
Cross and brace the frame
Cross the 10-1/2 ft timber over the 16 ft one, 2-1/2 ft from its front end, and fasten them firmly. Brace them with wires as in the drawing: from the bow to points on the cross timber, and from the cross timber back along the long one. The drawing puts the wire points 6 in and 1 ft 6 in from each end of the cross timber.
Материалы для этого шага:
 Деревянный шест2 штук
 Болт с полукруглой головкой1 штука
 Стальная проволока1 штука
Необходимые инструменты:
 Ножовка по дереву
 Коловорот с перкой
 Рулетка
 Карандаш
4
4
Make the front runners
Make the front runners
Cut two band-iron strips 18 in long, 3 in wide and 1/8 in thick; grind one edge like the edge of a skate and round the ends. Bolt each to the side of a wood piece 18 in long, 6 in wide and 2 in thick, so the ground edge projects about 1 in. With a pole frame, bolt each runner block at right angles to a 12 in piece of wood shaped as drawn, the bolts running diagonally through its shouldered part; the pole end rests on this and is bolted down. With squared timbers, fasten the runners straight to them.
Материалы для этого шага:
 Полоса из малоуглеродистой стали1 штука
 Доска из твёрдой древесины1 штукаБолт с полукруглой головкой1 штука
Необходимые инструменты:
 Ножовка по металлу
 Настольный точильный станок
 Слесарные тиски
 Ручная дрельНожовка по дереву
5
5
Make the steering runner
Make the steering runner
Fasten the rear runner between two pieces of wood so its edge projects, and clamp it in a bicycle fork cut down to leave about 3 in of the blades. Bore a hole through the rear end of the long timber for the fork head. Fit a lever (5 ft on the drawing) to the top of the fork head: bore a hole through the lever end at a slight angle to fit the head, slot the end, bore across the width of the handle and put in a bolt as a clamp.
Материалы для этого шага:
Полоса из малоуглеродистой стали1 штукаДоска из твёрдой древесины1 штука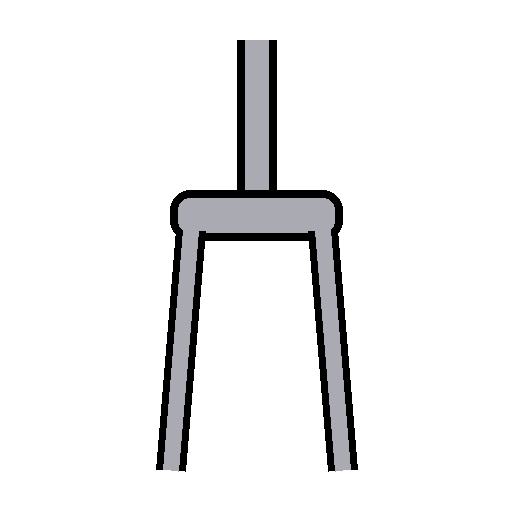 Вилка велосипеда1 штукаБолт с полукруглой головкой1 штука
 Хвойный брусок (рейка)1 штука
Необходимые инструменты:
Ножовка по металлуНастольный точильный станокКоловорот с перкойНожовка по дереву Стамески
6
6
Step the mast and fit the seat
Step the mast and fit the seat
Cut a mortise in the long timber 15 in from the front end and set the mast in it; stay it with wires as drawn. His text says the mast should be about 12 ft; his drawing marks it 14 ft 0 in: choose one and keep the sail to suit. Fasten a board on two crosspieces mortised into the top of the long timber, as a seat for the driver (5 ft long on the drawing, ending 2 ft 3 in from the stern).
Материалы для этого шага:
Хвойный брусок (рейка)1 штукаСтальная проволока1 штука Сосновая доска1 штука
 Шурупы по дереву1 штука
Необходимые инструменты:
Ножовка по деревуСтамески Ручной рубанокРулетка
7
7
Make and rig the sail
Make and rig the sail
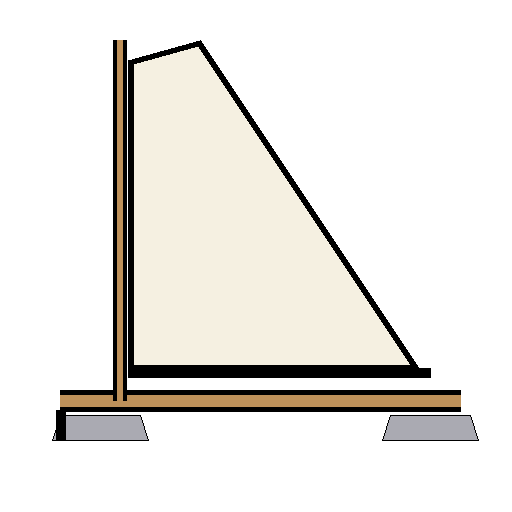
Make the sail of any good material to his drawing: luff (along the mast) 9 ft 0 in, head 4 ft 8 in, foot 11 ft 0 in, leech 12 ft 6 in. Hang the main boom, 11-1/2 ft long, and the upper spar on the mast "in the usual manner". The text also names a jib boom of about 6 ft, which the drawing does not show.
Материалы для этого шага:
 Парусина1 штукаХвойный брусок (рейка)1 штука
 Хлопчатобумажная верёвка1 штука
Необходимые инструменты:
 НожницыНожовка по деревуРулетка
8
8
Troubleshooting
Troubleshooting
Ice boat troubleshooting.
Flow
Loading...
9
9
History and honest limits
History and honest limits
From "An Ice Boat and Catamaran" by Robert K. Patterson, in **The Boy Mechanic, Book 2**, Popular Mechanics, 1915 (Project Gutenberg 44585; checked on the archive.org scan boymechanicbook200chic2, pp. 27-28). His text and drawing differ on the mast (about 12 ft against 14 ft 0 in) and on the jib boom, which is in the text only; both are stated, not resolved. He gives no timber sections, wire size or sail cloth: those choices are ours, as are the tools and metric figures. The summer catamaran conversion is not made here.
Материалы
11- 2 штукЗаполнитель
- Заполнитель
- 2 штукЗаполнитель
- Заполнитель
- 1 штукаЗаполнитель
- 1 штукаЗаполнитель
- 1 штукаЗаполнитель
- 1 штукаЗаполнитель
- 1 штукаЗаполнитель
- 1 штукаЗаполнитель
- 1 штукаЗаполнитель
Требуемые инструменты
11- Заполнитель
- Заполнитель
- 1 vendor sell this, none ship to you yetЗаполнитель
- 1 vendor sell this, none ship to you yetЗаполнитель
- Заполнитель
- Заполнитель
- Заполнитель
- Заполнитель
- Заполнитель
- Заполнитель
- Заполнитель
По этому чертежу делают
Связанные чертежи
Эти чертежи делятся знаниями — техники, материалы или принципы
CC0 Общественное достояние
Этот чертёж выпущен под лицензией CC0. Вы можете свободно копировать, изменять, распространять и использовать эту работу в любых целях без запроса разрешения.
Поддержите мейкера, покупая товары через его чертёж, где он получает Комиссию мейкера установленную продавцами, или создайте новую итерацию этого чертежа и включите его как связь в свой чертёж для распределения дохода.