
Сотрудничество
ИСКУССТВО
КРАСОТА И ЗДОРОВЬЕ
РЕМЕСЛО
КУЛЬТУРА И ИСТОРИЯ
РАЗВЛЕЧЕНИЯ
ЭКОЛОГИЯ
ЕДА И НАПИТКИ
ОБРАТНАЯ ИНЖЕНЕРИЯ
НАУКИ
СПОРТ
ТЕХНОЛОГИИ
НОСИМЫЕ УСТРОЙСТВА
Straight-Sided Guitar: Maple Box, Pine Top, Hatpin Frets and a 24-Inch Scale (Boy Mechanic, 1913)
Woody

Создано

Woody

13. ноябрь 2026NO
3
0
0
0
0

Straight-Sided Guitar: Maple Box, Pine Top, Hatpin Frets and a 24-Inch Scale (Boy Mechanic, 1913)

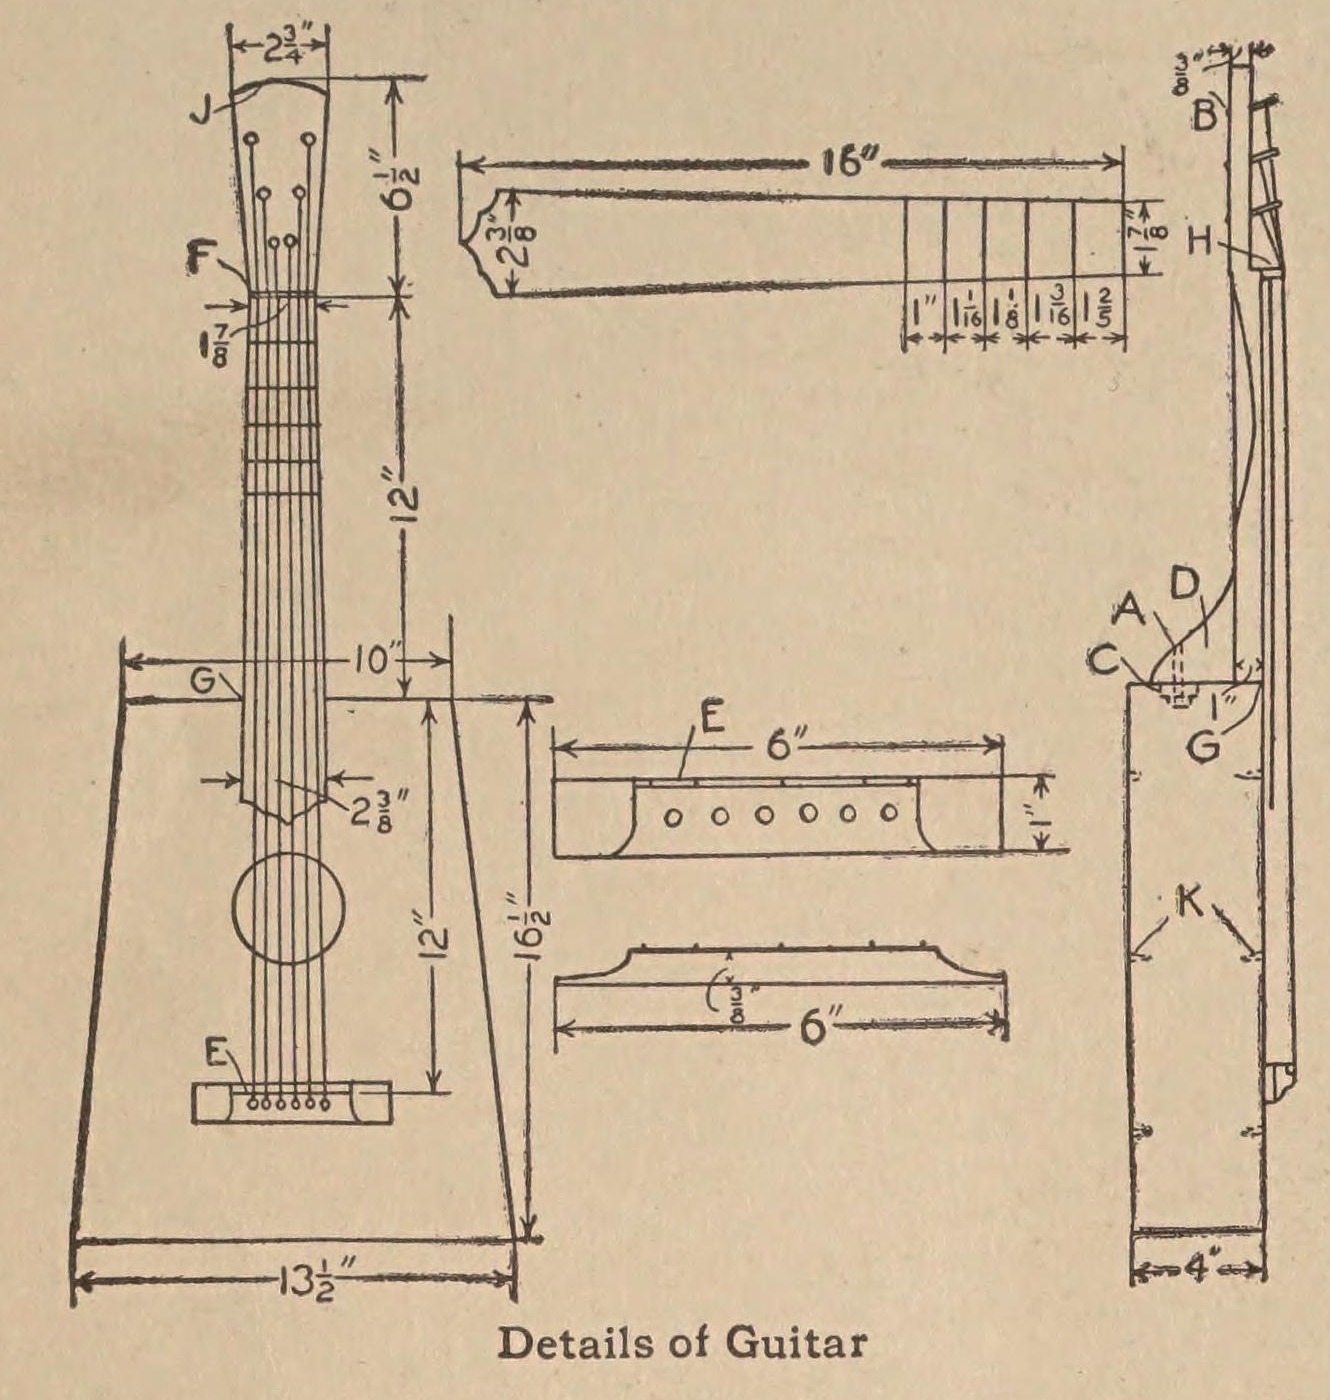
A six-string guitar "having straight lines, giving it an old-fashioned appearance", from The Boy Mechanic (1913): a tapered box of hard maple with a seasoned soft-pine top, a drawknifed neck, frets cut from hatpins and a 24 in scale. Sizes are read on the 1913 scan. "If care is taken in selecting the material, and having it thoroughly seasoned, the finished instrument will have a fine tone."
Продвинутый
About 1 week, with glue drying

Инструкции

1

Cutting list and frets

Загрузка блокнота Jupyter…
2

Read The Boy Mechanic

"The sides, ends and bottom are made of hard wood, preferably hard maple, and the top should be made of a thoroughly seasoned piece of soft pine." (J. H. Stoddard, Carbondale, Pa.)
3

Cut the pieces

Cut from thoroughly seasoned wood: top 3/16 by 14 by 17 in (soft pine); bottom 3/16 by 14 by 17 in, two sides 3/16 by 3-5/8 by 16-3/4 in, and ends 3/16 by 3-5/8 by 13-1/8 in and 9-5/8 in (hard maple); neck 1 by 2-5/16 by 18-1/2 in; fingerboard 3/16 by 2-5/8 by 16 in.

Материалы для этого шага:

Доска из твёрдой древесиныДоска из твёрдой древесины1 штука
Сосновая доскаСосновая доска1 штука

Необходимые инструменты:

Ножовка по деревуНожовка по дереву
РулеткаРулетка
Столярный угольникСтолярный угольник
4

Shape the neck and fingerboard

Taper the neck from G to F and from J to F, with the back rounded, using a drawknife: 2-3/8 in at the heel, 1-7/8 in at the nut F, and a head 2-3/4 in wide and 6-1/2 in long. Taper the fingerboard to match. Glue a piece of hard wood 1/4 in square and 1-7/8 in long across the neck at F as the nut. Glue the fingerboard to the neck and clamp it until the glue sets.

Материалы для этого шага:

Полоса твёрдой древесиныПолоса твёрдой древесины1 штука
Столярный клейСтолярный клей1 штука

Необходимые инструменты:

СкобельСкобель
Ножовка по деревуНожовка по дереву
Струбцина с направляющейСтрубцина с направляющей
5

Fret the fingerboard

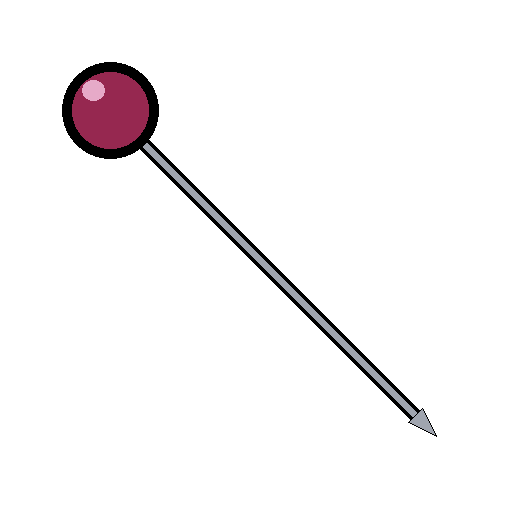
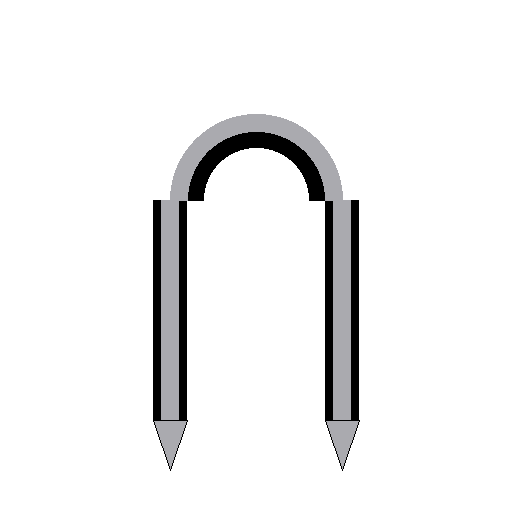
Mark the frets from the nut using the computed positions in step 1 (fret 1 at 1.347 in, fret 12 at 12 in). His drawing gives only five spaces, 1-2/5, 1-3/16, 1-1/8, 1-1/16 and 1 in; added up they put the 5th fret about 0.3 in short of the true place, so they are shown for history only. Cut pieces from hatpins and fasten them across the fingerboard with small wire staples. Mark accurately: the frets decide the pitch.

Материалы для этого шага:

Шляпная булавкаШляпная булавка1 штука
Проволочная скобаПроволочная скоба1 штука

Необходимые инструменты:

ПлоскогубцыПлоскогубцы
МолотокМолоток
РулеткаРулетка
Столярный угольникСтолярный угольник
6

Build the box

Glue the sides and ends together, so the body is 10 in wide at the neck end, 13-1/2 in at the tail and 16-1/2 in long. Glue the front on, put heavy weights on top and give the glue time to dry. Fasten pieces of soft wood in the corners as braces, glue a small block C inside the neck end to take the bolt, and glue strips of soft wood K across the front and back to strengthen them. Cut the sound hole in the top as drawn.

Материалы для этого шага:

Хвойный брусок (рейка)Хвойный брусок (рейка)1 штука
Столярный клейСтолярный клей1 штука

Необходимые инструменты:

Ножовка по деревуНожовка по дереву
Струбцина с направляющейСтрубцина с направляющей
Коловорот с перкойКоловорот с перкой
7

Fit the neck

Make the brace D 1 in thick, to any shape you like. Glue the neck to the box and secure it with a carriage bolt at A through the end and block C. Glue the back on and smooth the outside with sandpaper.

Материалы для этого шага:

Полоса твёрдой древесиныПолоса твёрдой древесины1 штука
Болт с полукруглой головкойБолт с полукруглой головкой1 штука
Доска из твёрдой древесиныДоска из твёрдой древесины1 штука
Столярный клейСтолярный клей1 штука
Наждачная бумагаНаждачная бумага1 штука

Необходимые инструменты:

Коловорот с перкойКоловорот с перкой
Струбцина с направляющейСтрубцина с направляющей
8

Make and place the bridge

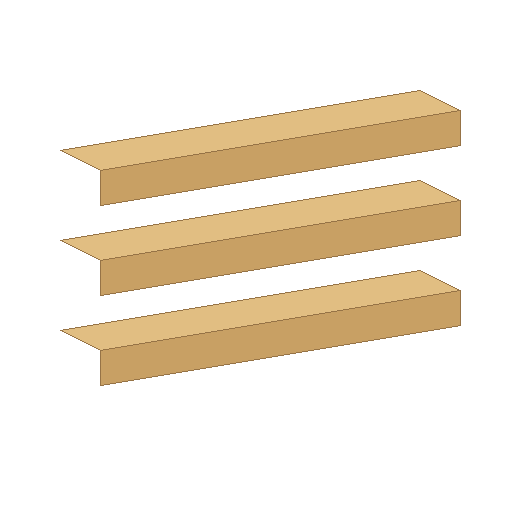
Make the bridge 6 in long, 1 in wide and 3/8 in high, with an old hatpin or wire of the same size secured on top with pin staples as the saddle E. Drill six 3/16 in holes in it for the pins. Glue it on the top so the distance from the nut F to the saddle E is just 24 in.

Материалы для этого шага:

Полоса твёрдой древесиныПолоса твёрдой древесины1 штука
Шляпная булавкаШляпная булавка1 штука
Проволочная скобаПроволочная скоба1 штука
Столярный клейСтолярный клей1 штука

Необходимые инструменты:

Коловорот с перкойКоловорот с перкой
Ножовка по деревуНожовка по дереву
РулеткаРулетка
9

String it

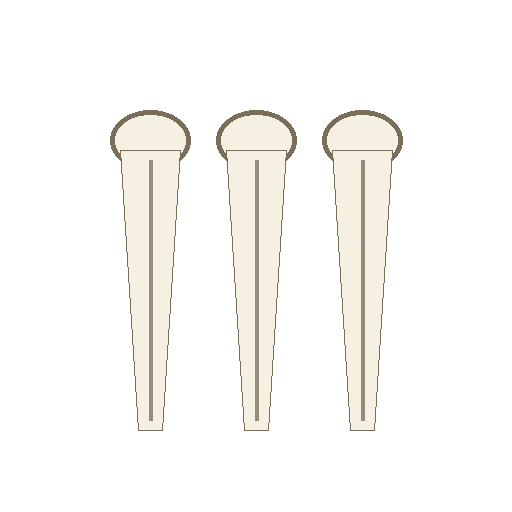
Fit the turning pegs B in the head and string the guitar, holding the strings in the bridge with the pins. He bought the pegs and strings from a music store.

Материалы для этого шага:

КолкиКолки1 штука
Гитарные струныГитарные струны1 штука
Штифты подставкиШтифты подставки1 штука

Необходимые инструменты:

Коловорот с перкойКоловорот с перкой
10

Troubleshooting

Guitar troubleshooting.

Flow

Loading...
11

History and honest limits

From **The Boy Mechanic**, edited by H. H. Windsor, Popular Mechanics, Chicago, 1913, p. 320, "A Guitar That Is Easy to Make", sent in by J. H. Stoddard of Carbondale, Pa.; sizes read on the 1913 scan (archive.org boymechanicthing01unse). He dimensions only the first five fret spaces, and they disagree with equal temperament; the fret positions used are computed by us. The sound hole, saddle and string tensions are not dimensioned. The tools and metric figures are ours.

Материалы

12

Требуемые инструменты

8

По этому чертежу делают

Связанные чертежи

Эти чертежи делятся знаниями — техники, материалы или принципы

CC0 Общественное достояние

Этот чертёж выпущен под лицензией CC0. Вы можете свободно копировать, изменять, распространять и использовать эту работу в любых целях без запроса разрешения.

Поддержите мейкера, покупая товары через его чертёж, где он получает Комиссию мейкера установленную продавцами, или создайте новую итерацию этого чертежа и включите его как связь в свой чертёж для распределения дохода.

Обсуждение

(0)

Войти чтобы присоединиться к обсуждению

Загрузка комментариев...