Сотрудничество
ИСКУССТВО
КРАСОТА И ЗДОРОВЬЕ
РЕМЕСЛО
КУЛЬТУРА И ИСТОРИЯ
РАЗВЛЕЧЕНИЯ
ЭКОЛОГИЯ
ЕДА И НАПИТКИ
ОБРАТНАЯ ИНЖЕНЕРИЯ
НАУКИ
СПОРТ
ТЕХНОЛОГИИ
НОСИМЫЕ УСТРОЙСТВА
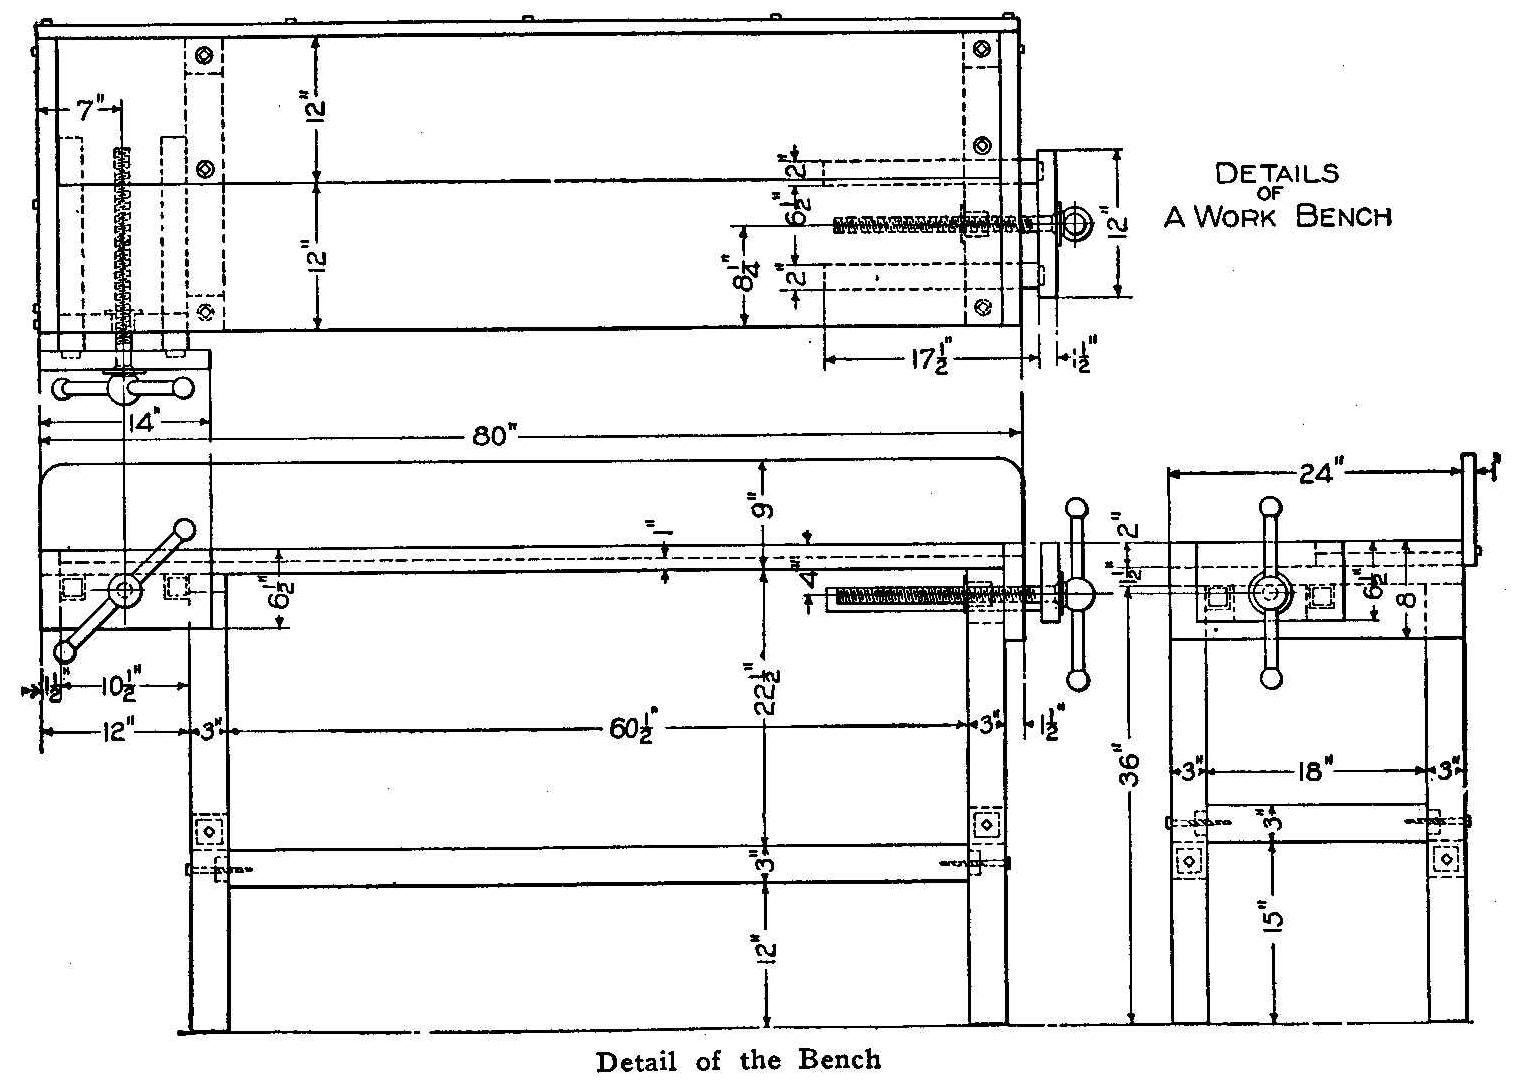


Workbench for the Amateur: Mortised Maple Frame, Two-Board Top, Side and End Vises (Boy Mechanic, 1913)
A full-size woodworking bench from The Boy Mechanic (Popular Mechanics, 1913), "suitable for the amateur woodworker" and made "by anyone who has a few sharp tools and a little spare time": a mortise-and-tenon frame of birch or maple bolted with lag screws, a top of a 2 in and a 1 in board, a side vise and an end vise on square slides, and a back board. All sizes are the book's.
It stands 36 in high, 80 in long and 24 in deep.
Средний
About 2 days
Инструкции
1
1
Cutting list
Cutting list
Загрузка блокнота Jupyter…
2
2
Read The Boy Mechanic
Read The Boy Mechanic
"If the stock is purchased from the mill ready planed and cut to length, much of the hard labor will be saved."
3
3
Make the lower frame
Make the lower frame
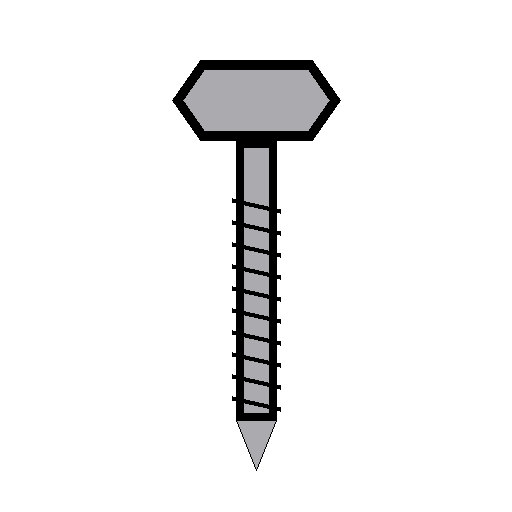
Cut tenons on the side and end rails and mortise the posts to take them. Fit them together and fasten them securely with 3/8 by 5 in lag screws through the posts into the rails, as the drawing shows.
Материалы для этого шага:
 Брус1 штука
 Глухарь (шуруп под ключ)1 штука
Необходимые инструменты:
 Двуручная поперечная пила
 Обушковая пила
 Долото для гнёзд
 Деревянная киянка
 Столярный угольник
 Коловорот с перкой
 Разводной ключ
 Карандаш
4
4
Fit the crosspieces and top
Fit the crosspieces and top
Screw the 1-1/2 by 3 by 24 in crosspieces to the tops of the posts, countersinking the heads (or bore the top boards to clear them). Fasten the front, 2 in top board to the crosspieces with lag screws from underneath; screw the 1 in top board down from the top.
Материалы для этого шага:
Брус1 штука Доска твёрдой древесины1 штука
 Доска из твёрдой древесины1 штукаГлухарь (шуруп под ключ)1 штука
 Шурупы по дереву1 штука
Необходимые инструменты:
Коловорот с перкой Набор зенковок
 Набор отвёртокРазводной ключ
5
5
Fit the end pieces and vise slides
Fit the end pieces and vise slides
Screw on the end pieces, countersinking the heads at the vise end. Cut 2 in square holes in the 1-1/2 by 4-1/2 by 10 in piece for the side vise slides and fit it in place, and cut square holes in one end piece for the end vise slides.
Материалы для этого шага:
Доска из твёрдой древесины1 штукаШурупы по дереву1 штукаНеобходимые инструменты:
Коловорот с перкой СтамескиДеревянная киянкаНабор зенковокНабор отвёрток
6
6
Fit up the two vises
Fit up the two vises
Screw the 2 in square slides (guides) to the two clamp front pieces, countersinking the heads so they are clear of the hands. The clamp screws should be about 1-1/2 in diameter, bought at a hardware store. Fit a block under the crosspiece to hold the end vise's nut. With the slides in place, bore the holes for the clamp screws and fit them.
Материалы для этого шага:
Брус1 штукаДоска из твёрдой древесины1 штука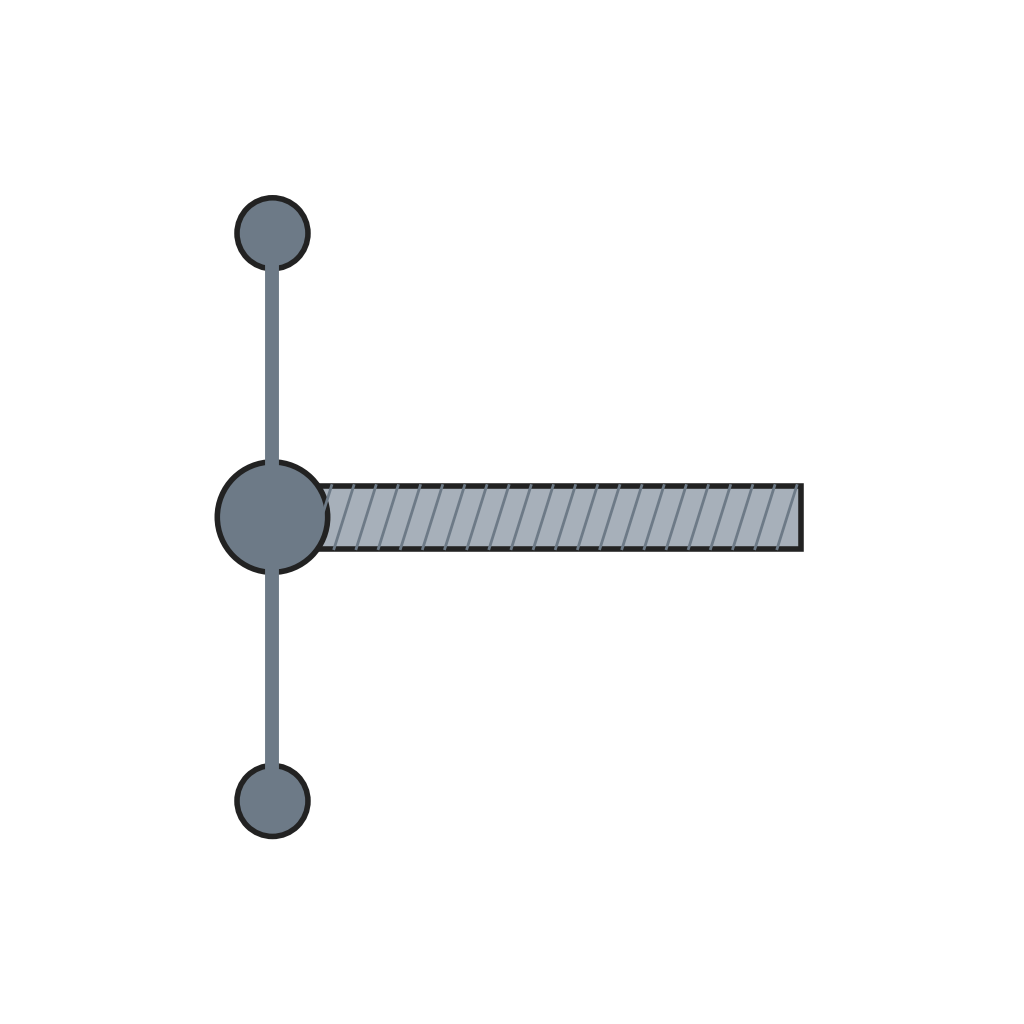 Винт тисков со скользящим воротком2 штукШурупы по дереву1 штука
Необходимые инструменты:
Коловорот с перкойНабор зенковокНабор отвёрток7
7
Back board and finish
Back board and finish
Screw the back board to the back as the top view shows. Give the bench "a couple of coats of oil" to finish and preserve the wood (boiled linseed oil, ours).
Материалы для этого шага:
Доска из твёрдой древесины1 штукаШурупы по дереву1 штука Варёное льняное масло1 штука
 Хлопчатобумажная ткань1 штука
Необходимые инструменты:
Набор отвёрток8
8
Troubleshooting
Troubleshooting
Workbench troubleshooting.
Flow
Loading...
9
9
History and honest limits
History and honest limits
From **The Boy Mechanic, Volume 1: 700 Things for Boys to Do**, edited by H. H. Windsor, Popular Mechanics, Chicago, 1913 (Project Gutenberg #12655), "A Workbench for the Amateur". All sizes and the fastening are the book's; it names no oil, so boiled linseed oil is ours, as are the metric figures.
Материалы
8- 1 штукаЗаполнитель
- 1 штукаЗаполнитель
- 1 штукаЗаполнитель
- 1 штукаЗаполнитель
- 4 штукЗаполнитель
- Заполнитель
- 1 штукаЗаполнитель
- 1 штукаЗаполнитель
Требуемые инструменты
11- Заполнитель
- Заполнитель
- Заполнитель
- Заполнитель
- Заполнитель
- Заполнитель
- Заполнитель
- 1 vendor sell this, none ship to you yetЗаполнитель
- Заполнитель
- Заполнитель
- Заполнитель
По этому чертежу делают

Связанные чертежи
Эти чертежи делятся знаниями — техники, материалы или принципы

CC0 Общественное достояние
Этот чертёж выпущен под лицензией CC0. Вы можете свободно копировать, изменять, распространять и использовать эту работу в любых целях без запроса разрешения.
Поддержите мейкера, покупая товары через его чертёж, где он получает Комиссию мейкера установленную продавцами, или создайте новую итерацию этого чертежа и включите его как связь в свой чертёж для распределения дохода.