ИСКУССТВО
КРАСОТА И ЗДОРОВЬЕ
РЕМЕСЛО
КУЛЬТУРА И ИСТОРИЯ
РАЗВЛЕЧЕНИЯ
ЭКОЛОГИЯ
ЕДА И НАПИТКИ
ОБРАТНАЯ ИНЖЕНЕРИЯ
НАУКИ
СПОРТ
ТЕХНОЛОГИИ
НОСИМЫЕ УСТРОЙСТВА
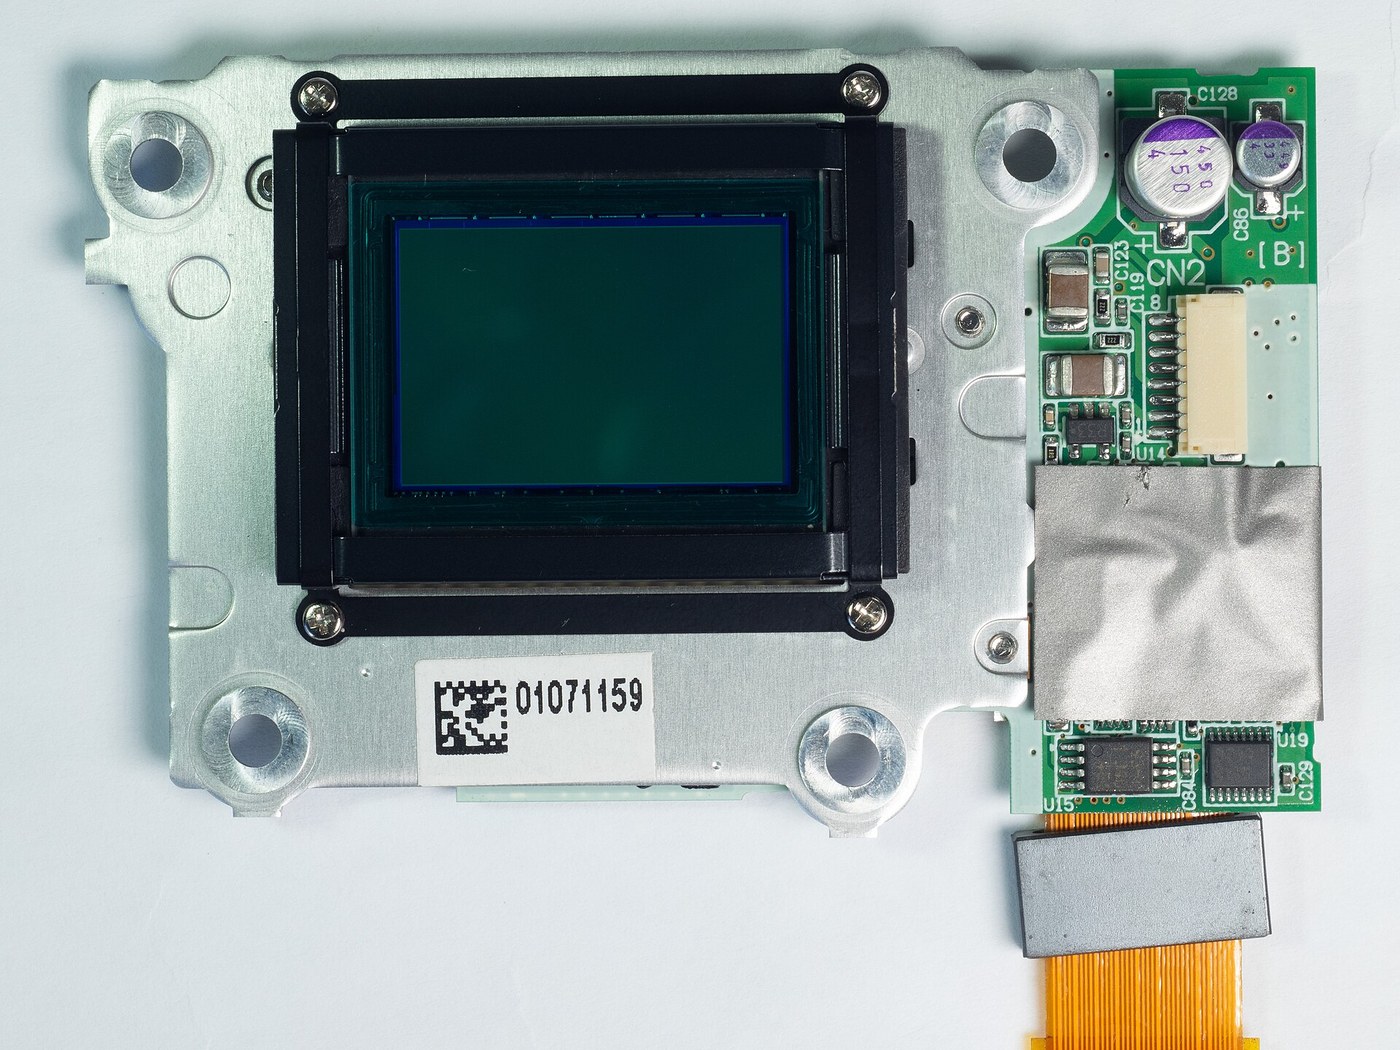


The Charge-Coupled Device
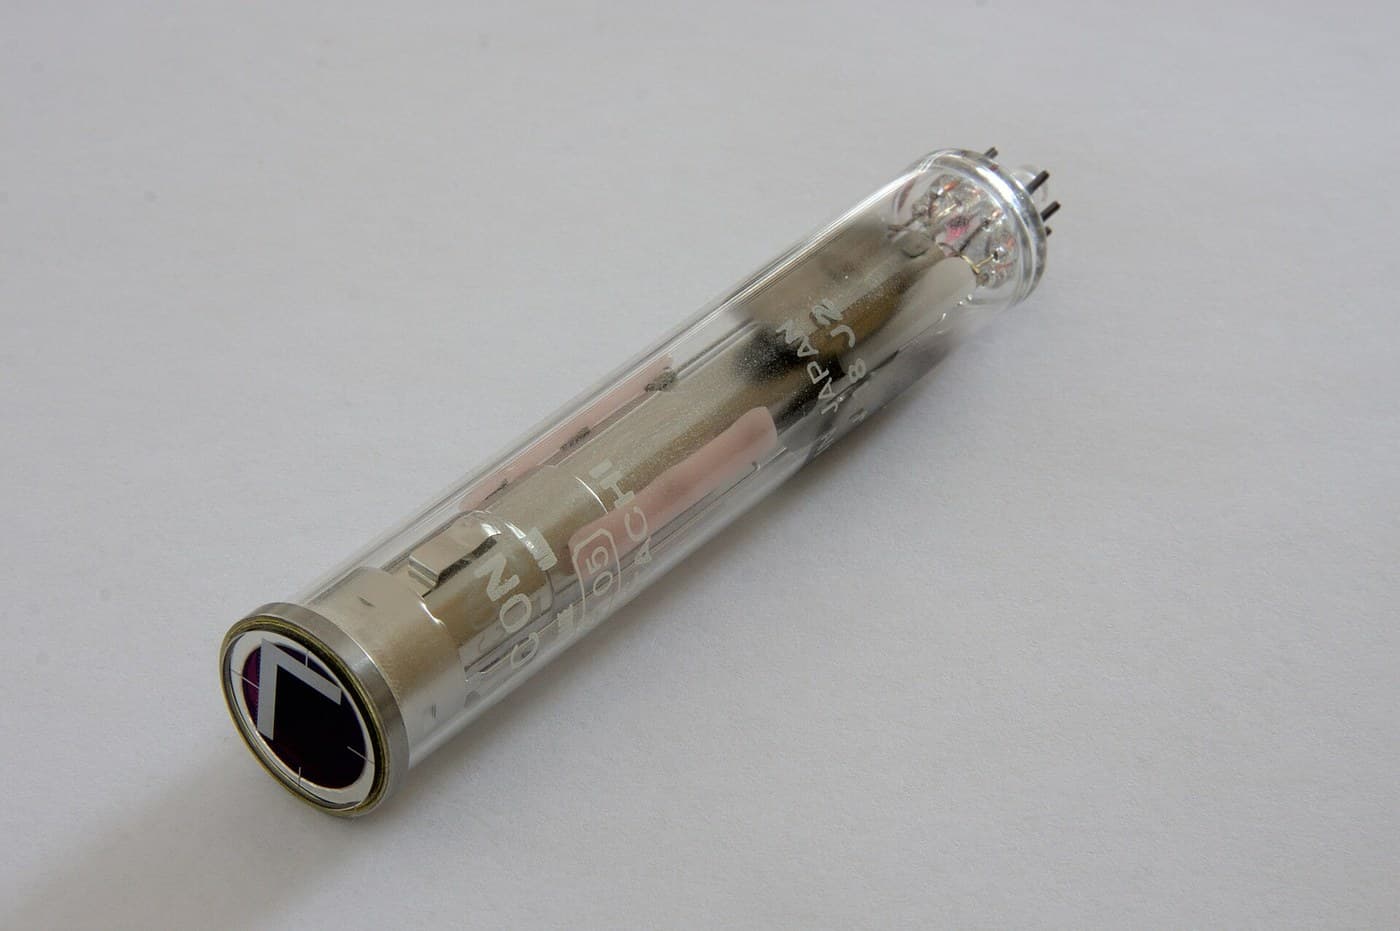
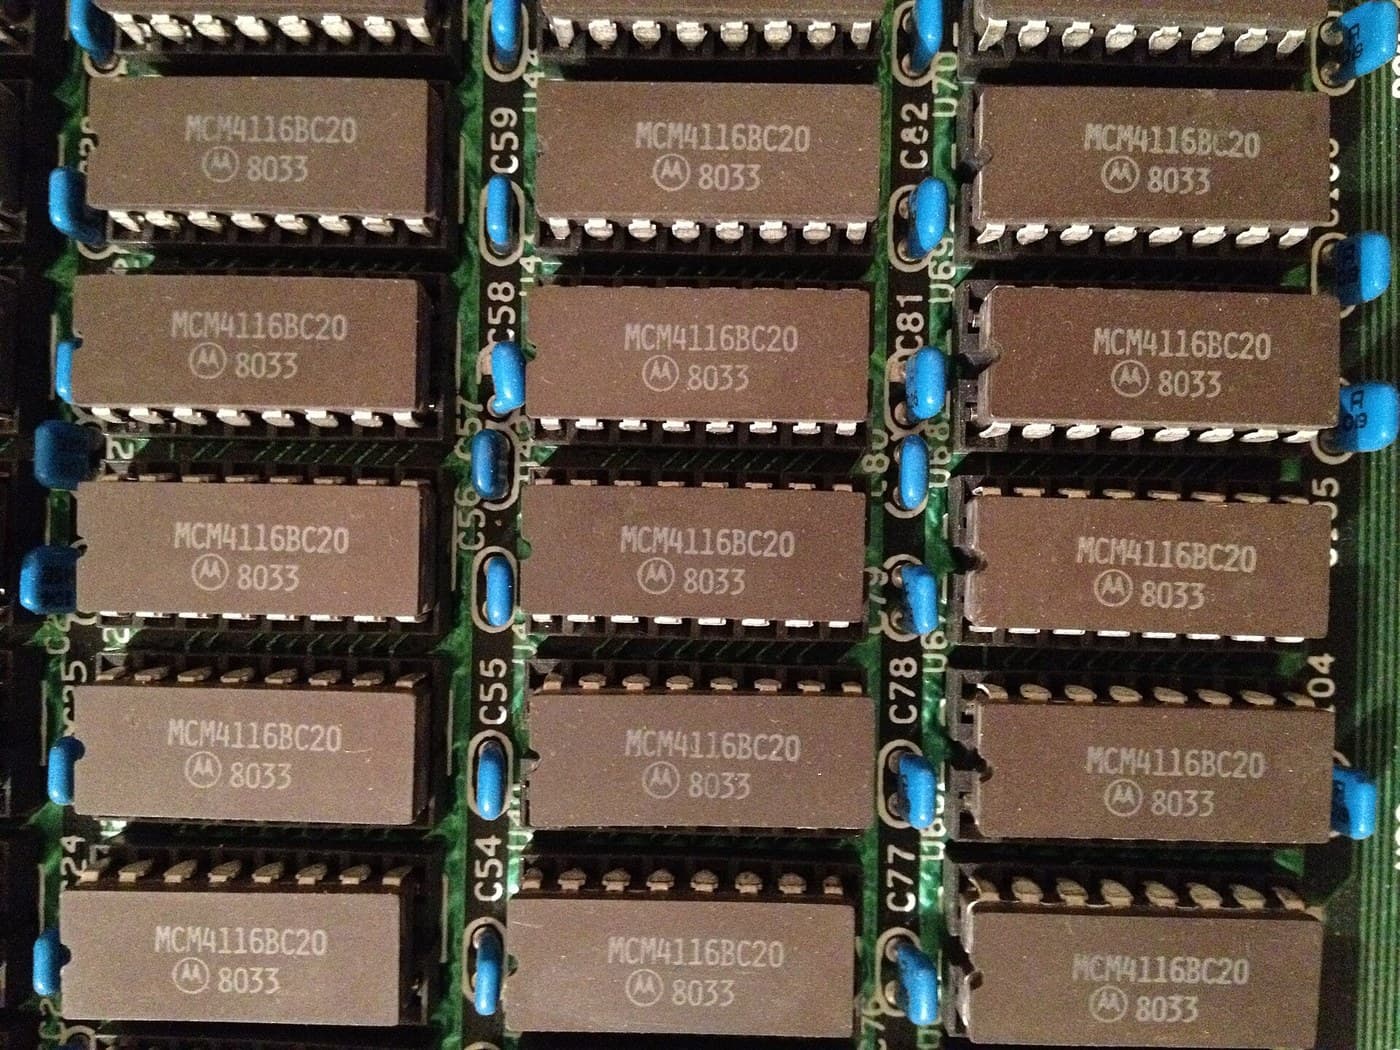
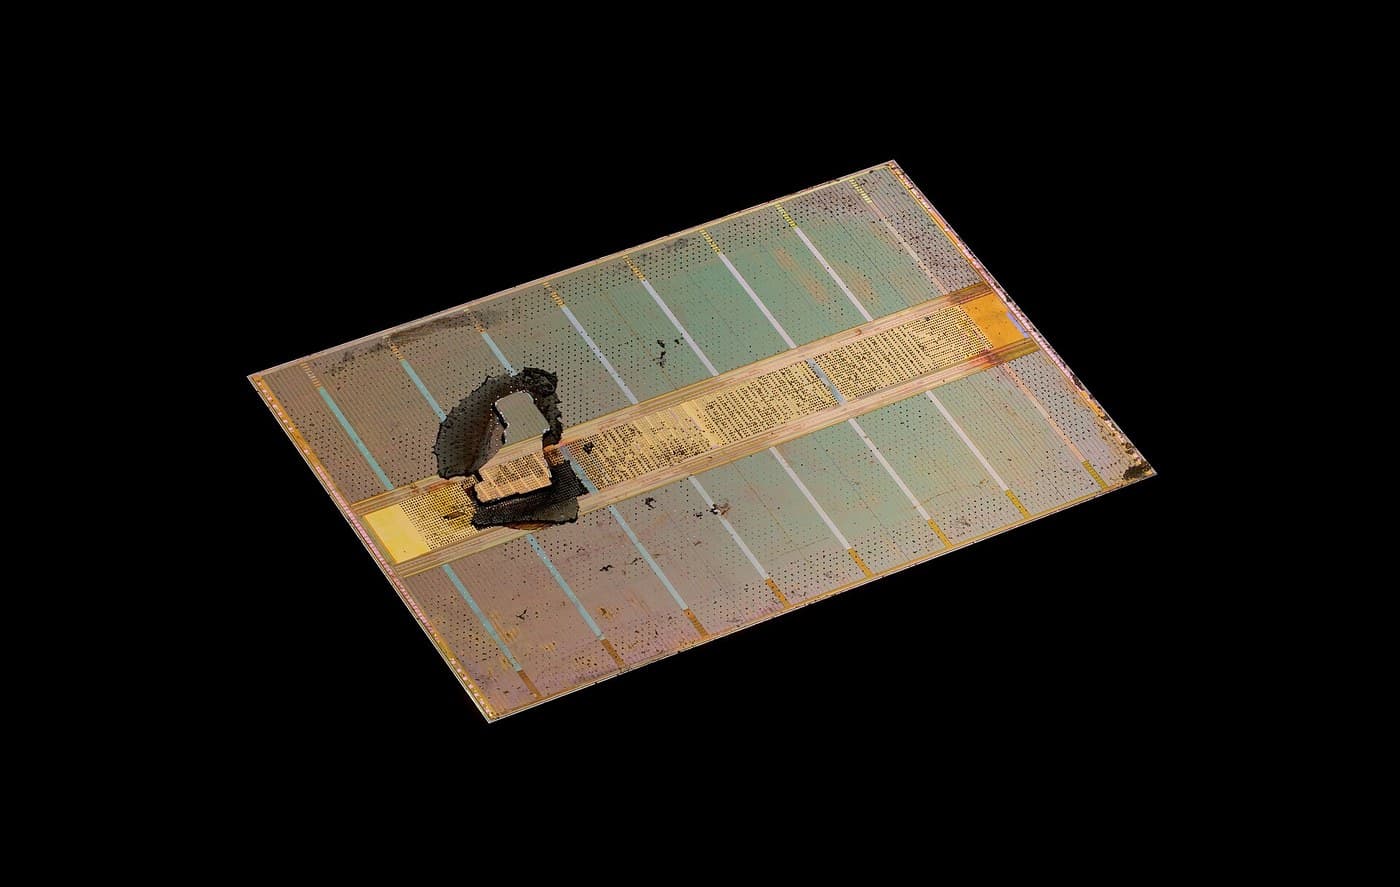
Boyle and Smith, 1969, sketched in an hour on a blackboard; Nobel Prize 2009. A CCD pixel is the DRAM cell read the opposite way: DRAM holds charge and refreshes it in place, a CCD SHIFTS each packet down the row to one amplifier, a bucket brigade for electrons. Because it collects charge on a fixed grid instead of scanning a beam, it kills the vidicon's two diseases — distortion and lag — at a stroke. The price: move charge thousands of times and lose none.
Продвинутый
6 hours
Инструкции
1
1
The pixel is the DRAM cell, read by moving the charge
The pixel is the DRAM cell, read by moving the charge
The pixel is the DRAM cell. A gate over silicon makes a potential well; in DRAM you fill it to mean a 1, in a CCD light fills it with electrons. The difference is the whole invention: DRAM reads each cell in place (a wire and an amplifier per column); a CCD MOVES the charge, tipping each packet into the next well like water between buckets, to a single amplifier at the end. Almost no wires, but every packet is transferred thousands of times.
2
2
The bucket brigade: how one image becomes one signal
The bucket brigade: how one image becomes one signal
Follow one photon to the output. Expose (each well fills like a bucket in the rain); clock the whole image DOWN row by row into a readout register; clock that register SIDEWAYS into one amplifier that weighs each packet in turn. One amplifier reads the entire image, so there is no pixel-to-pixel gain variation. The vidicon's distortion (no beam) and lag (wells fully cleared) are simply gone; the new failure modes are transfer loss and dark current.
Flow
Loading...
Необходимые инструменты:
 Настольный компьютер
3
3
Why astronomers freeze their sensors: dark current and transfer efficiency
Why astronomers freeze their sensors: dark current and transfer efficiency
Загрузка блокнота Jupyter…
Необходимые инструменты:
Настольный компьютер4
4
Measure real dark current against temperature
Measure real dark current against temperature
You cannot clock a bare CCD, but you can measure the physics that rules it — dark current rising exponentially with temperature — on any cheap photodiode. Read a reverse-biased diode's leakage in the dark at several temperatures; the slope of log(current) vs 1/T gives the doubling temperature, ~6-10 C, the same number that forces observatories to pour liquid nitrogen over their cameras.
ccd_darkcurrent.inocpp
Необходимые инструменты:
 Отладочная плата ESP32
 Датчик температуры DS18B20
 Макетная плата
 Фотодиод (BPW34)
 Набор резисторов
Требуемые инструменты
6- Заполнитель
- Заполнитель
- Заполнитель
- 1 vendor sell this, none ship to you yetЗаполнитель
- Заполнитель
- 2 vendors sell this, none ship to you yetЗаполнитель
Связанные чертежи
Эти чертежи делятся знаниями — техники, материалы или принципы

CC0 Общественное достояние
Этот чертёж выпущен под лицензией CC0. Вы можете свободно копировать, изменять, распространять и использовать эту работу в любых целях без запроса разрешения.
Поддержите мейкера, покупая товары через его чертёж, где он получает Комиссию мейкера установленную продавцами, или создайте новую итерацию этого чертежа и включите его как связь в свой чертёж для распределения дохода.