Сотрудничество
ИСКУССТВО
КРАСОТА И ЗДОРОВЬЕ
РЕМЕСЛО
КУЛЬТУРА И ИСТОРИЯ
РАЗВЛЕЧЕНИЯ
ЭКОЛОГИЯ
ЕДА И НАПИТКИ
ОБРАТНАЯ ИНЖЕНЕРИЯ
НАУКИ
СПОРТ
ТЕХНОЛОГИИ
НОСИМЫЕ УСТРОЙСТВА
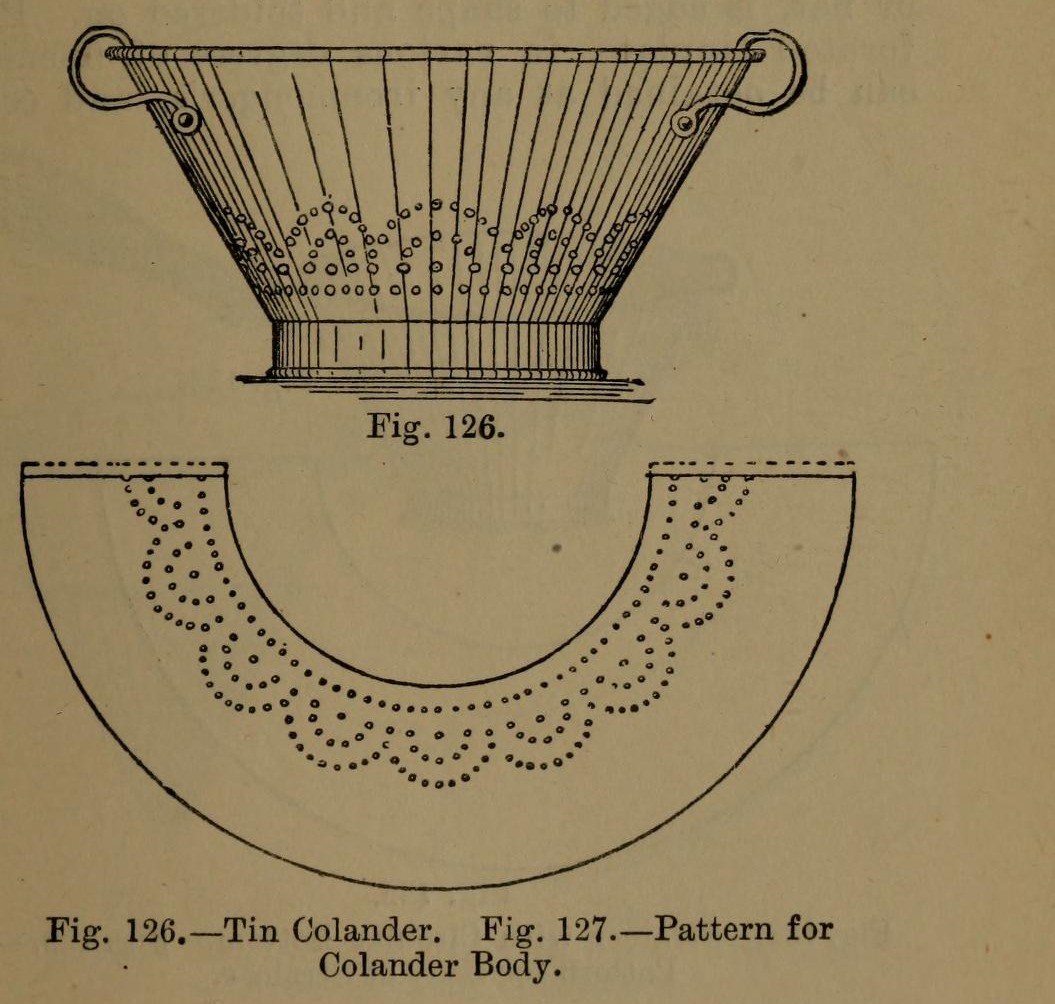


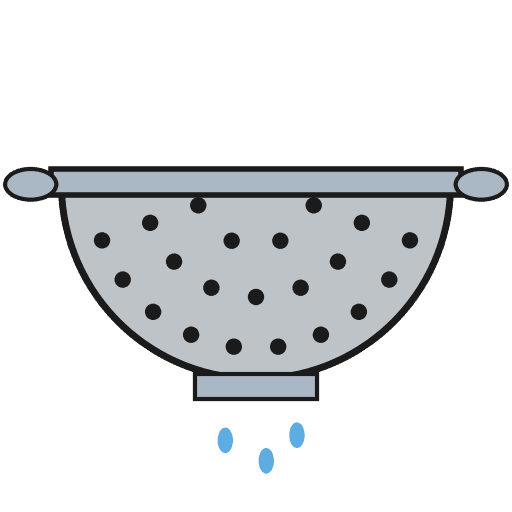
Colander: a Tinplate Colander with Perforated Body and Bottom (Hasluck, 1907)
A tinsmith's colander for straining: a tapered tinplate body and a hollowed bottom, both punched full of holes, standing on a wired hoop, with two bow handles.
The body pattern is a ring segment: outer radius = top diameter, inner radius = bottom diameter, which gives sides at 60 degrees.
Source: Paul N. Hasluck, Tinplate Work (1907), pp. 50-51. Unknown: sizes, solder. Picture: Figs. 126-127 of the book.
Средний
Unknown
Инструкции
1
1
Set out the body pattern
Set out the body pattern
Choose the top and bottom diameters. On tinplate, strike an arc with radius equal to the top diameter and, from the same centre, one equal to the bottom diameter (Fig. 127); the sides then slope at 60 degrees. Mark the rows of holes, add edges for a grooved seam and the wire, and cut it out.
Материалы для этого шага:
 Лист белой жести1 body
Необходимые инструменты:
 Разметочный циркуль
 Чертилка
 Ножницы по металлу
2
2
Break, punch and planish the body
Break, punch and planish the body
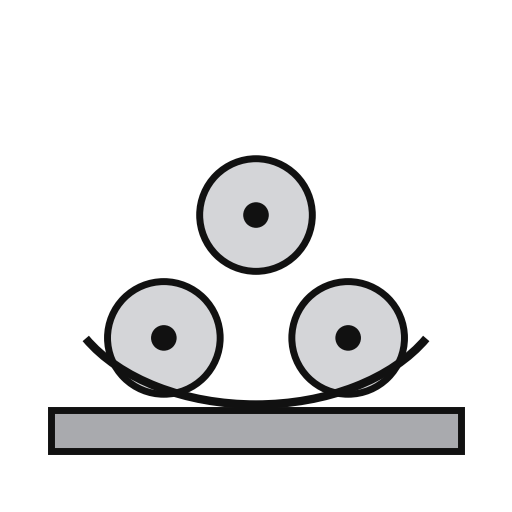
'Break' the pattern through the rollers, turning it the opposite way each pass, so it won't crease when bent. Punch the holes on a hardwood block, then flatten and planish the burrs.
Необходимые инструменты:
 Трёхвалковые листогибочные вальцы
 Просечка для листового металла
 Брусок твёрдой древесины
 Рихтовочный молоток
3
3
Seam and wire the body
Seam and wire the body
Set off the edges for a grooved seam, bend the body to shape and seam it. Solder the seam inside. Set off an edge on the wide end and wire it with No. 10 B.W.G. wire. If you like, raise a swage about 1 1/2 in below the wired edge: it stiffens the colander and looks better.
Материалы для этого шага:
 Железная проволока1 No. 10 B.W.G.
 Оловянно-свинцовый припой1 seam
Необходимые инструменты:
 Деревянная киянка
 Кол
 Электрический паяльник
 Флюс
4
4
Make and fit the bottom
Make and fit the bottom
Cut out the bottom, hollow it and edge it to fit the small end. Inside, mark circles from 1 in across at the centre, each 1 in wider than the last, out to the edge. Punch holes at short intervals round them and flatten the burrs on an upturned hollowing hammer. Solder the bottom on.
Материалы для этого шага:
Лист белой жести1 bottomОловянно-свинцовый припой1 bottomНеобходимые инструменты:
Разметочный циркульНожницы по металлуПросечка для листового металлаРихтовочный молотокЭлектрический паяльникФлюс5
5
Add the hoop and handles
Add the hoop and handles
Cut a strip 1 1/2 in wide, as long as the circumference of the bottom. Wire it with No. 10 B.W.G., round it, seam it and solder it on as the foot. Rivet a pair of bow handles opposite each other at the top.
Материалы для этого шага:
Лист белой жести1 hoopЖелезная проволока1 hoopОловянно-свинцовый припой1 hoop Рукоятка2 bow handles
 Железные заклёпки1 number not given
Необходимые инструменты:
Ножницы по металлуЭлектрический паяльникФлюс Клепальный молоток
6
6
Clean and scald
Clean and scald
Clean with turpentine and whiting, then polish with dry whiting. Before first use, steep it a short time in boiling water, as for any metal article for the kitchen.
Необходимые инструменты:
 Скипидар
 Карбонат кальция (мел молотый)
 Вода
Материалы
5- 1 hoopЗаполнитель
- 1 hoopЗаполнитель
- Заполнитель
- 2 bow handlesЗаполнитель
- 1 number not givenЗаполнитель
Требуемые инструменты
15- Заполнитель
- Заполнитель
- Заполнитель
- Заполнитель
- Заполнитель
- Заполнитель
- Заполнитель
- Заполнитель
- Заполнитель
- Заполнитель
- Заполнитель
- Заполнитель
- Заполнитель
- Заполнитель
- Заполнитель
Материалы из связанных чертежей


По этому чертежу делают
CC0 Общественное достояние
Этот чертёж выпущен под лицензией CC0. Вы можете свободно копировать, изменять, распространять и использовать эту работу в любых целях без запроса разрешения.
Поддержите мейкера, покупая товары через его чертёж, где он получает Комиссию мейкера установленную продавцами, или создайте новую итерацию этого чертежа и включите его как связь в свой чертёж для распределения дохода.