Сотрудничество
ИСКУССТВО
КРАСОТА И ЗДОРОВЬЕ
РЕМЕСЛО
КУЛЬТУРА И ИСТОРИЯ
РАЗВЛЕЧЕНИЯ
ЭКОЛОГИЯ
ЕДА И НАПИТКИ
ОБРАТНАЯ ИНЖЕНЕРИЯ
НАУКИ
СПОРТ
ТЕХНОЛОГИИ
НОСИМЫЕ УСТРОЙСТВА
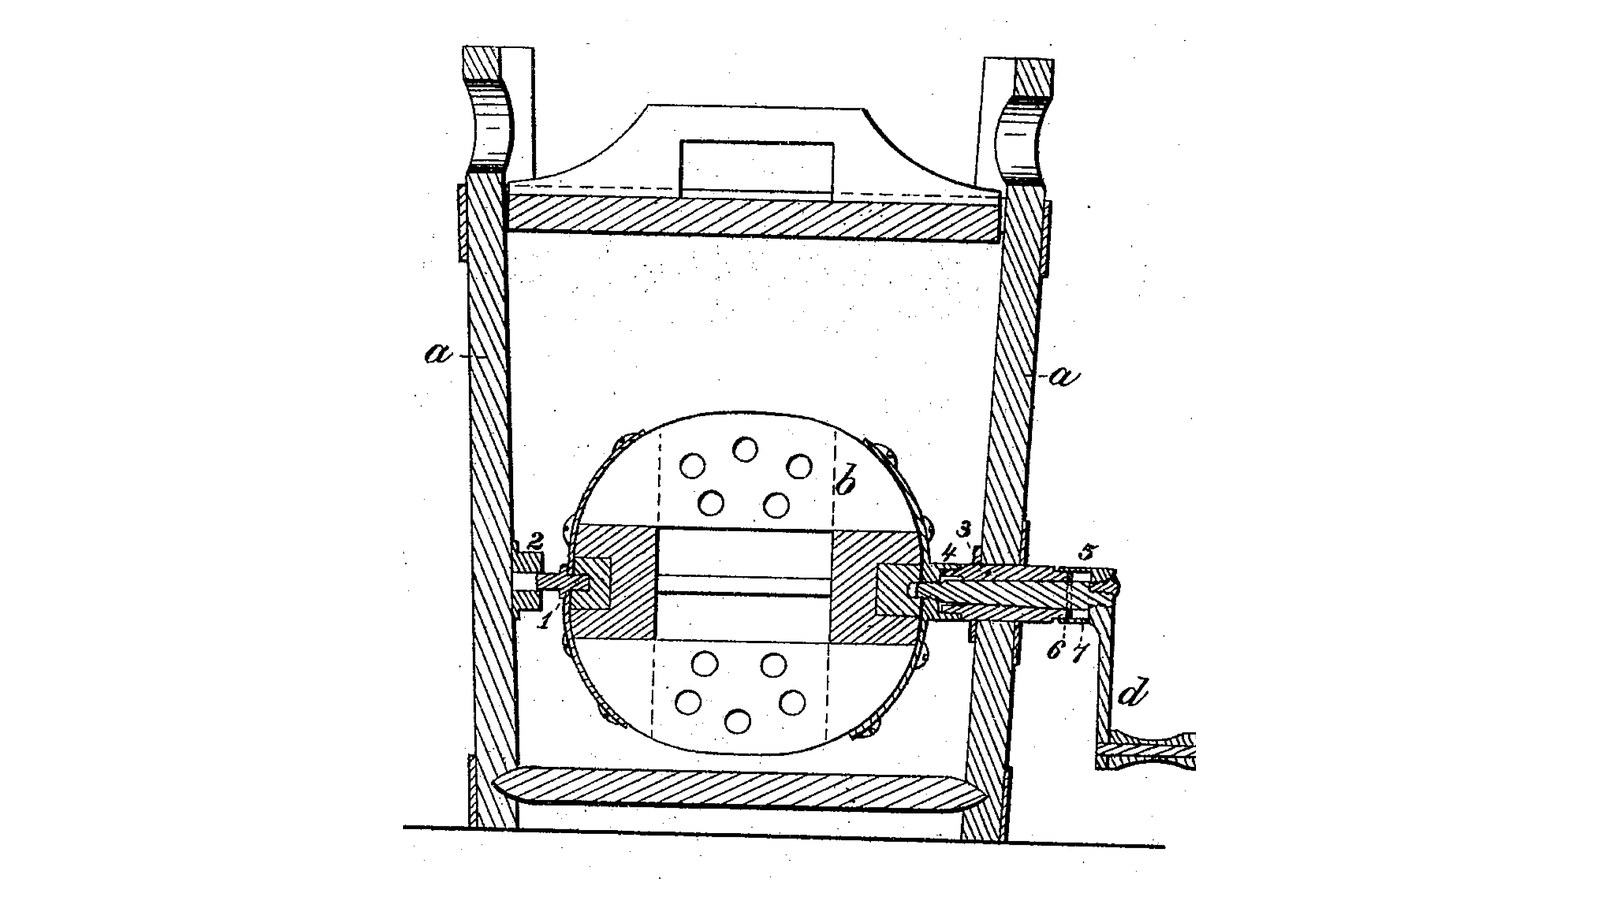

Sealed Screw-Axis Drum Churn: The Dasher's Axis Screws Into It Through a Pipe in the Side, a Sprung Washer Keeps It Tight
Peter Dunwald of Corning, New York, received US 31,447, dated 19 February 1861, for the shaft of a churn whose perforated dasher turns on a horizontal axis. The axis passes through a pipe set in the churn's side and screws into a socket on the dasher, drawing the dasher tight against the pipe's inner end; at the outer end a washer, pressed by an india-rubber spring inside a cup on the crank, seals the pipe. Unscrew the crank and the dasher comes out for cleaning.
The patent gives no sizes; every size here is ours.
Средний
About 2 days
Инструкции
1
1
Two seals from one screw
Two seals from one screw
Загрузка блокнота Jupyter…
2
2
A dasher on a horizontal shaft through the end, two months before
A dasher on a horizontal shaft through the end, two months before
Pike's shaft runs through the end of a box and is set by thumb screws. Dunwald's screws into the dasher and seals itself.
3
3
Read US 31,447
Read US 31,447
"By this construction the act of screwing the axis c, into the part 4 draws the dasher tight against the inner end of the pipe 3, and the washer 6, sets with the spring pressure against the other end, keeping the axis water or milk tight. By unscrewing the axis c, the dasher can be removed when required."
4
4
Print the pipe collars (two)
Print the pipe collars (two)
A collar 40 mm across and 7 thick with a 20.1 mm bore, one each side of the bucket's wall round the pipe 3. Print two. PETG, 0.2 mm layers, 30 % infill, 4 walls.
5
5
Print the eye 2
Print the eye 2
The eye on the inside of the far wall: 40 mm across, 13 thick, with a 12.6 mm hole for the centre 1. PETG, 0.2 mm layers, 30 % infill, 4 walls.
6
6
Body a, pipe 3 and eye 2
Body a, pipe 3 and eye 2
Use a 20-litre food-grade bucket as the body a. Bore a 20.4 mm hole through one side, 170 mm above the inside floor, and a 12.6 mm hole opposite. Cut a 20 mm stainless tube with a 14 mm bore, 52 mm long, push it through the first hole between the two printed collars so 35 mm stands inside, and seal it all with silicone. Screw the eye 2 inside over the opposite hole with silicone, and seal the hole outside. Cut an HDPE lid to the top.
Материалы для этого шага:
 Ведро на 20 литров1 штука
 Труба из нержавеющей стали1 штука
 Филамент PETG1 штука
 Силиконовый герметик1 штука
 Шурупы по дереву4 штук
 Лист ПНД1 штука
Необходимые инструменты:
 3D-принтер FDM
 Набор перовых свёрл
 Аккумуляторная дрель
 Набор свёрл
 Ножовка по металлу
 Напильники (ручной напильник)
 Набор отвёрток
 Электролобзик
 Компас
7
7
Print the socket 4
Print the socket 4
The socket on the dasher's hub: 22 mm across and 30 long with a flange, a 21 mm recess 5.5 deep for the pipe's end, and a hexagon pocket for an M12 nut behind it. PETG, 0.2 mm layers, 30 % infill, 4 walls.
8
8
Dasher b with socket 4 and centre 1
Dasher b with socket 4 and centre 1
Turn two hardwood ends 180 mm across and 20 thick, each with a boss 70 mm across and 20 long on its inner face and a hub 50 mm across standing out 10 mm (pipe side) or 8 mm (far side). Bore eight 15 mm holes through each end on a 120 mm circle. Roll a sheet of stainless 164 mm wide into a drum 180 mm across, drill three rings of twelve 15 mm holes in it, and rivet it round the ends. Bore the pipe-side hub 22 mm, 30 deep, and glue in the socket 4 with an M12 nut pressed into its pocket. Drive a 12 mm stainless pin 40 mm long into the far hub as the centre 1.
Материалы для этого шага:
 Доска из твёрдой древесины1 штука
 Лист нержавеющей стали1 штука
 Вытяжные заклёпки24 штук
 Шестигранная гайка1 штука
 Столярный клей1 штука
 Пруток из нержавеющей стали1 штука
Необходимые инструменты:
 Токарный станок по деревуАккумуляторная дрельНабор свёрлНабор перовых свёрл
 Ножницы по металлу
 Набор заклёпочникаНожовка по металлу
9
9
Print the cylinder 5
Print the cylinder 5
The small cylinder on the handle: 32 mm across and 22 long, a 21 mm bore 19 deep for the pipe's end, washer and rubber spring, and a 12.1 mm hole for the axis. PETG, 0.2 mm layers, 30 % infill, 4 walls.
10
10
Axis c, washer 6, spring 7 and handle d
Axis c, washer 6, spring 7 and handle d
Cut a 12 mm stainless rod 93 mm long for the axis c. Thread its inner 15 mm M12 with the die, and turn it down to 10 mm for 8 mm where the washer sits, 24 to 32 mm from its outer end. Cut a stainless washer 6 to 20.6 mm across with a 10.2 mm hole, and a rubber washer 7 13 mm long (squeezed to 11), 20.6 across with a 13 mm hole, from natural rubber sheet. Cut a crank d of mild steel flat bar, 100 mm throw, with a hardwood handle, and bolt the cylinder 5 to it. To assemble: set the dasher in the bucket with its centre in the eye, push the axis through the pipe and screw it into the socket until the dasher is drawn up to the pipe's end; slide on the washer and rubber over the axis's narrow part, then the cylinder and crank, and pin the crank to the axis's end.
Материалы для этого шага:
Пруток из нержавеющей стали1 штука Плоская шайба1 штука
 Лист натурального каучука1 штука
 Полоса из малоуглеродистой стали1 штука
 Шканты из твёрдой древесины1 штука
 Шплинт1 штукаФиламент PETG1 штука
Необходимые инструменты:
3D-принтер FDM Набор метчиков и плашек
 Токарный станок по металлуНожовка по металлуНапильники (ручной напильник)
 Слесарные тискиАккумуляторная дрельНабор свёрлНабор отвёрток
11
11
The build in 3D
The build in 3D
FreeCAD model of this build, the bucket cut open: the pipe through the wall in its collars, the drum dasher with its socket and centre in the eye, the axis screwed into the socket, the washer, rubber spring, cylinder and crank.
12
12
Churn
Churn
Pour about 8 litres of heavy cream at about 15 °C, checked with the thermometer, into the bucket, so it stands below the pipe, and put on the lid. Turn the crank steadily, timing it. When the butter comes, take off the lid, pull the pin and the crank, unscrew the axis and lift the dasher out. Take out the butter, pour the buttermilk into a bowl, wash the butter in cold water until it runs clear, salt and weigh it.
Материалы для этого шага:
 Жирные сливки8 l
 Крупная морская соль1 штука
 Вода1 штука
Необходимые инструменты:
 Термометр с оставляемым щупом
 Секундомер
 Цифровые кухонные весы
 Большая миска из нержавеющей стали
13
13
Troubleshooting
Troubleshooting
Screw-axis churn troubleshooting.
Flow
Loading...
14
14
History and honest limits
History and honest limits
**Peter Dunwald** of Corning, Steuben County, New York, US 31,447, 19 February 1861, "Churn". He claimed "the axis c, provided with the washer 6, kept to the end of the pipe 3, by a spring 7, said axis c, screwing into the socket 4, on the dasher b", and did not claim the revolving dasher on a horizontal shaft. His one figure is printed turned on its side. He does not give the dasher's form beyond "perforated as usual"; ours is a riveted drum, his drawing shows a rounded one. The patent gives no sizes; every size here is ours.
Материалы
20- 1 штукаЗаполнитель
- 1 штукаЗаполнитель
- 2 штукЗаполнитель
- 1 штукаЗаполнитель
- 4 штукЗаполнитель
- 1 штукаЗаполнитель
- 1 штукаЗаполнитель
- 1 штукаЗаполнитель
- 24 штукЗаполнитель
- 1 штукаЗаполнитель
- 1 штукаЗаполнитель
- 1 штукаЗаполнитель
- 1 штукаЗаполнитель
- 1 штукаЗаполнитель
- Заполнитель
- 1 штукаЗаполнитель
- 1 штукаЗаполнитель
- Заполнитель
- 1 штукаЗаполнитель
- 1 штукаЗаполнитель
Требуемые инструменты
19- Заполнитель
- Заполнитель
- 1 vendor sell this, none ship to you yetЗаполнитель
- Заполнитель
- Заполнитель
- Заполнитель
- Заполнитель
- 1 vendor sell this, none ship to you yetЗаполнитель
- Заполнитель
- Заполнитель
- Заполнитель
- Заполнитель
- Заполнитель
- Заполнитель
- Заполнитель
- Заполнитель
- Заполнитель
- Заполнитель
- Заполнитель
Файлы дизайна
5По этому чертежу делают


Связанные чертежи
Эти чертежи делятся знаниями — техники, материалы или принципы
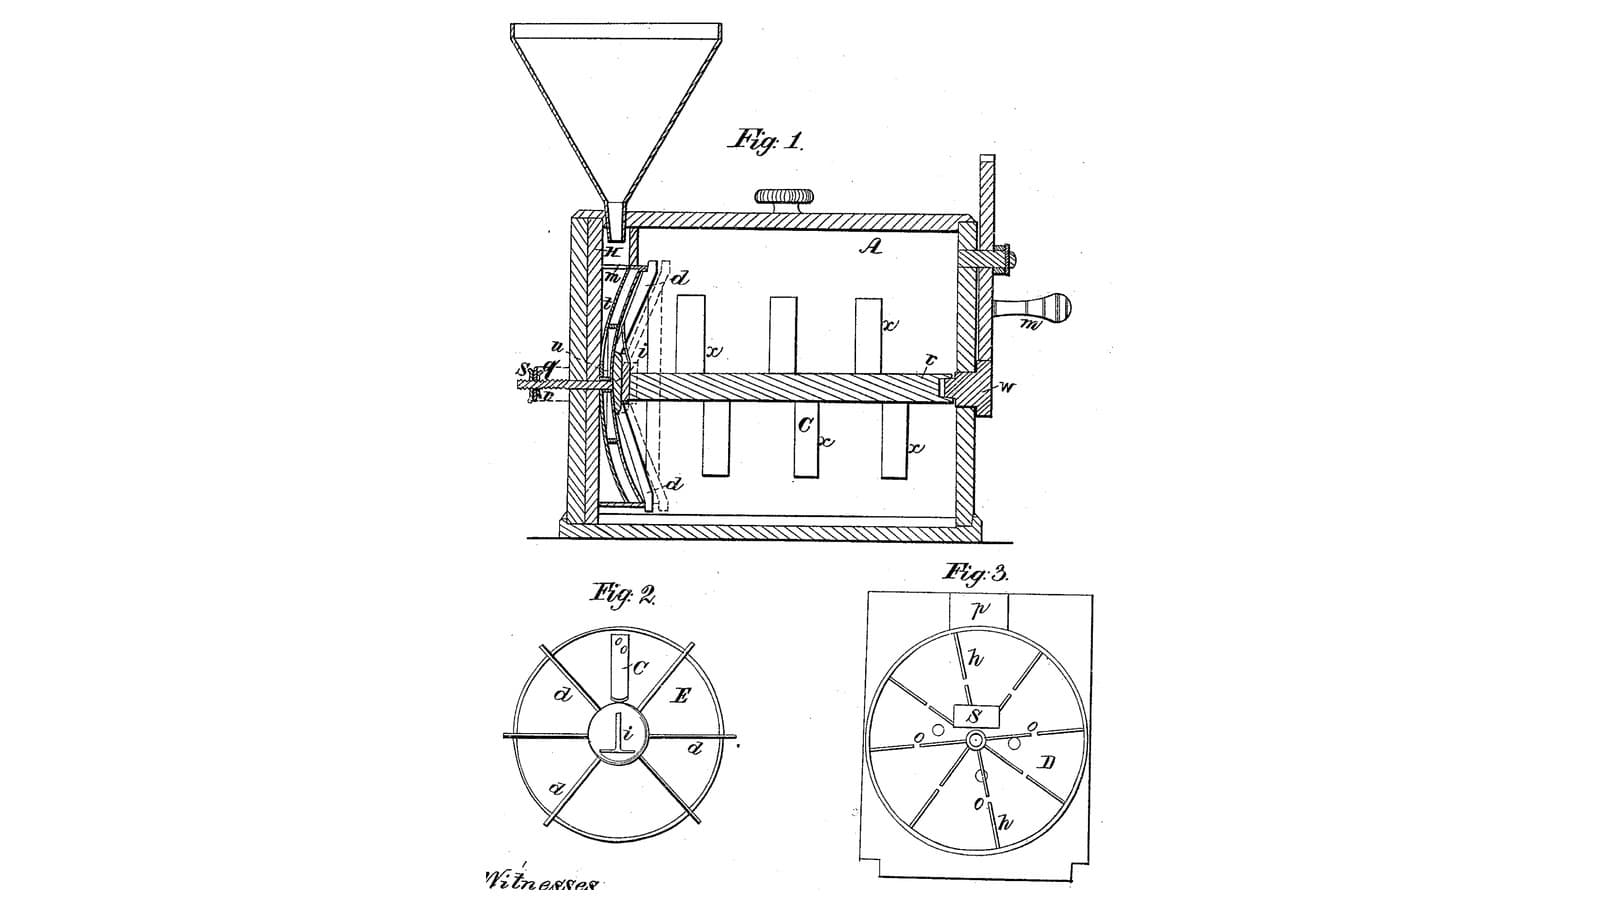
Adjustable-Dish Churn: Cream Is Poured Between a Fixed Ribbed Dish and a Turning One, Then Beaten by Wings and Dashers
от Buttercup
Деревообработка
1
0
0
0
0
0
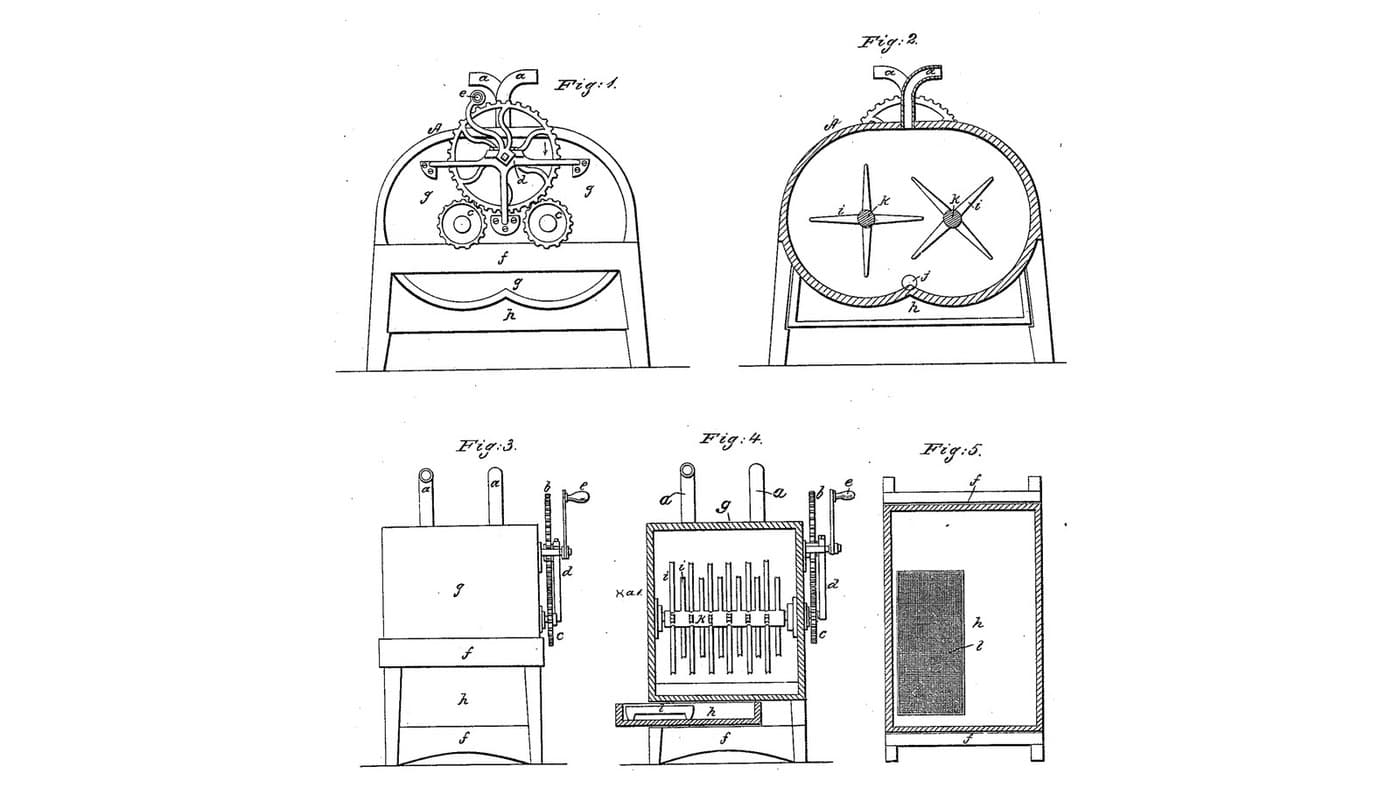
Double Rotary Crag Churn: Two Shafts of Four-Edged Arms Turn Through Each Other in Twin Half-Cylinders
от Buttercup
Деревообработка
3
0
0
0
0
0
Star Valve-Dash Churn: A Lever Drives a Close-Fitting Perforated Dash, Its Centre Valve Shuts Going Down and Opens Coming Up
от Buttercup
Деревообработка
0
0
0
0
0
0

Churning Butter from Cream — The 5,000-Year-Old Fat Separation
от TheChef
РЕМЕСЛО
60
0
0
0
0
0
CC0 Общественное достояние
Этот чертёж выпущен под лицензией CC0. Вы можете свободно копировать, изменять, распространять и использовать эту работу в любых целях без запроса разрешения.
Поддержите мейкера, покупая товары через его чертёж, где он получает Комиссию мейкера установленную продавцами, или создайте новую итерацию этого чертежа и включите его как связь в свой чертёж для распределения дохода.