ИСКУССТВО
КРАСОТА И ЗДОРОВЬЕ
РЕМЕСЛО
КУЛЬТУРА И ИСТОРИЯ
РАЗВЛЕЧЕНИЯ
ЭКОЛОГИЯ
ЕДА И НАПИТКИ
ОБРАТНАЯ ИНЖЕНЕРИЯ
НАУКИ
СПОРТ
ТЕХНОЛОГИИ
НОСИМЫЕ УСТРОЙСТВА
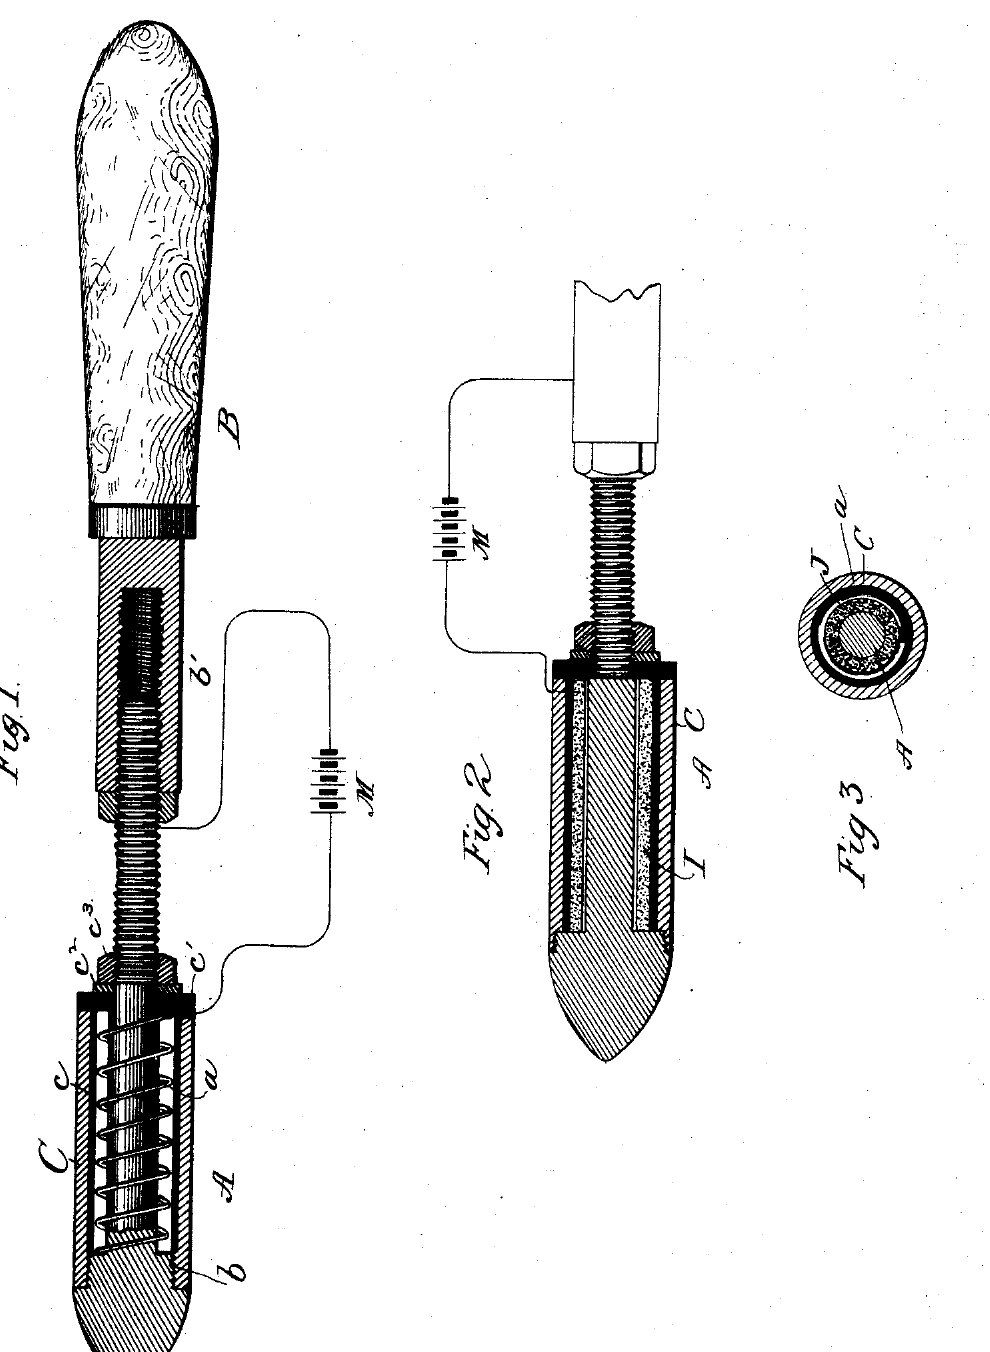


Electric Soldering Iron: Miner, 1890
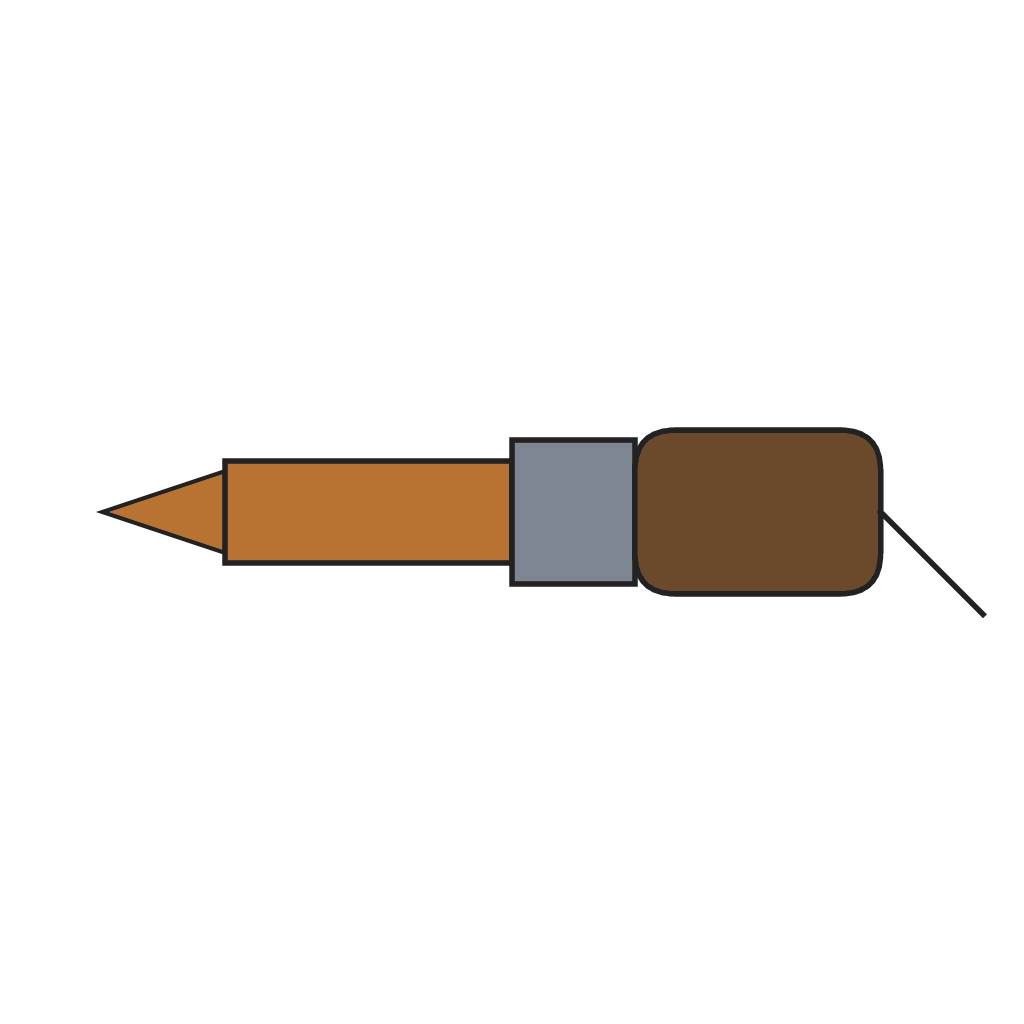
Earlier electric soldering irons heated a hollow copper head from inside, through finely divided carbon pressed against the tip, so the whole outside of the head lost heat to the air. Willard M. Miner of Plainfield, New Jersey, patented the alternative in 1890, US 421,185: keep the copper head solid, which holds its heat longer, and wind the heating resistance round the outside of it, under a shell that concentrates the heat on the copper and stops it escaping. The coil is German silver wire, wound round a reduced part of the head without touching it, with one end connected to the head and the other to the supply.
Средний
Workshop process
Инструкции
1
1
Turn the head
Turn the head
Turn a solid copper head with its point. A little back from the point, cut the head down to a smaller diameter for some distance, leaving a shoulder, and thread a shank at its rear end.
Материалы для этого шага:
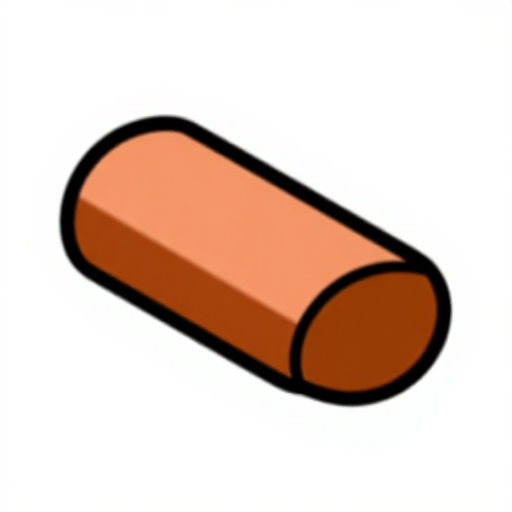 Медный круглый пруток1 штука
Необходимые инструменты:
 Токарный станок по металлу
2
2
Wind the coil
Wind the coil
Coil German silver wire round the reduced part of the head, the coil slightly larger than the head so the two do not touch. Connect one end of the coil to the head at the shoulder; the other end goes to the supply.
Материалы для этого шага:
 Проволока сопротивления из нейзильбера1 as required
Необходимые инструменты:
 Пассатижи
3
3
Shell
Shell
Slip on the shell, of brass lined with non-conducting material. Close its inner end with an insulating disc held by a washer and nut on the threaded shank.
Материалы для этого шага:
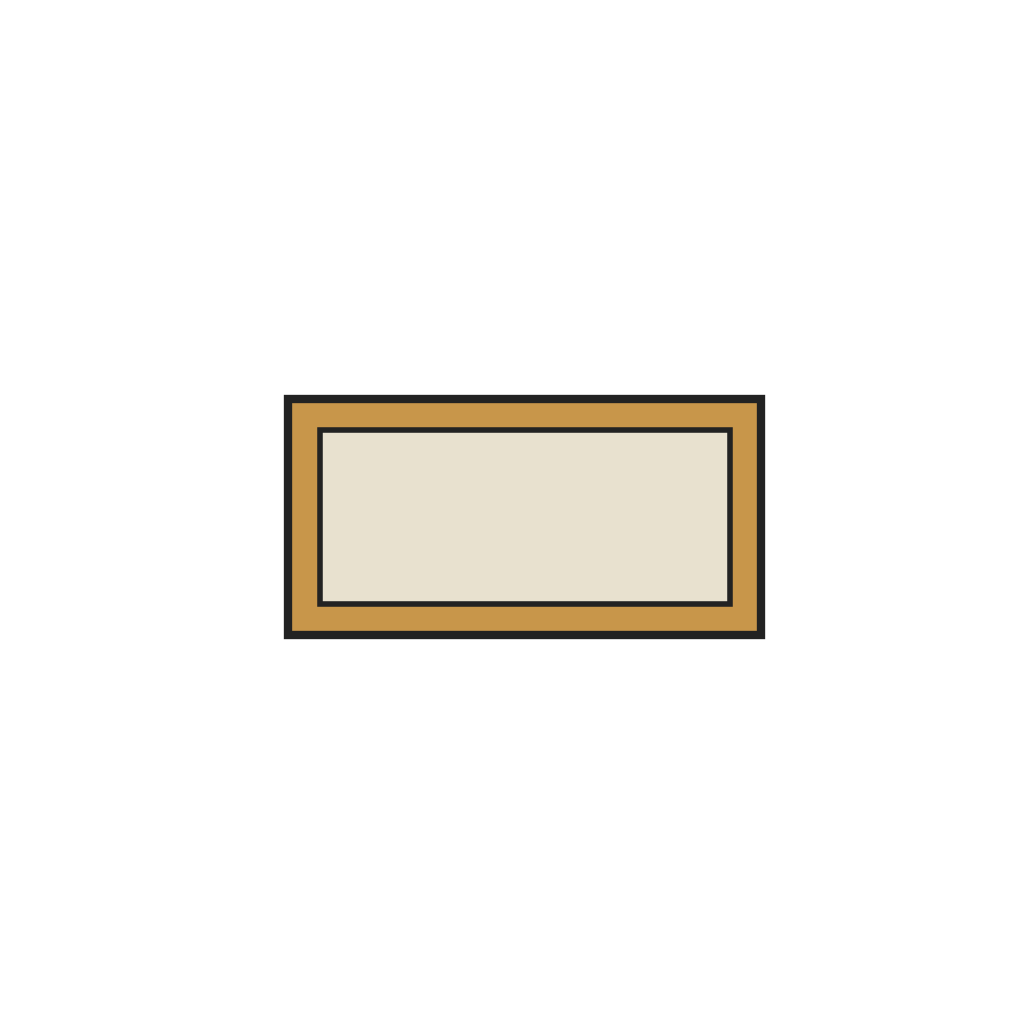 Латунный кожух с футеровкой1 штука
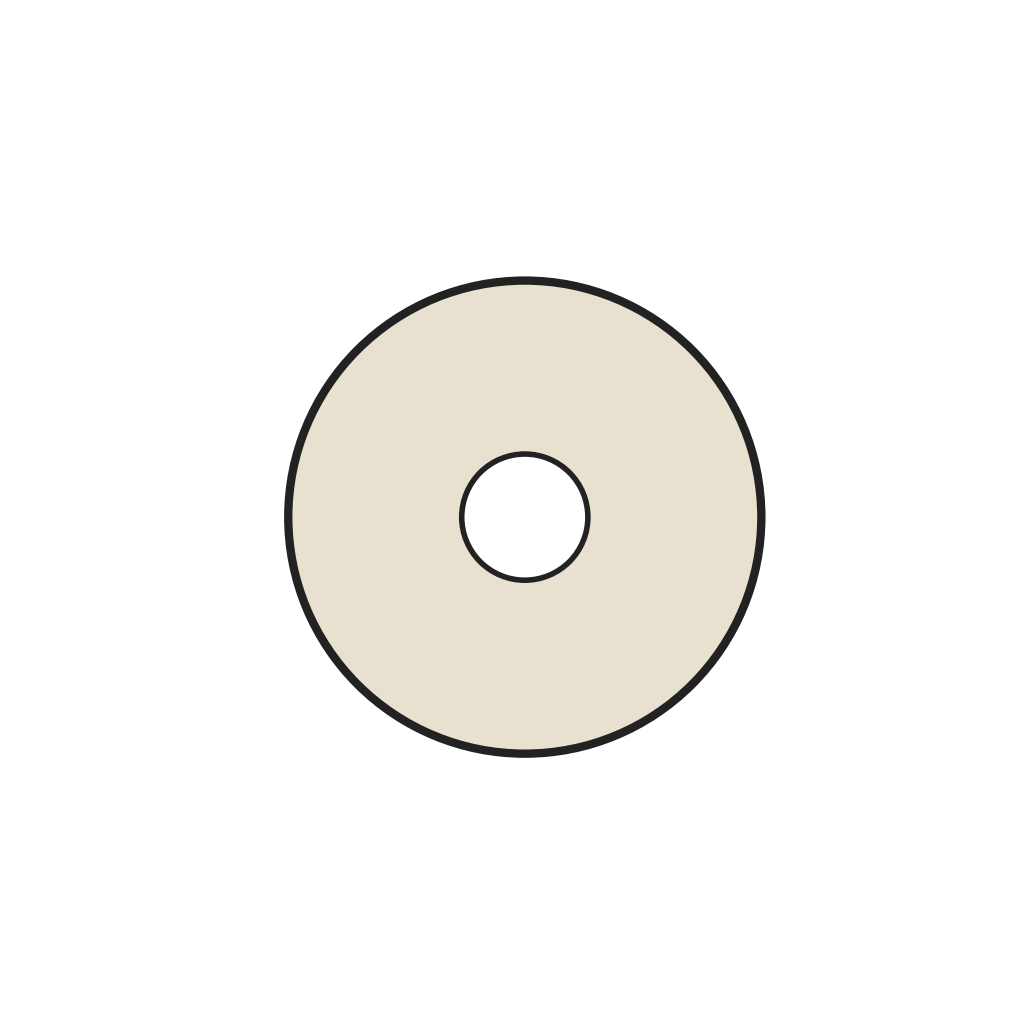 Изолирующий торцевой диск1 штука
Необходимые инструменты:
 Разводной ключ
4
4
Handle
Handle
Screw the shank into the metal socket in the handle, which takes the second connection.
Материалы для этого шага:
 Заготовка рукояти из твёрдой древесины1 штука
Материалы
5- 1 штукаЗаполнитель
- 1 as requiredЗаполнитель
- 1 штукаЗаполнитель
- 1 штукаЗаполнитель
- Заполнитель
Требуемые инструменты
3- Заполнитель
- Заполнитель
- Заполнитель
По этому чертежу делают
Связанные чертежи
Эти чертежи делятся знаниями — техники, материалы или принципы

CC0 Общественное достояние
Этот чертёж выпущен под лицензией CC0. Вы можете свободно копировать, изменять, распространять и использовать эту работу в любых целях без запроса разрешения.
Поддержите мейкера, покупая товары через его чертёж, где он получает Комиссию мейкера установленную продавцами, или создайте новую итерацию этого чертежа и включите его как связь в свой чертёж для распределения дохода.