Сотрудничество
ИСКУССТВО
КРАСОТА И ЗДОРОВЬЕ
РЕМЕСЛО
КУЛЬТУРА И ИСТОРИЯ
РАЗВЛЕЧЕНИЯ
ЭКОЛОГИЯ
ЕДА И НАПИТКИ
ОБРАТНАЯ ИНЖЕНЕРИЯ
НАУКИ
СПОРТ
ТЕХНОЛОГИИ
НОСИМЫЕ УСТРОЙСТВА
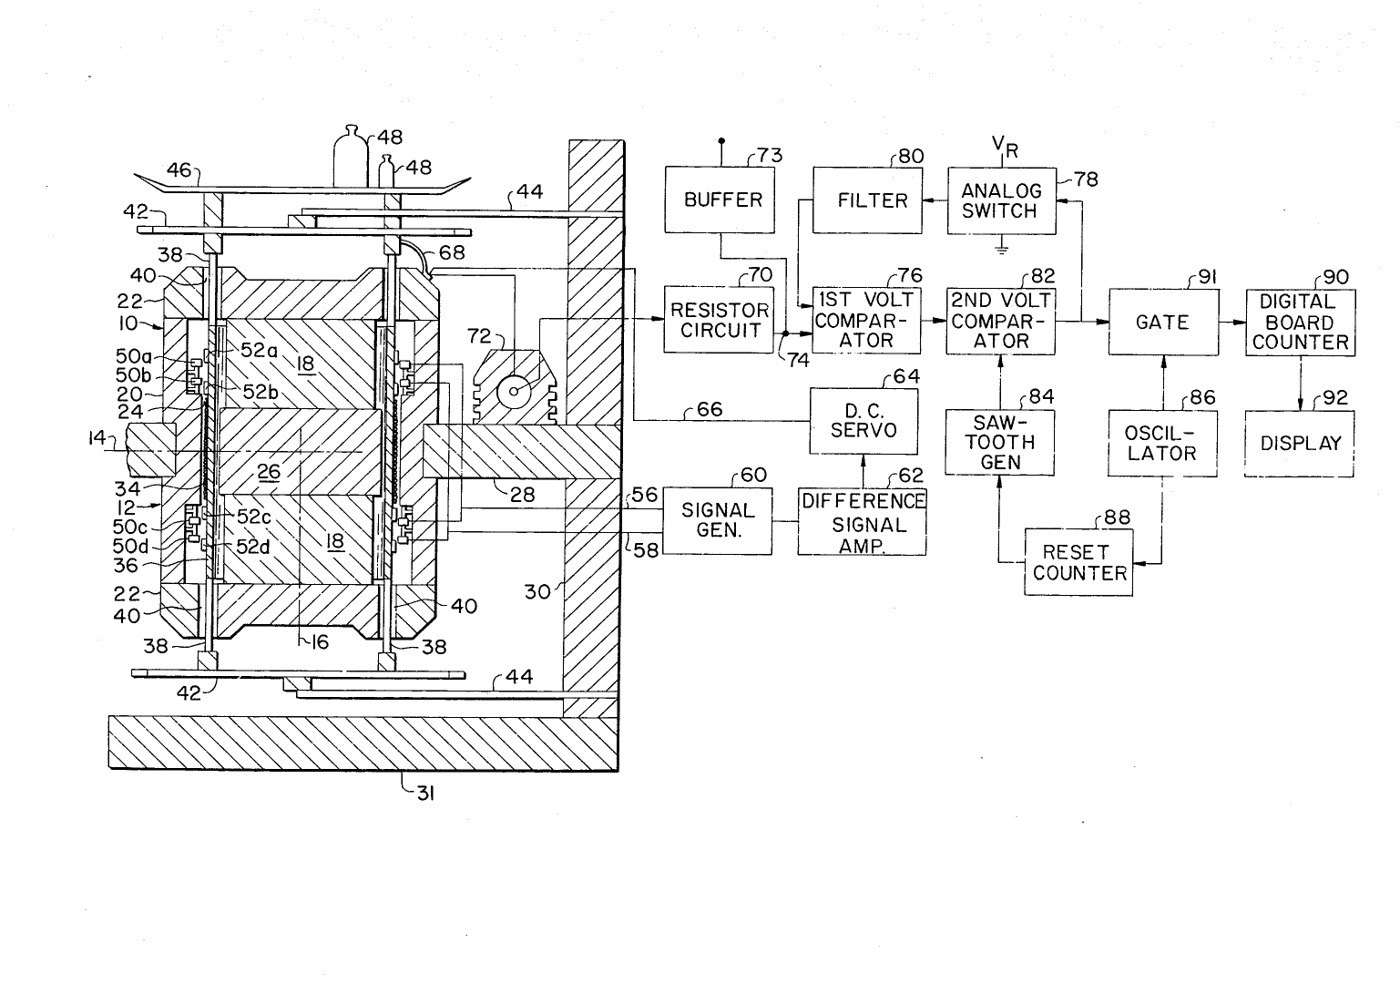


Electronic Analytical Balance: a Coil Current in Place of Weights (Akers et al., 1977)
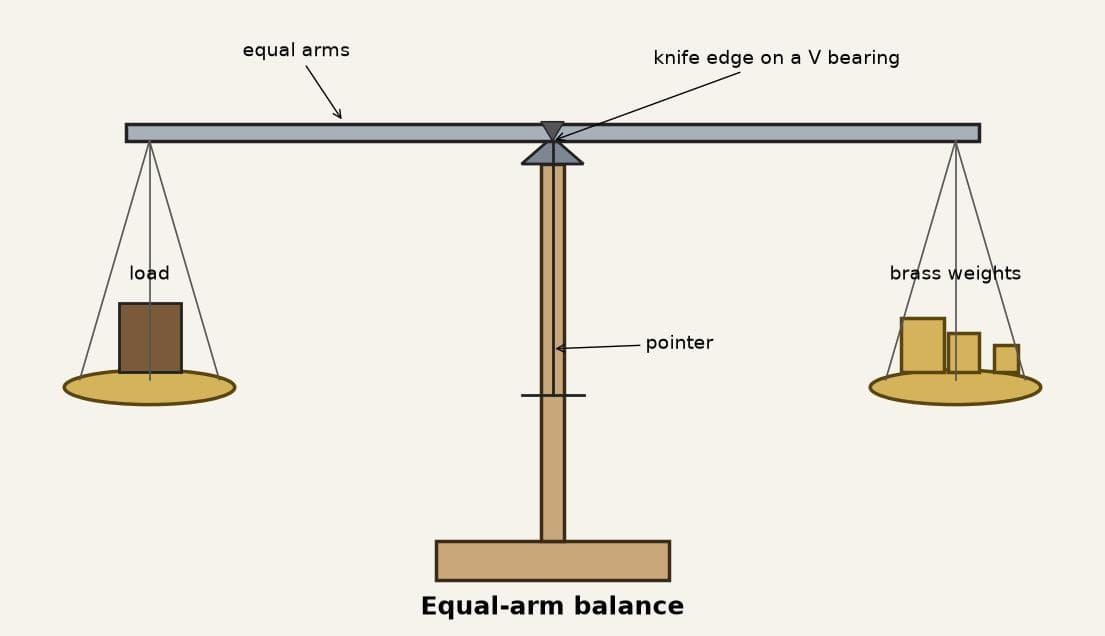
The equal-arm balance with its weights replaced by electricity. The pan sits on a coil in the gap of a permanent magnet. A load pushes it down; capacitor rings sense the smallest movement, and a servo drives just enough current through the coil to lift it back to its rest position. That current is the weight.
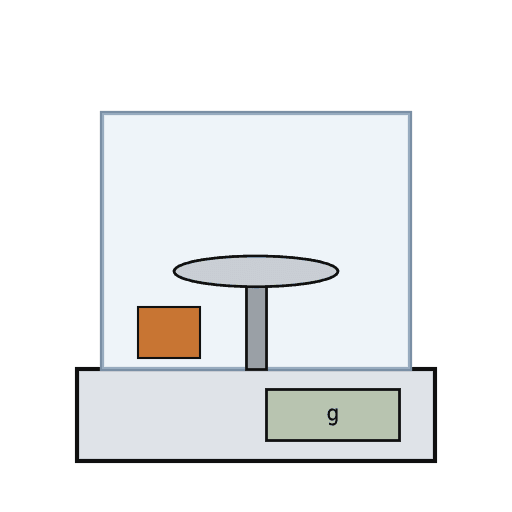
Result: a balance that reads the weight in grams or ounces on a digital display, with no weights to handle, and tare by its circuit.
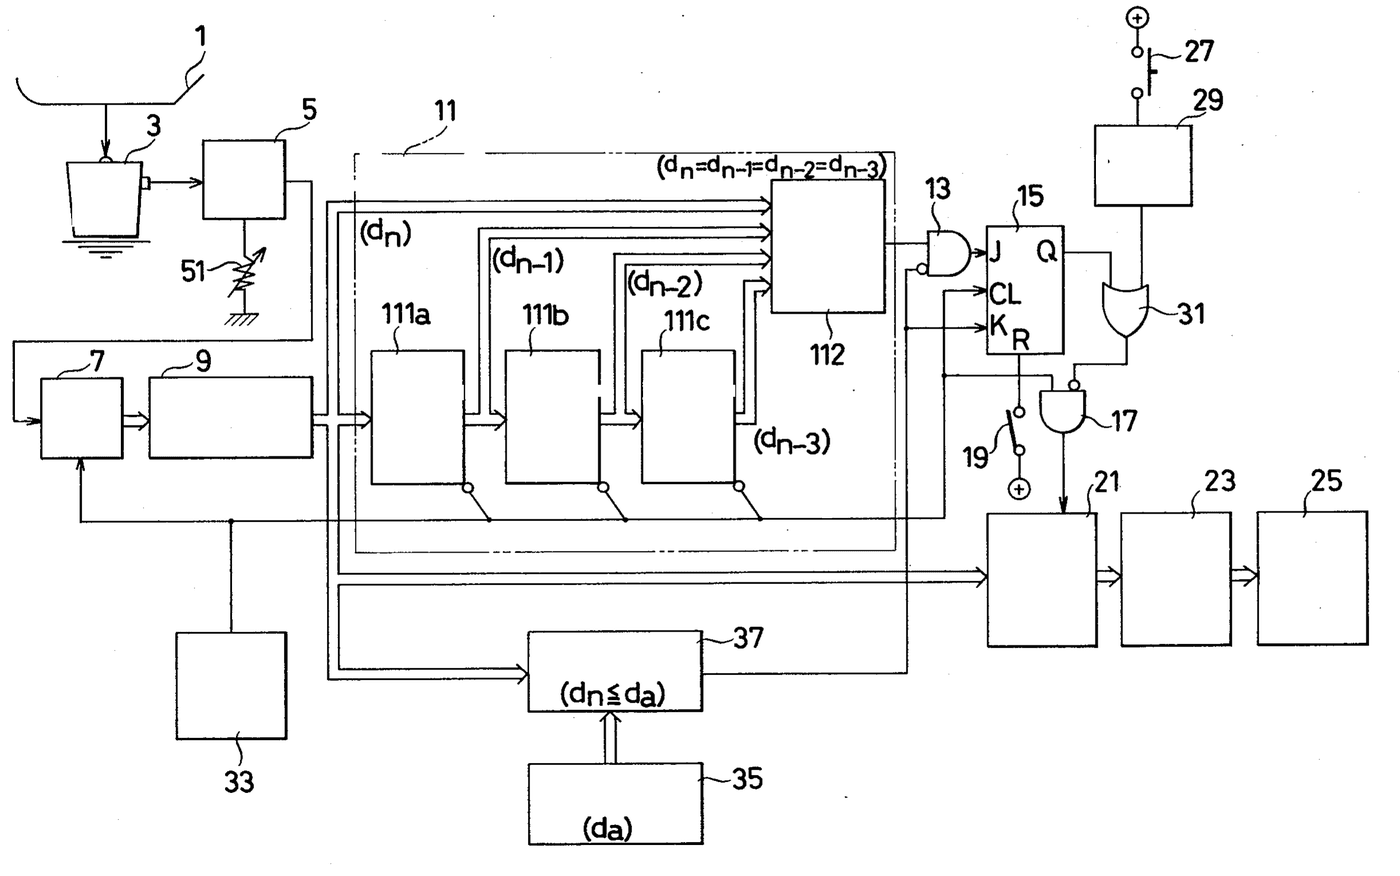
Source: C. B. Akers and others (Arbor Laboratories), US Patent 4,034,819 (1977). Unknown: the resolution, capacity, magnet type, materials and sizes; the circuits are given as blocks only. Picture: patent drawing.
Продвинутый
2 weeks
Инструкции
1
1
Build the magnet circuit
Build the magnet circuit
Stack permanent magnets into a column with a soft iron core. Enclose them in an annular outer housing with end caps, shaped so the field crosses a narrow annular air gap at a constriction. Keep the whole structure symmetrical about its vertical axis. Mount it on a support plate fixed to an upright, such as a housing panel on a base. Not given: the magnet type, materials and sizes.
Материалы для этого шага:
 Небольшой магнит1 column
 Круглый железный пруток1 soft iron core
 Неизвестный металл1 housing and end caps
 Неизвестный материал1 support plate, panel, base
Необходимые инструменты:
 Набор отвёрток
 Неизвестные размеры
2
2
Hang the coil in the gap
Hang the coil in the gap
Wind the coil tightly round the middle of a light bobbin that surrounds the core, the coil sitting in the air gap. Tabs at both ends of the bobbin pass out through holes in the end caps to suspension frames. Hang the frames from thin springy cantilevers fixed to the upright, so the bobbin can only move a short way straight up and down. Keep the bobbin and its suspension as light as possible. Put the weighing pan on top. Ours: enamelled wire.
Материалы для этого шага:
 Эмалированный медный провод1 coilНеизвестный материал1 bobbin, frames, cantilevers
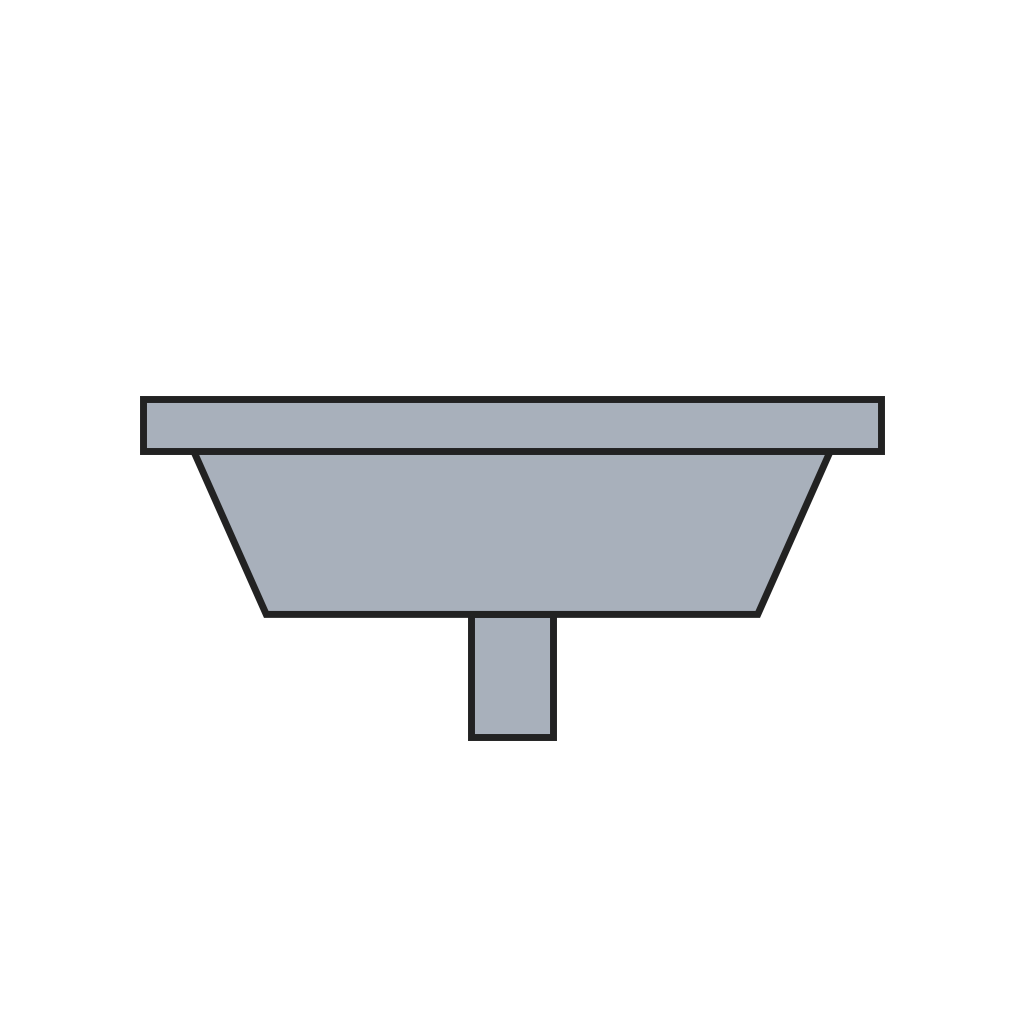 Весовая чашка1 штука
Необходимые инструменты:
Неизвестные размеры3
3
Fit the capacitor rings
Fit the capacitor rings
Mount four capacitor rings inside the outer housing, two above and two below the air gap, facing matching rings on the bobbin. Cross-connect them so a tilt of the bobbin cancels out and only up-and-down movement shows. Connect them to a signal generator: as the bobbin moves, one set's capacitance rises and the other's falls, and the difference becomes the control voltage.
Материалы для этого шага:
Неизвестный металл1 rings Интегральная микросхема1 sensing circuit
 Монтажный провод1 штука
 Проволочный припой1 a little
Необходимые инструменты:
 Паяльник
4
4
Close the servo loop and read the current
Close the servo loop and read the current
Feed the control voltage to a d.c. servo that drives current through the coil, through a flexible lead, until the bobbin is back at its rest position. Pass that current through a large stable resistor, a thermal resistor that corrects for temperature and a calibration potentiometer: the voltage across them stands for the weight. A separate circuit (comparators, saw-tooth generator, oscillator and counter) turns it into a count read out as grams or ounces. Tare is ordinary circuit logic. Ours: a segment LCD; check with calibration weights.
Материалы для этого шага:
Интегральная микросхема1 servo and counting circuits Сопротивление2 stable resistor, thermal resistor
 Потенциометр1 calibration
 Сегментный ЖК-индикатор1 displayПроволочный припой1 a little
Необходимые инструменты:
Паяльник Набор калибровочных гирь
Материалы
12- 1 columnЗаполнитель
- 1 soft iron coreЗаполнитель
- 1 ringsЗаполнитель
- 1 bobbin, frames, cantileversЗаполнитель
- Заполнитель
- 1 штукаЗаполнитель
- 1 servo and counting circuitsЗаполнитель
- 1 штукаЗаполнитель
- 2 a littleЗаполнитель
- 2 stable resistor, thermal resistorЗаполнитель
- Заполнитель
- 1 displayЗаполнитель
Материалы из связанных чертежей
По этому чертежу делают
Связанные чертежи
Эти чертежи делятся знаниями — техники, материалы или принципы
CC0 Общественное достояние
Этот чертёж выпущен под лицензией CC0. Вы можете свободно копировать, изменять, распространять и использовать эту работу в любых целях без запроса разрешения.
Поддержите мейкера, покупая товары через его чертёж, где он получает Комиссию мейкера установленную продавцами, или создайте новую итерацию этого чертежа и включите его как связь в свой чертёж для распределения дохода.