
Сотрудничество
ИСКУССТВО
КРАСОТА И ЗДОРОВЬЕ
РЕМЕСЛО
КУЛЬТУРА И ИСТОРИЯ
РАЗВЛЕЧЕНИЯ
ЭКОЛОГИЯ
ЕДА И НАПИТКИ
ОБРАТНАЯ ИНЖЕНЕРИЯ
НАУКИ
СПОРТ
ТЕХНОЛОГИИ
НОСИМЫЕ УСТРОЙСТВА
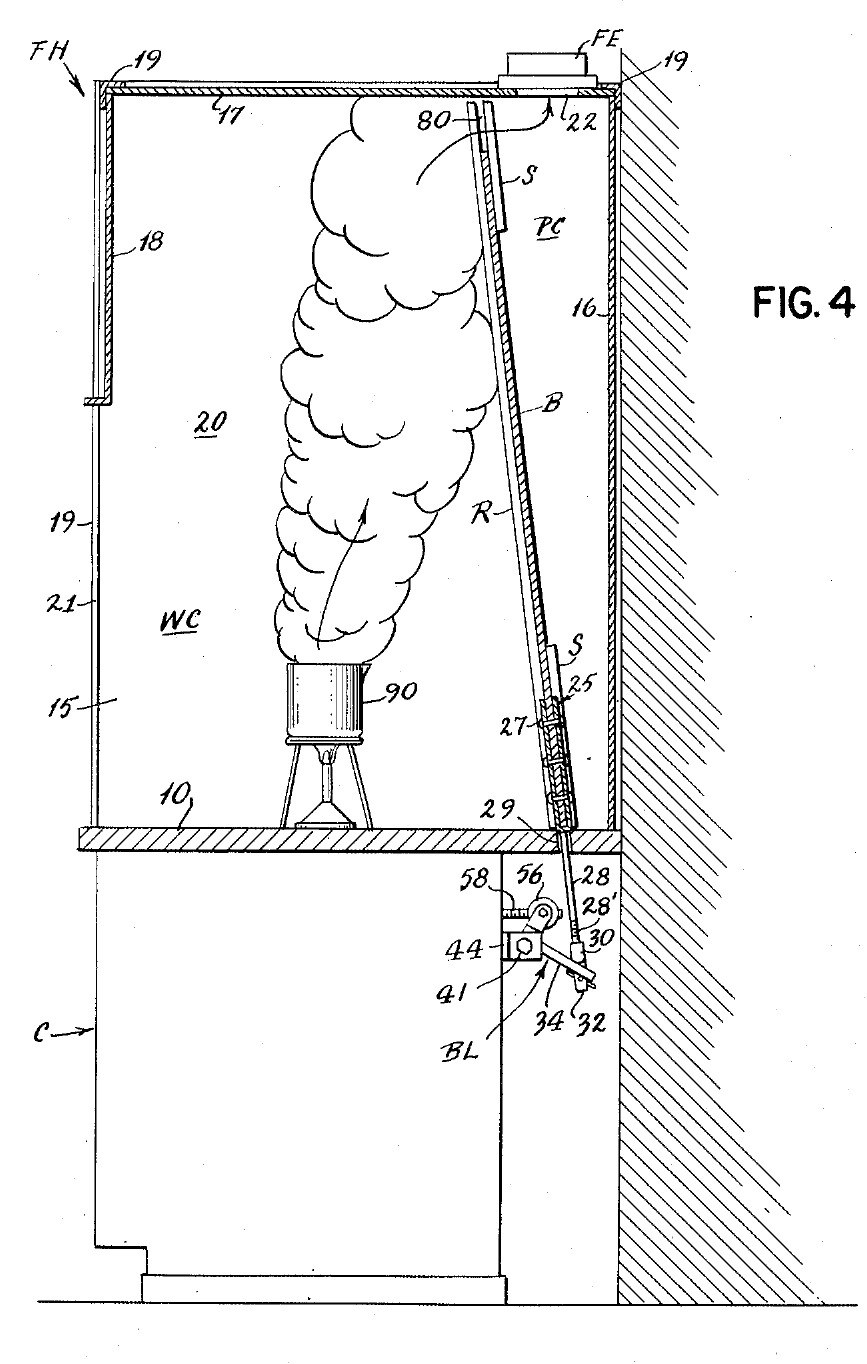
Fume Hood (Ducted): Sloping Stone Baffle Set from Outside by a Crank (Liptay, US 2,779,265, 1957)
Penny

Создано

Penny

3. ноябрь 2026DK
7
0
0
0
0

Fume Hood (Ducted): Sloping Stone Baffle Set from Outside by a Crank (Liptay, US 2,779,265, 1957)

A bench fume hood on a stone counter, drawn off through a duct with a fan. Inside, a sloping stone baffle leaves a gap at the top and one at the bottom. A crank under the counter slides the baffle: one gap grows as the other shrinks, so the air sweeps light fumes out at the top or heavy fumes out at the bottom, with no one reaching inside. Result: a ducted hood whose air flow can be set for light or heavy fumes during work. Source: J. M. Liptay, US 2,779,265 (1957). Unknown: sizes, air flow, the fan and most materials. Picture: the patent drawing.
Продвинутый
Unknown

Инструкции

1

Build the cabinet and stone counter

Build a sheet metal cabinet. Fix spaced sheet metal channels to its front panel and rear wall, and lay a stone slab on them as the counter. Bore a hole through the slab near the back, at the middle, for the baffle's lifting rod. Not given: sizes, the metal.

Материалы для этого шага:

Неизвестный металлНеизвестный металл1 cabinet and channels
Плоская каменная плитаПлоская каменная плита1 counter

Необходимые инструменты:

Ножницы по металлуНожницы по металлу
Сверлильный станокСверлильный станок
Неизвестные размерыНеизвестные размеры
2

Build the hood

On the counter, make a frame of corner angle irons. Fix to it two sides, a rear wall, a roof and a front panel. Leave the front open below the front panel: this is the large opening where you work and where air comes in. Cut the fume outlet in the roof, towards the back. Not given: the panel material, sizes.

Материалы для этого шага:

Уголок из мягкой сталиУголок из мягкой стали1 corner frame
Неизвестный материалНеизвестный материал1 sides, rear wall, roof, front panel

Необходимые инструменты:

Ножовка по металлуНожовка по металлу
Неизвестные размерыНеизвестные размеры
3

Fit the exhaust pipe and fan

Fix an exhaust pipe over the roof outlet, with a fan in it, to draw the fumes out. Not given: the pipe, the fan, the air flow.

Материалы для этого шага:

ВоздуховодыВоздуховоды1 exhaust pipe
ВоздуходувкаВоздуходувка1 fan

Необходимые инструменты:

Разводной ключРазводной ключ
4

Fit the sloping baffle

Make a solid stone baffle almost as wide as the hood. Set it sloping up and forward from the rear wall, so it splits the inside into the work space in front and a duct behind that widens upward to the outlet. Guide it on sloping rails in front and strips behind, fixed to the sides, so it can slide. Leave a gap between its top and the roof, and one between its bottom and the counter. Not given: the rails' metal, sizes.

Материалы для этого шага:

Плоская каменная плитаПлоская каменная плита1 baffle
Неизвестный металлНеизвестный металл1 rails and strips

Необходимые инструменты:

Неизвестные размерыНеизвестные размеры
5

Make the lifting rod

Cut a notch in the middle of the baffle's lower edge. Make a V-shaped yoke whose legs straddle the baffle front and back, rivet the legs to it, and give the yoke a rod that hangs down through the hole in the counter. Thread the rod's lower end. Not given: the metal.

Материалы для этого шага:

Неизвестный металлНеизвестный металл1 yoke, rod, rivets

Необходимые инструменты:

Клепальный наборКлепальный набор
Набор метчиков и плашекНабор метчиков и плашек
6

Fit the bell crank

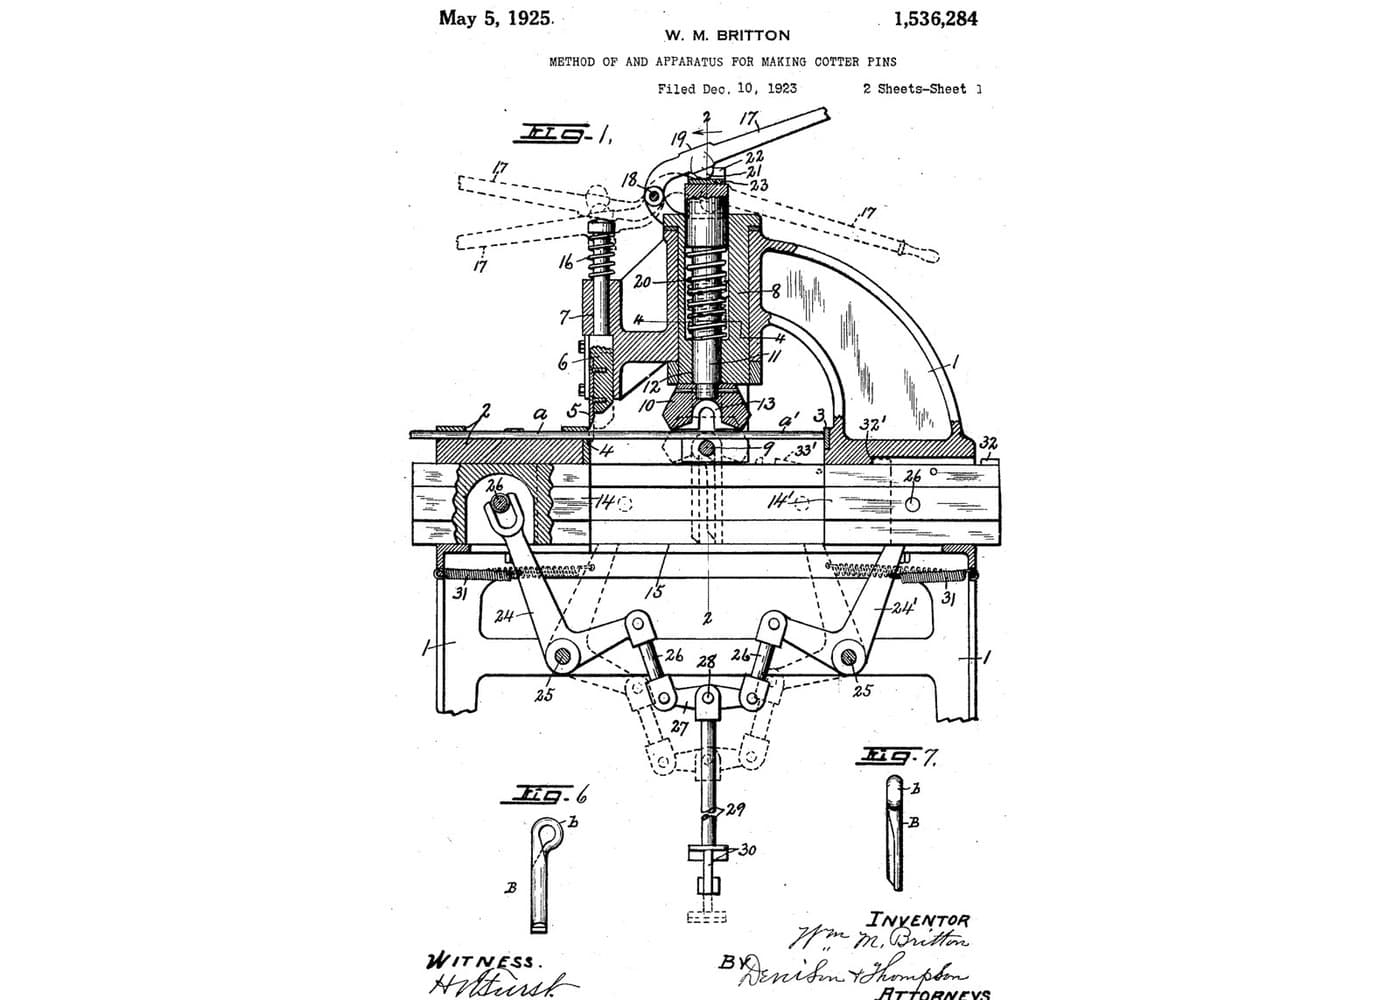
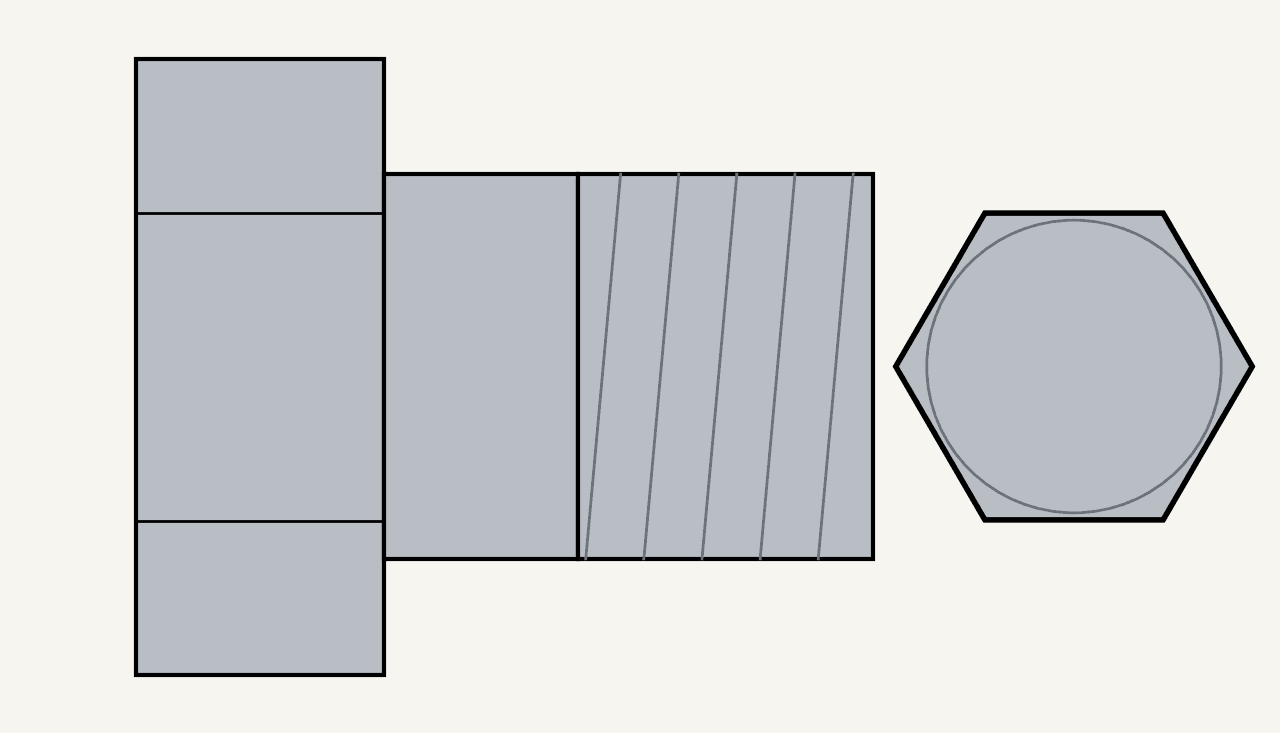
Under the counter, pivot a bell crank lever on a bolt through the lugs of a bracket fixed to the cabinet's rear channel. Screw a coupling onto the rod's threaded end. The coupling's two curved lips rock on the lever's long arm, and its tongue hangs through a slot in the arm, held by a cotter pin. On the short arm, a yoke turns on two bolts set fast in the threaded cross-holes of a round nut. Ours: hex bolts and nuts.

Материалы для этого шага:

Угловой рычагУгловой рычаг1 bell crank
Неизвестный металлНеизвестный металл1 bracket, coupling, round nut

Набор шестигранных болтовНабор шестигранных болтов3 штук
Шестигранная гайкаШестигранная гайка1 штука
ШплинтШплинт1 штука

Необходимые инструменты:

Набор метчиков и плашекНабор метчиков и плашек
Разводной ключРазводной ключ
7

Fit the crank and set the baffle

Screw a metal operating rod through the round nut and run it forward to the cabinet front. Screw its front socket onto the shaft of a hand crank and pin it with a cotter pin. Weld an angle iron to the inside of the front panel to stiffen it. Clamp a bushing through the panel with a nut, and set a ball bearing between two rings on the shaft, between the bushing and the crank. Turning the crank tips the bell crank, which raises the rod and baffle or lets them slide down by their own weight: as one gap grows the other shrinks. Air comes in at the front; the upper stream carries light fumes to the top gap, the lower stream heavy fumes to the bottom gap. Open the top fully for light fumes, the bottom fully for heavy ones, or set any point between, without reaching inside. A sliding safety sash may be fitted over the front opening, to watch dangerous reactions safely.

Материалы для этого шага:

Неизвестный металлНеизвестный металл1 operating rod, crank, bushing
ШплинтШплинт1 штука
Шестигранная гайкаШестигранная гайка1 штука
Уголок из мягкой сталиУголок из мягкой стали1 stiffener
Упорный шарикоподшипникУпорный шарикоподшипник1 штука

Необходимые инструменты:

Сварочный аппарат дуговой сваркиСварочный аппарат дуговой сварки
Набор метчиков и плашекНабор метчиков и плашек
Разводной ключРазводной ключ

Материалы

11

Требуемые инструменты

8

Связанные чертежи

Эти чертежи делятся знаниями — техники, материалы или принципы

CC0 Общественное достояние

Этот чертёж выпущен под лицензией CC0. Вы можете свободно копировать, изменять, распространять и использовать эту работу в любых целях без запроса разрешения.

Поддержите мейкера, покупая товары через его чертёж, где он получает Комиссию мейкера установленную продавцами, или создайте новую итерацию этого чертежа и включите его как связь в свой чертёж для распределения дохода.

Обсуждение

(0)

Войти чтобы присоединиться к обсуждению

Загрузка комментариев...