ИСКУССТВО
КРАСОТА И ЗДОРОВЬЕ
РЕМЕСЛО
КУЛЬТУРА И ИСТОРИЯ
РАЗВЛЕЧЕНИЯ
ЭКОЛОГИЯ
ЕДА И НАПИТКИ
ОБРАТНАЯ ИНЖЕНЕРИЯ
НАУКИ
СПОРТ
ТЕХНОЛОГИИ
НОСИМЫЕ УСТРОЙСТВА
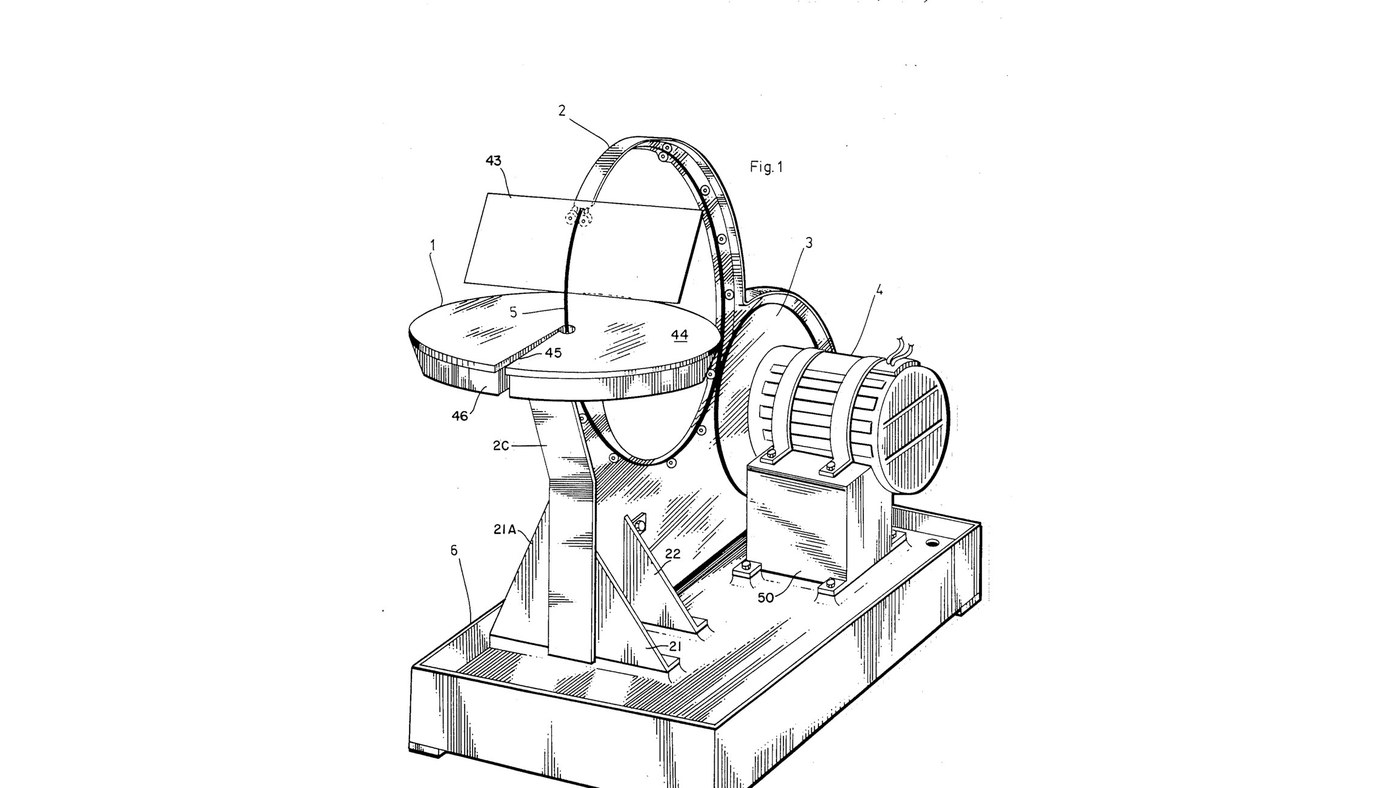


Glass Saw: Rigid Diamond Wire Ring Driven by Its Rim
Jesse Cogswell's ring saw (US 4,576,139, 1986) for glass, ceramics and stone. The blade is a rigid circle of wire coated with bonded diamond, standing upright through a cutting table. A rubber-tyred wheel on the motor drives it by friction round its own rim at 3000 ft/min or more, and twelve guide wheels on slots round an aluminium back-plate hold it true. Because it cuts with any part of its rim, the work can be turned freely for curves and inside shapes; a sponge in a water tray wets the wire.
The patent sizes the ring from the thickest work to be cut (8 in ring for 3/16 in); the notebook does the sums. The picture: the patent's Fig. 1.
Продвинутый
3 days
Инструкции
1
1
Cut and brace the back-plate
Cut and brace the back-plate
Cut the back-plate (2A) from aluminium plate, its upper part curved as an arc to shield the saw, stiffened by an angle (2B) along the top and a flat splatter strip (2C) at the front. Bolt on two front struts (21, 21A) and two side struts (22) and bolt them to the base. Ours: drill press.
Материалы для этого шага:
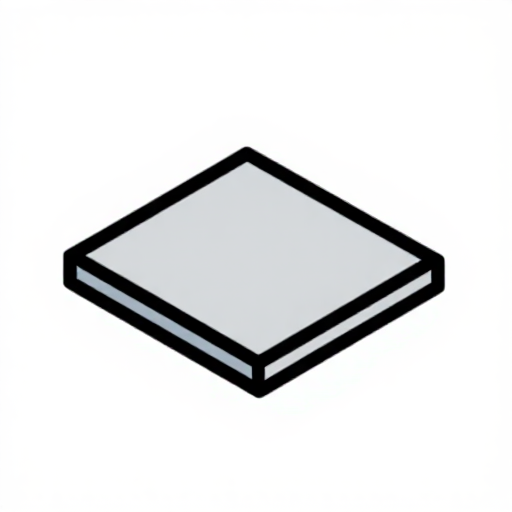 Алюминиевая пластина1 штука
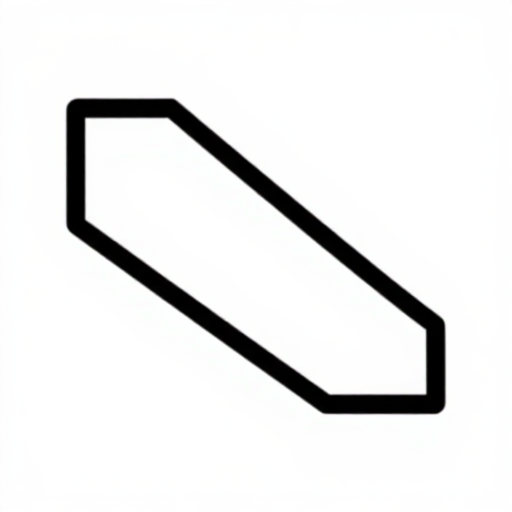 Алюминиевый уголок1 штука
 Болт с шестигранной головкой - класс 8.81 штука
Необходимые инструменты:
 Сверлильный станок
 Разводной ключ
2
2
Cut the wheel-slider apertures
Cut the wheel-slider apertures
Cut slots (32) through the back-plate's arc at 0, 30, 60, 90, 120, 210, 240, 270, 300 and 330° round the ring's centre: two slots at 90° and 210° for the guide pairs, one at each of the others. The slots let each guide wheel slide to the ring.
Необходимые инструменты:
Сверлильный станок3
3
Assemble the guide wheels
Assemble the guide wheels
For each of the twelve guide wheels, stretch two rubber O-rings (27) into the grooves of a bearing wheel (26) with sealed roller bearings, and mount it on a shoulder bolt (28) with a washer, lockwasher and nut.
Материалы для этого шага:
 Направляющий ролик12 штук
 Уплотнительное кольцо круглого сечения24 штук
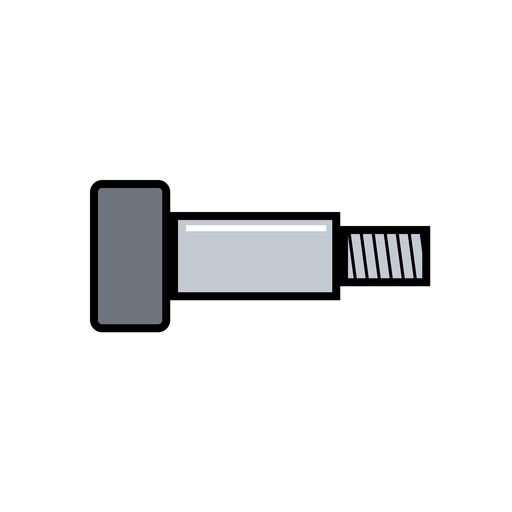 Винт с буртиком12 штук
 Плоская шайба12 штук
 Spring Washer12 штук
 Шестигранная гайка12 штук
Необходимые инструменты:
Разводной ключ4
4
Turn the drive wheel
Turn the drive wheel
Turn an aluminium disk with a hub, a bored axle hole and a deep groove round its rim, and seat a large rubber O-ring (23) in the groove as its driving tyre. Ours: lathe.
Материалы для этого шага:
Алюминиевая пластина1 штукаУплотнительное кольцо круглого сечения1 штукаНеобходимые инструменты:
 Токарный станок по металлу
5
5
Mount the motor and drive axle
Mount the motor and drive axle
Strap the electric motor (51) onto its pillow block (50) with fastening bands (52) and bolt the block to the base. Fix the drive wheel on the motor's axle (24) and carry the axle's end in an axle pillow block (24A, 24B).
Материалы для этого шага:
 Электродвигатель1 штука
 Крепёжный хомут двигателя2 штук
 Корпус подшипника2 штук
 Стальной вал1 штукаБолт с шестигранной головкой - класс 8.81 штука
Необходимые инструменты:
Разводной ключ6
6
Fit the ring and its guides
Fit the ring and its guides
Stand the ring saw on the drive wheel's tyre. Bolt the guide wheels through their slots: each pair with a tension spring between its two wheels, each single with a spring to the back-plate's lower rim, the one at 330° pressing the ring onto the drive wheel. Set them against the ring, then tighten the nuts. Fit two horizontal roller-guides (17) at 150°, sprung together, just before the cut.
Материалы для этого шага:
 Кольцевое алмазное пильное полотно1 штука
 Пружина растяжения11 штукНаправляющий ролик2 штук
Необходимые инструменты:
Разводной ключ7
7
Fit the table, tray and sponge
Fit the table, tray and sponge
Bolt the water tray (46) on four bracket supports (19, 20) by its four studs; put a ring-shaped sponge (47) in it and the cutting table (44) over it, the ring passing through centre holes reached by slots offset half an inch from a radius. Set the table top below the ring's centre line by the thickest work you will cut. Add water to the tray.
Материалы для этого шага:
 Поднос1 штука
 Губка1 штукаАлюминиевая пластина1 штука
 Вода1 batch
Необходимые инструменты:
Разводной ключ8
8
Fit the face shield and drip pan
Fit the face shield and drip pan
Bolt the shield arm (41) to the back-plate and pivot a clear acrylic face shield (43) in its holder (42) on a locking screw. The base is a catchment for the coolant with a drain hole in one corner.
Материалы для этого шага:
 Акриловый лист1 штукаАлюминиевая пластина1 штука
 Поддон для капель1 штука
Необходимые инструменты:
Разводной ключ9
9
Ring size and drive speed
Ring size and drive speed
Загрузка блокнота Jupyter…
Материалы
20- 1 штукаЗаполнитель
- 1 штукаЗаполнитель
- Заполнитель
- 12 штукЗаполнитель
- Заполнитель
- 12 штукЗаполнитель
- 12 штукЗаполнитель
- 12 штукЗаполнитель
- 12 штукЗаполнитель
- 1 штукаЗаполнитель
- Заполнитель
- 2 штукЗаполнитель
- 1 штукаЗаполнитель
- Заполнитель
- 11 штукЗаполнитель
- 1 штукаЗаполнитель
- 1 штукаЗаполнитель
- 1 batchЗаполнитель
- 1 штукаЗаполнитель
- 1 штукаЗаполнитель
По этому чертежу делают

CC0 Общественное достояние
Этот чертёж выпущен под лицензией CC0. Вы можете свободно копировать, изменять, распространять и использовать эту работу в любых целях без запроса разрешения.
Поддержите мейкера, покупая товары через его чертёж, где он получает Комиссию мейкера установленную продавцами, или создайте новую итерацию этого чертежа и включите его как связь в свой чертёж для распределения дохода.