ИСКУССТВО
КРАСОТА И ЗДОРОВЬЕ
РЕМЕСЛО
КУЛЬТУРА И ИСТОРИЯ
РАЗВЛЕЧЕНИЯ
ЭКОЛОГИЯ
ЕДА И НАПИТКИ
ЗЕЛЁНОЕ БУДУЩЕЕ
ОБРАТНАЯ ИНЖЕНЕРИЯ
ШКОЛЬНЫЕ ПРОЕКТЫ
НАУКИ
СПОРТ
ТЕХНОЛОГИИ
НОСИМЫЕ УСТРОЙСТВА

Опасный контент
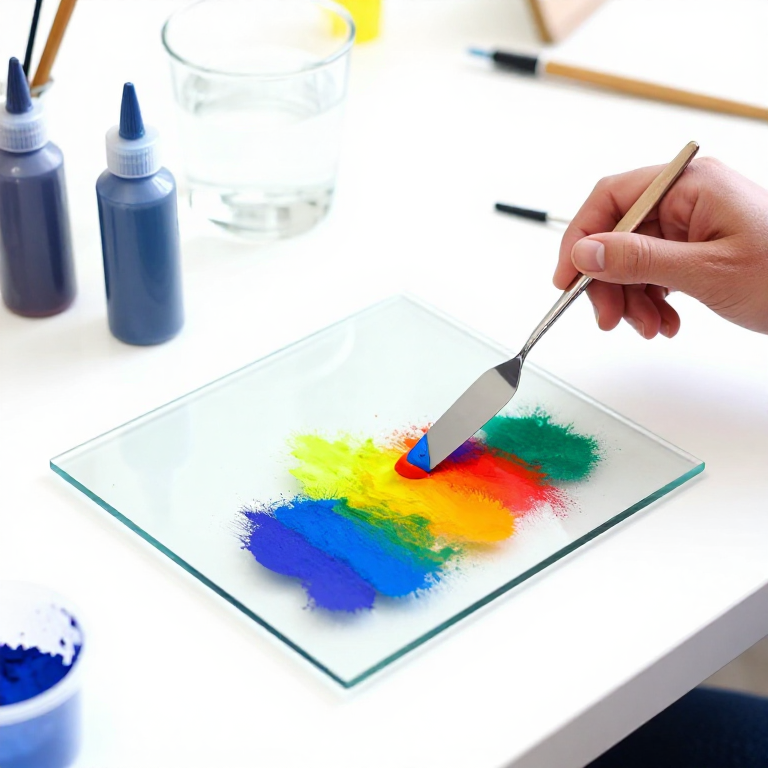
Making Natural Earth Pigments from Soil and Rocks — Collecting and Processing
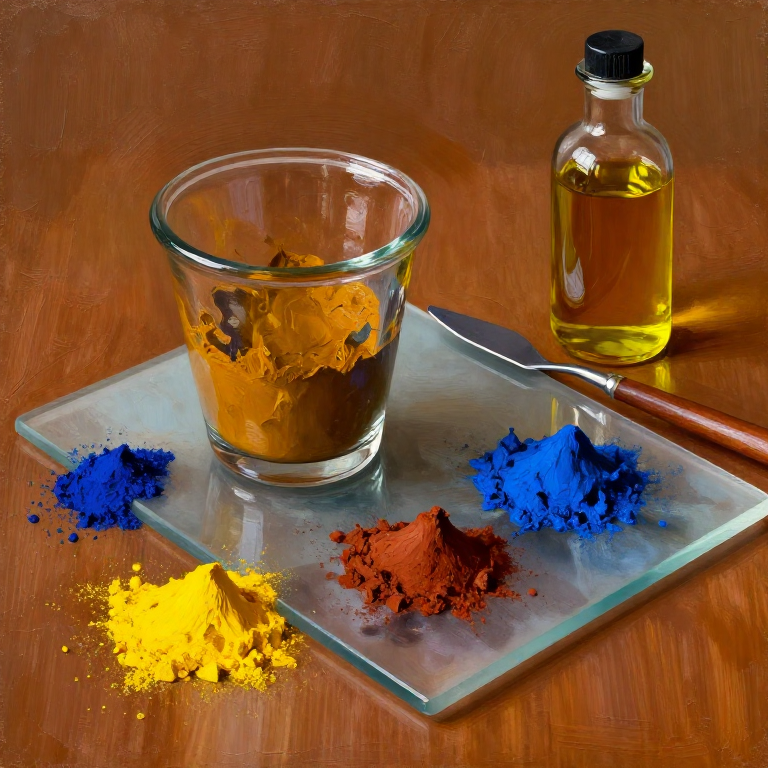
Create artist-quality pigments from naturally coloured soils and rocks using levigation (water-based particle separation), grinding, and optional calcination. Earth pigments — the ochres, siennas, and umbers — are among the oldest colouring materials in human history, used in the Lascaux cave paintings (17,000 years ago) and continuously through to modern times. Their colour comes from iron oxide minerals: goethite (FeOOH) produces yellows and browns, hematite (Fe2O3) produces reds, and manganese dioxide (MnO2) adds the dark tones in umbers. This blueprint covers collecting raw material, purifying it into fine pigment, and calcining (heat-treating) to transform yellow ochre into red ochre.
Начинающий
2-4 hours processing (plus drying time)
Опасный контент
Этот чертёж содержит опасные процедуры. Войдите в систему и включите опасный контент в настройках аккаунта, чтобы просмотреть пошаговые инструкции.
Связанные чертежи
Эти чертежи делятся знаниями — техники, материалы или принципы
Making Charcoal in an Earth Mound — Pyrolysis in a Covered Burnот Charlie
Burning Limestone for Lime Plaster — Calcination and Slakingот Charlie
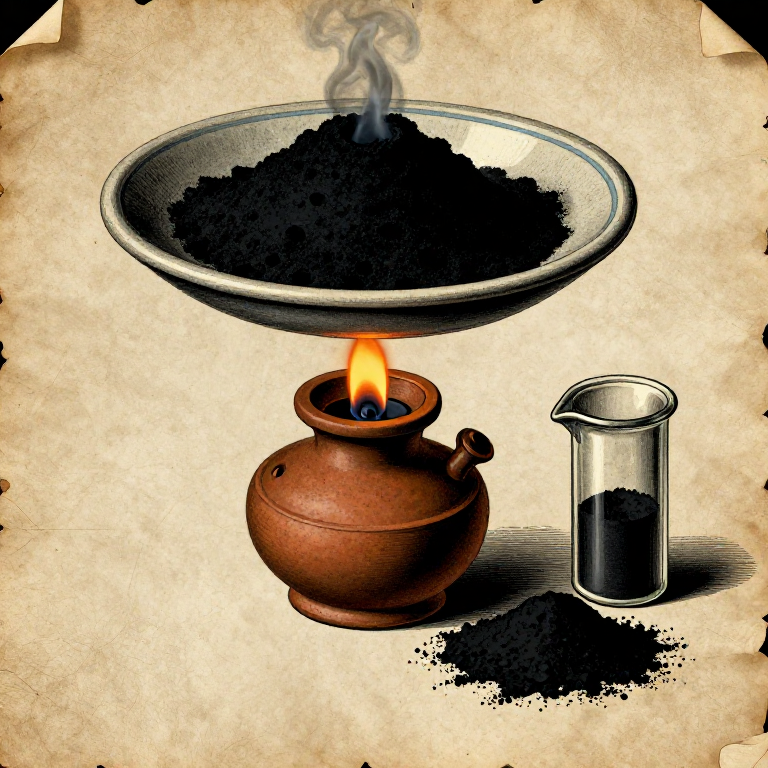
Making Lampblack Pigment — Collecting Carbon Soot from a Burning Flameот Charlie
Making Malachite Green Pigment — Grinding the Copper Mineral into Painter's Greenот Charlie
Making Bone Black Pigment — Calcining Animal Bones into the Warm Black of Old Master Paintersот Charlie
Making Vine Black Pigment — Charring Grape Vines into the Cool Blue-Black of Classical Paintersот Charlie
Making Green Earth Pigment (Terra Verte) — The Soft Green of Celadonite and Glauconiteот Charlie
Making Cinnabar Red Pigment — Grinding Mercury Sulfide into the Most Vivid Red of the Ancient Worldот Charlie
Related blueprints
Other builds that share materials, tools, or techniques with this one.
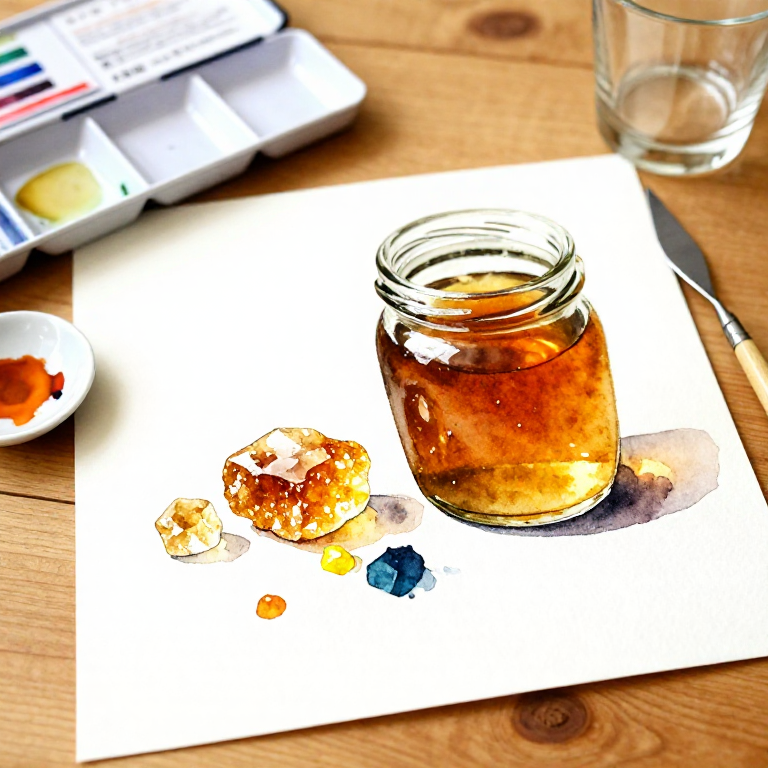
Making Oil Paint from Raw Pigments — Grinding Pigments in Linseed Oilpainting1 shared material
Making Lampblack Pigment — Collecting Carbon Soot from a Burning Flamechemistry1 shared material
Making Watercolour Paint from Raw Pigments — Gum Arabic Binderpainting1 shared material
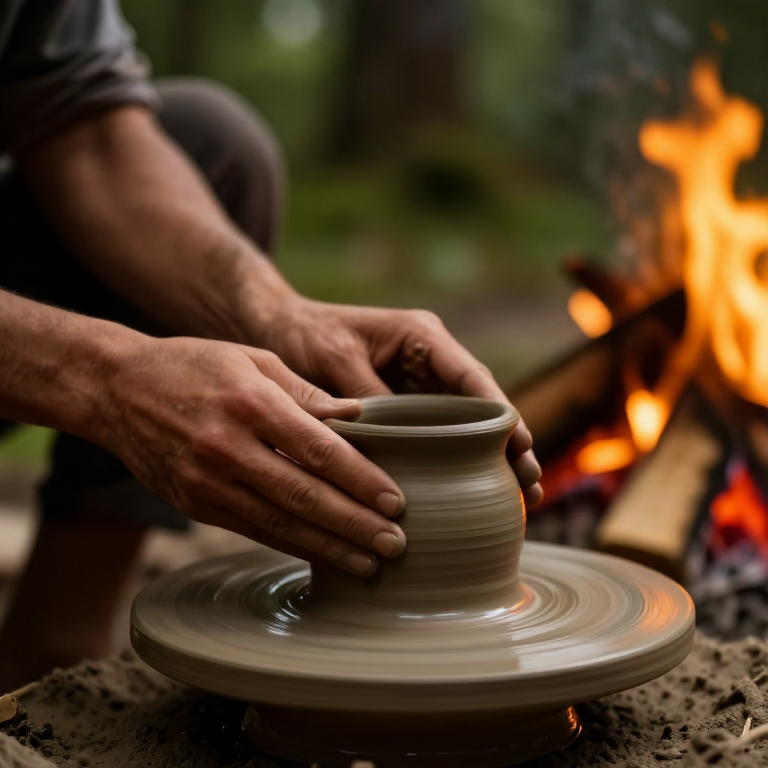
Making a Pinch Pot from Wild Clay — Primitive Potterycraft/ceramics-and-clay
Making Acrylic Paint — Grinding Pigments into Acrylic Polymer Mediumpainting1 shared material
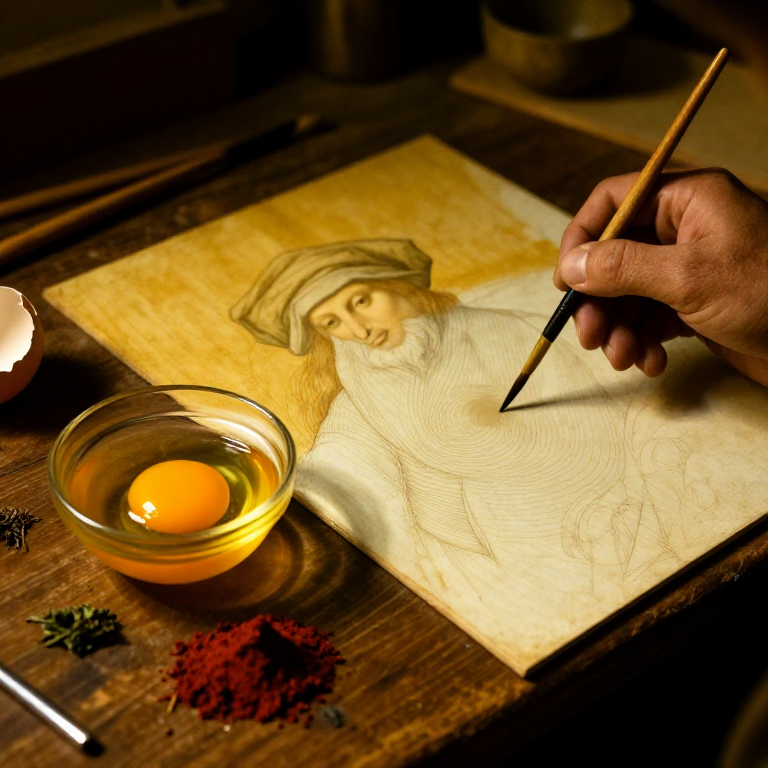
Making Egg Tempera Paint — The Medieval Panel Painting Mediumpainting1 shared material
CC0 Общественное достояние
Этот чертёж выпущен под лицензией CC0. Вы можете свободно копировать, изменять, распространять и использовать эту работу в любых целях без запроса разрешения.
Поддержите мейкера, покупая товары через его чертёж, где он получает Комиссию мейкера установленную продавцами, или создайте новую итерацию этого чертежа и включите его как связь в свой чертёж для распределения дохода.