ИСКУССТВО
КРАСОТА И ЗДОРОВЬЕ
РЕМЕСЛО
КУЛЬТУРА И ИСТОРИЯ
РАЗВЛЕЧЕНИЯ
ЭКОЛОГИЯ
ЕДА И НАПИТКИ
ОБРАТНАЯ ИНЖЕНЕРИЯ
НАУКИ
СПОРТ
ТЕХНОЛОГИИ
НОСИМЫЕ УСТРОЙСТВА
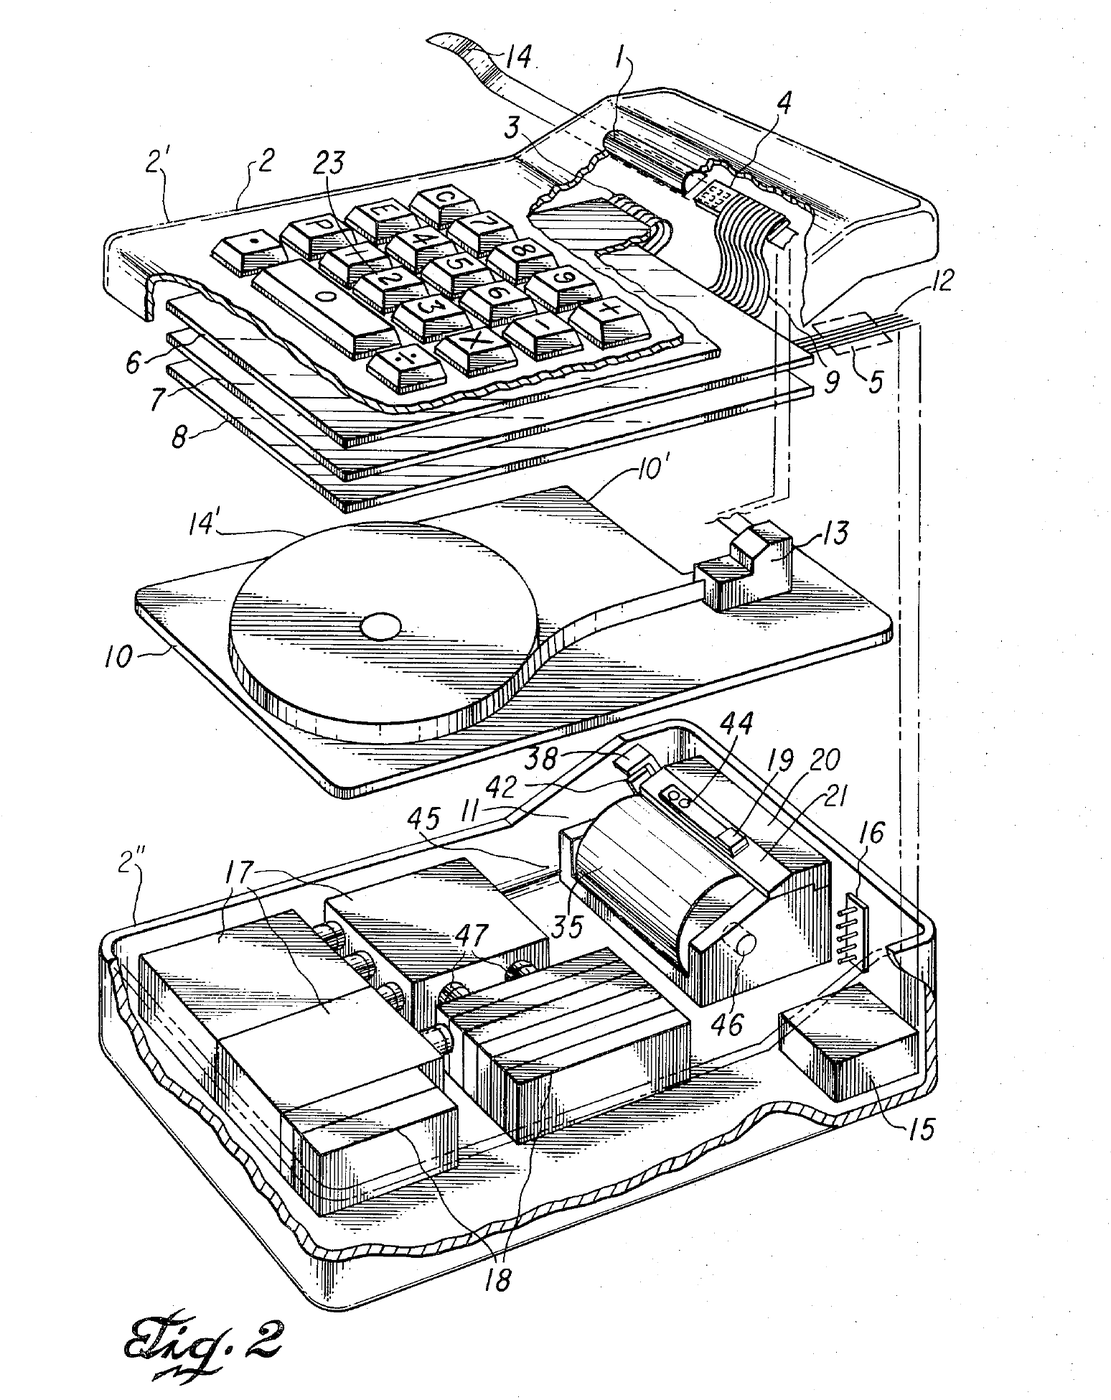


Miniature Printing Electronic Calculator: Kilby, Merryman & Van Tassel, 1974
Jack S. Kilby, Jerry D. Merryman and James H. Van Tassel of Texas Instruments first filed for this portable calculator in 1967; the patent, US 3,819,921, was granted in 1974. It adds, subtracts, multiplies and divides. All the arithmetic and control is done by one integrated semiconductor circuit array lying flat under the keyboard encoder. Answers are printed by a thermal print head, a 3 × 5 array of heater elements on a semiconductor wafer, on heat-sensitive paper tape read through a magnifying window. The case measured 4¼ × 6⅛ × 1¾ inches and the calculator weighed 45 ounces, running on batteries.
Продвинутый
Factory process
Инструкции
1
1
Keys and encoder
Keys and encoder
Mount the 18 keys (0–9, +, −, ×, ÷, the decimal point, C for clear, E for error and P for print) in stepped holes in the upper case. Each key shaft slides in a bearing; a helix spring under the shaft head returns it, guide pins stop it turning, and a resilient pad at its base carries a thin gold-plated copper strip. Below lies the encoder: conductive strips on an insulating board, grouped so each key shorts its own set of output terminals and encodes its digit in excess-3 binary code.
Материалы для этого шага:
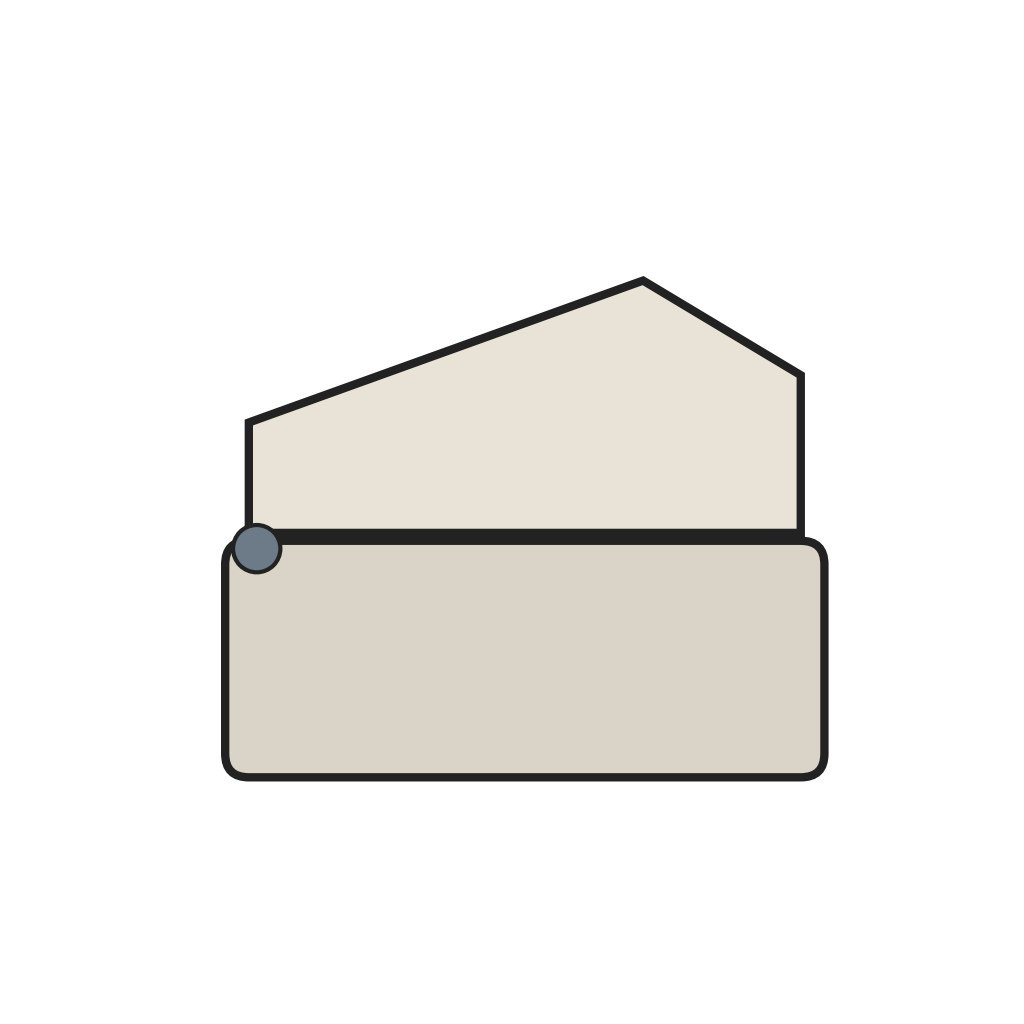 Двухсекционный корпус калькулятора на шарнире1 штука
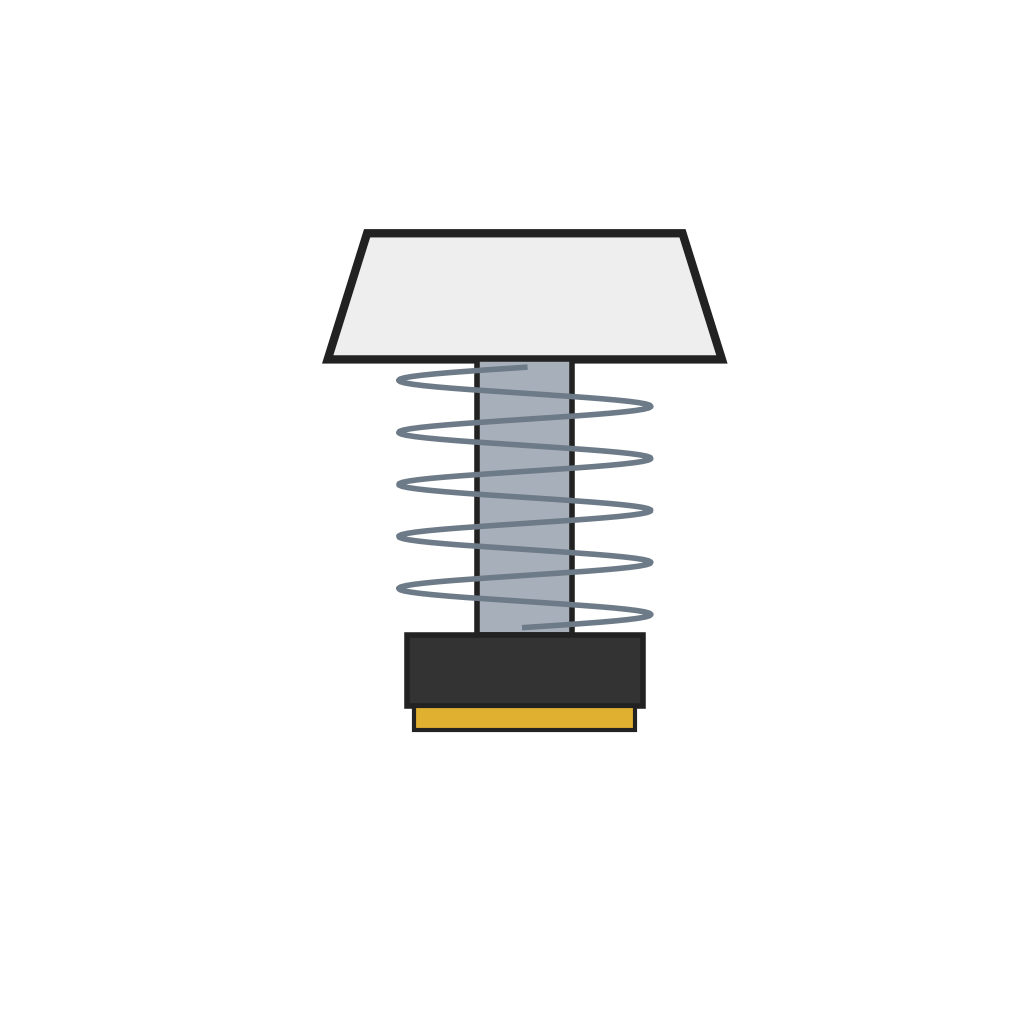 Клавиша с пружинным возвратом и контактной площадкой18 штук
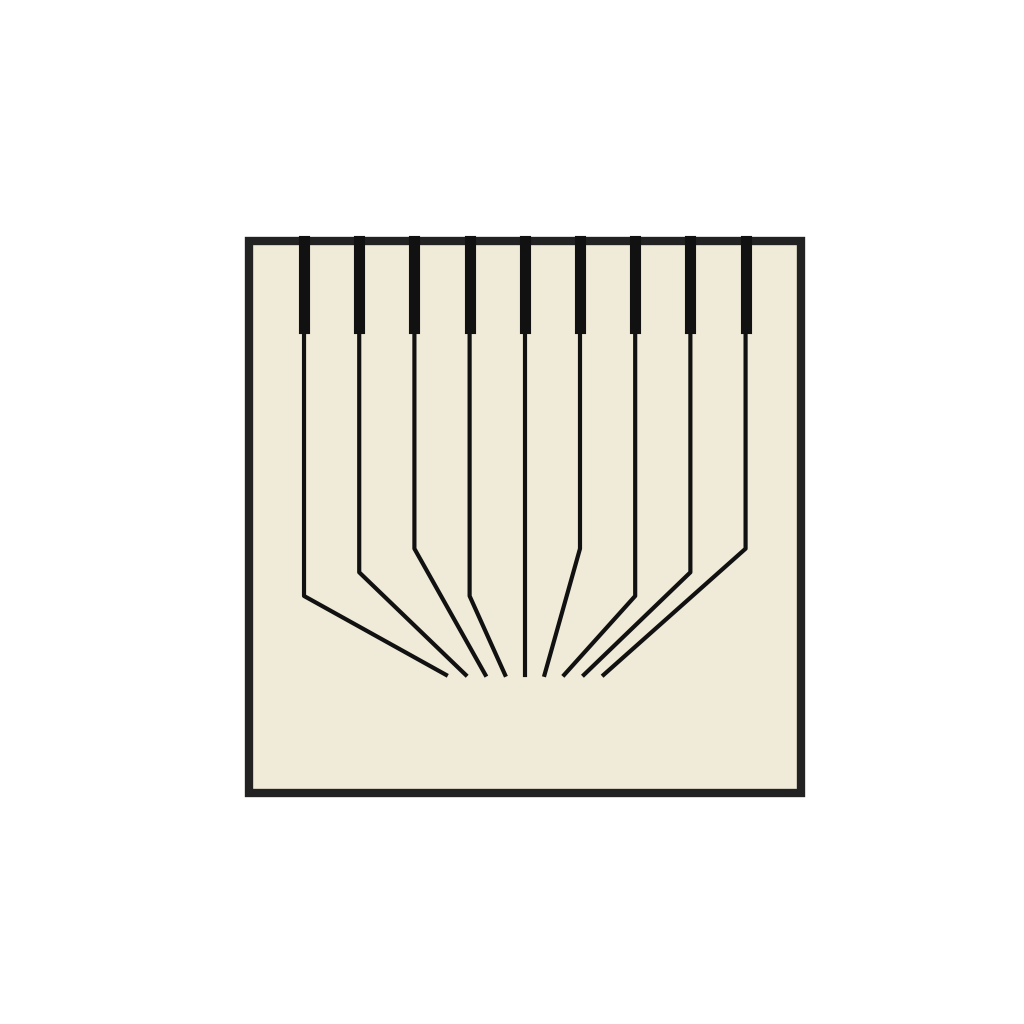 Плата шифратора клавиатуры1 штука
Необходимые инструменты:
 Набор прецизионных пинцетов
 Набор отвёрток
2
2
Primary electronics
Primary electronics
Mount the integrated circuit array below the encoder, in a plane parallel to it, and connect the encoder's terminals to it. The array holds the arithmetic and control sections, generating the timing signals for calculating, printing and advancing the tape.
Материалы для этого шага:
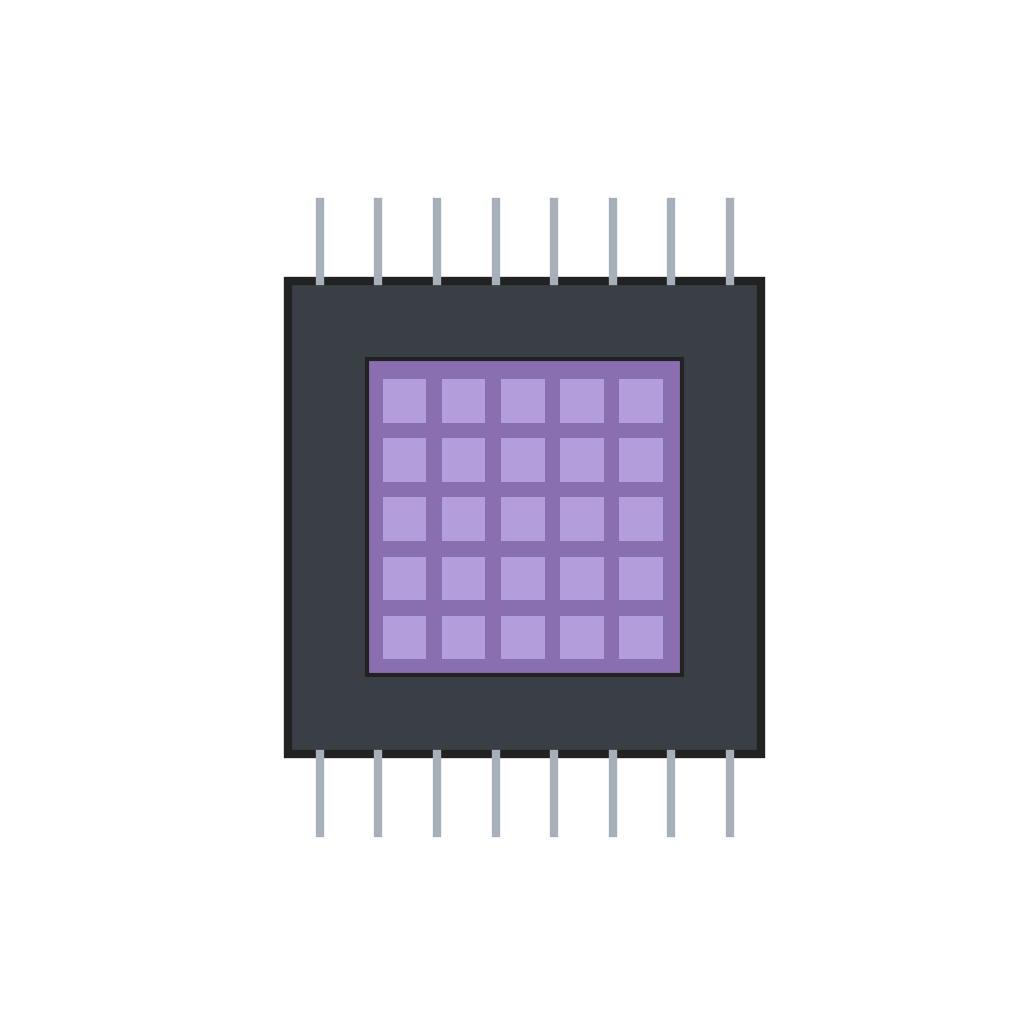 Интегральная микросхема калькулятора1 штука
Необходимые инструменты:
Набор прецизионных пинцетов3
3
Printer and tape
Printer and tape
Place the thermal print head above a resilient pressure pad, its wafer surface against the tape. Rest the tape reel on a shelf; the tape runs up through a guide block, over the pad under the print head, past the magnifying lens window and out through the side of the case. A solenoid tape-advance mechanism steps the tape on after each line: its coil pulls a pivoted clapper, a spring-biased clutch grips the tape against a clutch plate, and a drive spring pushes it forward when the coil releases. An insulating acrylic cover plate separates the shelf from the primary electronics.
Материалы для этого шага:
 Интегральная полупроводниковая термопечатающая головка1 штука
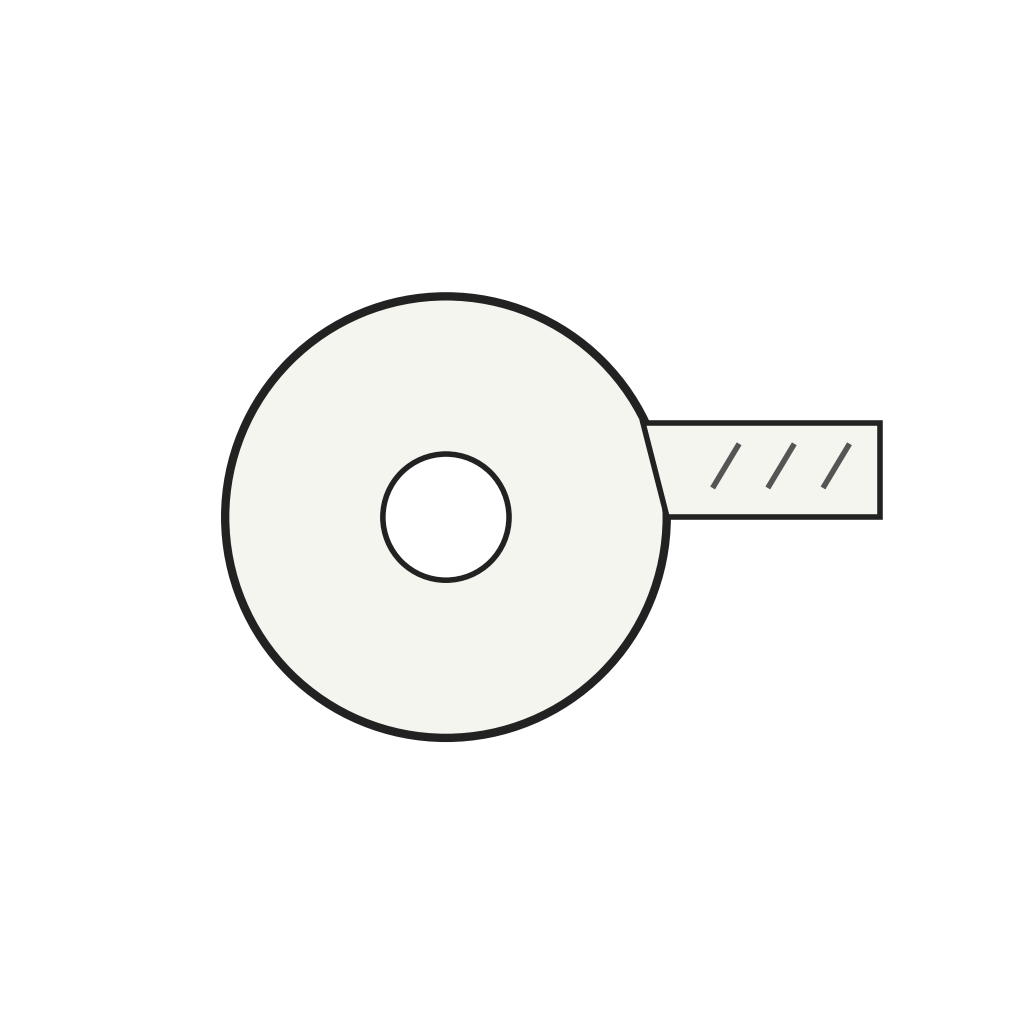 Термочувствительная бумажная лента1 штука
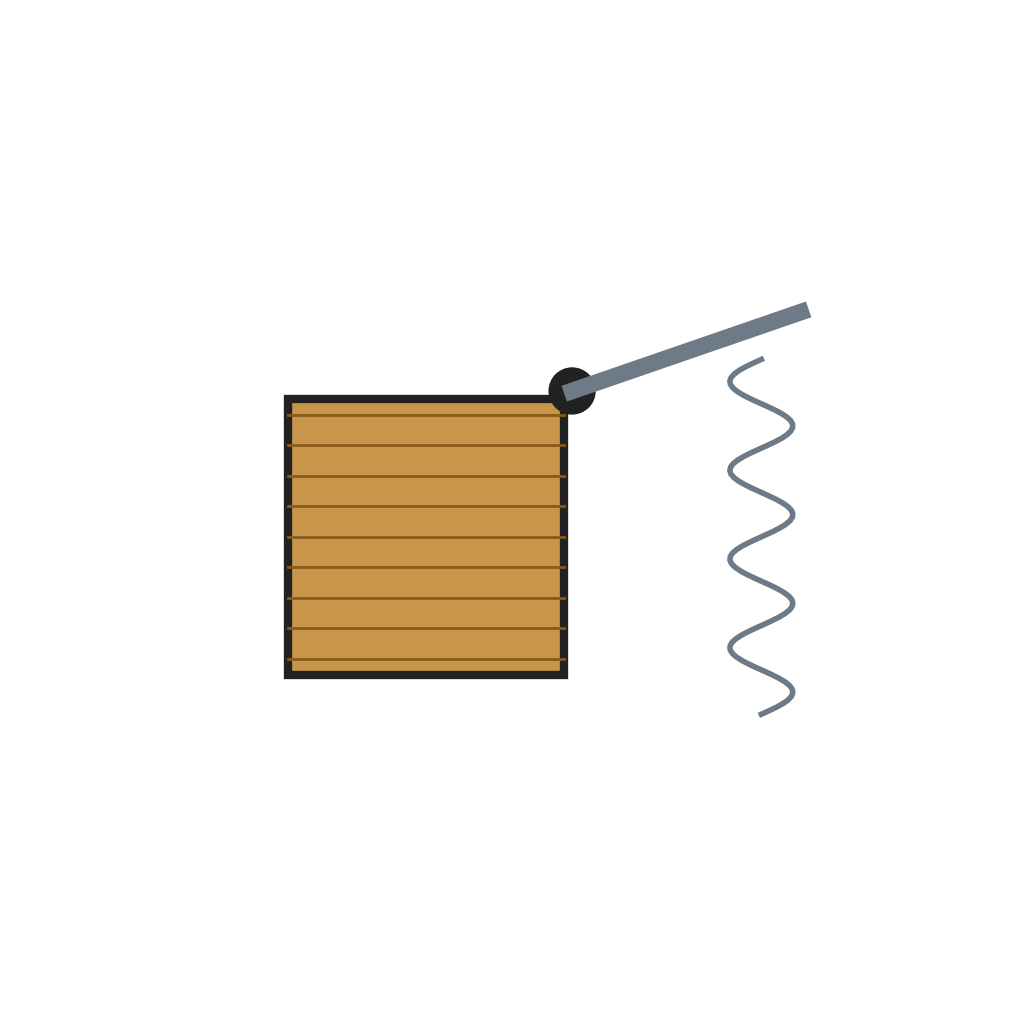 Соленоидный механизм протяжки ленты1 штука
 Окно с увеличительной линзой1 штука
 Акриловый лист1 штука
Необходимые инструменты:
Набор прецизионных пинцетовНабор отвёрток4
4
Power
Power
Fix the batteries, the auxiliary electronics module and the tape advance on the floor of the lower case. Three 1½ volt cells in series give 4½ volts and eight in series give 12 volts; the auxiliary module drives the tape-advance coil and the print timing. Wire the supply through the on/off switch to the primary electronics, and fit a battery charger plug in the wall of the lower case. Hinge and latch the two case halves so the top lifts for access.
Материалы для этого шага:
 Сухой элемент11 штук
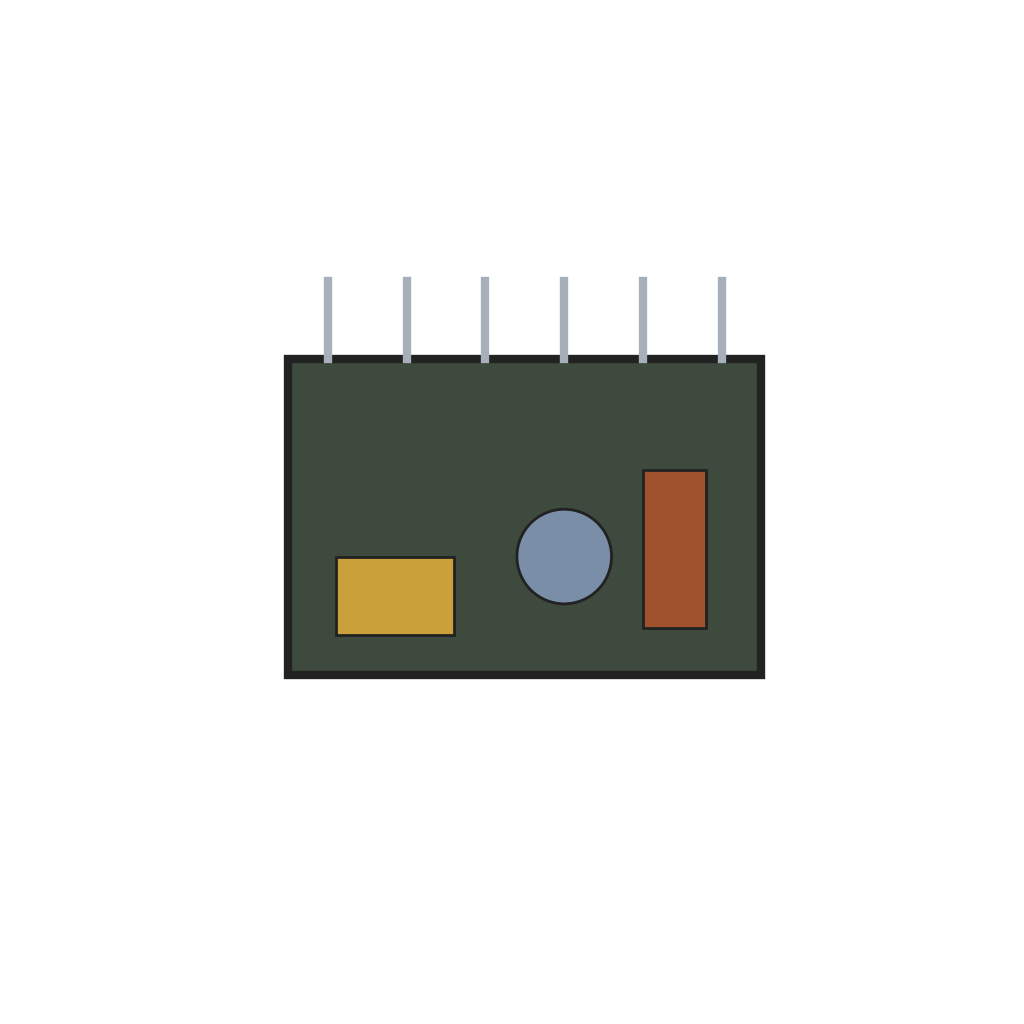 Вспомогательный электронный модуль1 штука
 Выключатель питания1 штука
Необходимые инструменты:
 Инструмент для снятия изоляции
 ПассатижиНабор отвёрток
Материалы
12- Заполнитель
- Заполнитель
- 1 штукаЗаполнитель
- Заполнитель
- Заполнитель
- Заполнитель
- Заполнитель
- 1 штукаЗаполнитель
- 1 штукаЗаполнитель
- 11 штукЗаполнитель
- Заполнитель
- 1 штукаЗаполнитель
По этому чертежу делают

Связанные чертежи
Эти чертежи делятся знаниями — техники, материалы или принципы

CC0 Общественное достояние
Этот чертёж выпущен под лицензией CC0. Вы можете свободно копировать, изменять, распространять и использовать эту работу в любых целях без запроса разрешения.
Поддержите мейкера, покупая товары через его чертёж, где он получает Комиссию мейкера установленную продавцами, или создайте новую итерацию этого чертежа и включите его как связь в свой чертёж для распределения дохода.