ИСКУССТВО
КРАСОТА И ЗДОРОВЬЕ
РЕМЕСЛО
КУЛЬТУРА И ИСТОРИЯ
РАЗВЛЕЧЕНИЯ
ЭКОЛОГИЯ
ЕДА И НАПИТКИ
ОБРАТНАЯ ИНЖЕНЕРИЯ
НАУКИ
СПОРТ
ТЕХНОЛОГИИ
НОСИМЫЕ УСТРОЙСТВА
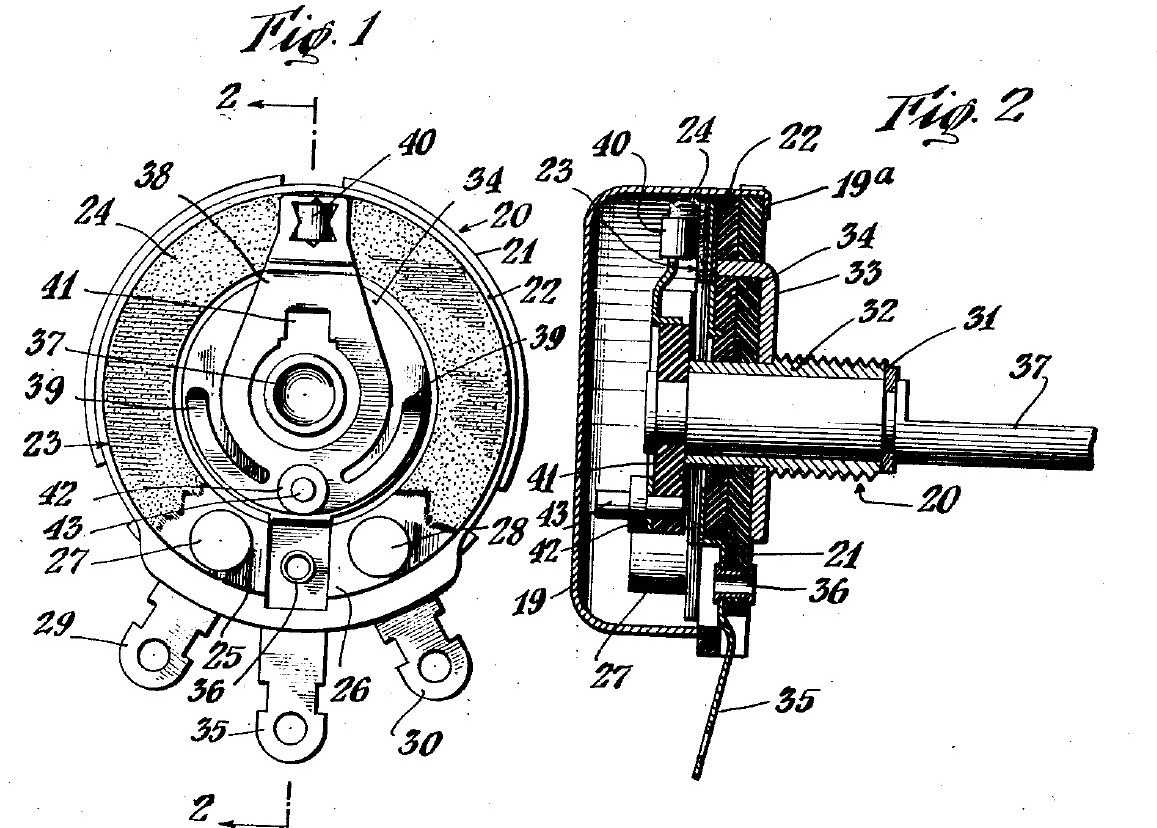


Potentiometer: Mallory Volume Control on a Tung-Oil Paper Ring
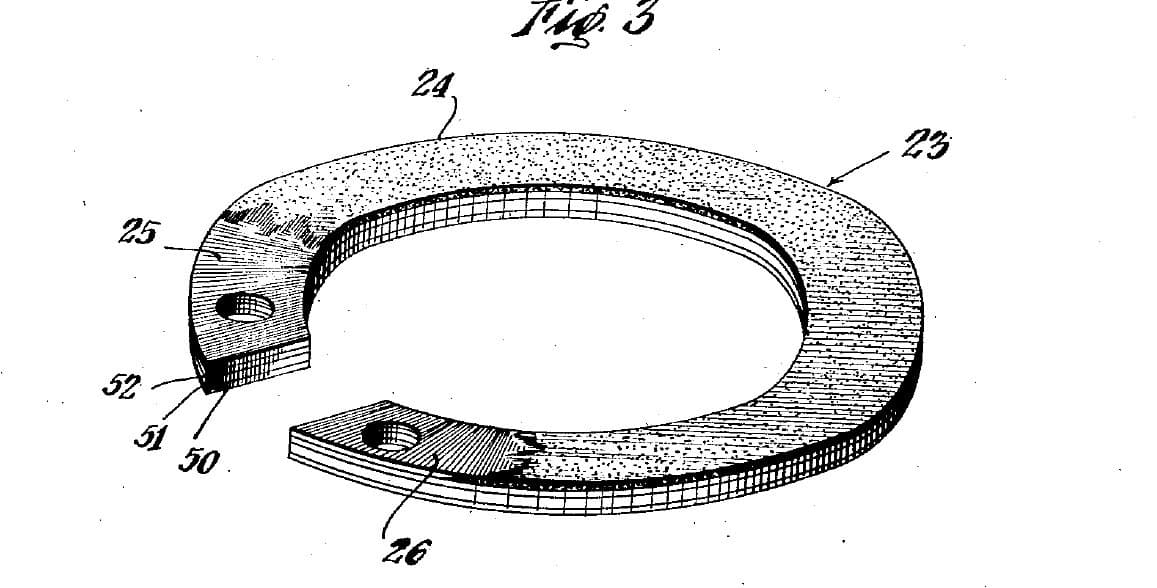
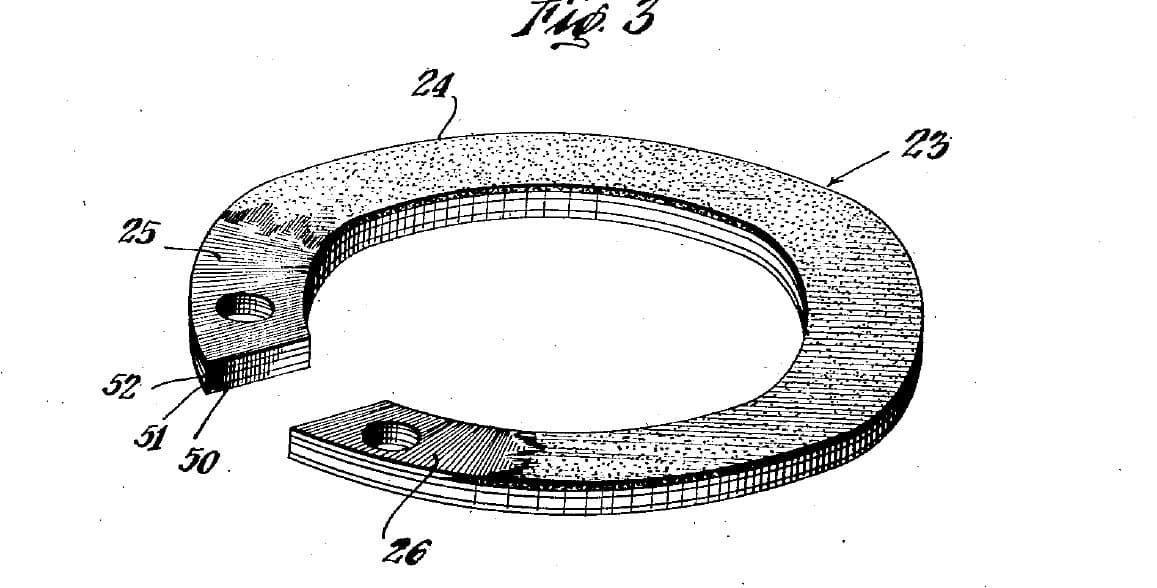
A 1930s radio volume control from Mallory's patent (US 2,144,925, 1939). A carbon ring sits on a base of two resin-fibre discs. A spring arm on the shaft wipes the ring with one contact and a centre metal ring with its fingers, so turning the knob changes the resistance between the centre lug and either end lug. The patent gives no sizes; the parts are named by what they do.
The picture: the patent's drawing (Figs. 1 and 2).
Средний
2 hours
Инструкции
1
1
Clamp the two base discs on the bushing
Clamp the two base discs on the bushing
Stack two discs of resin-impregnated fibre. A metal bushing through their centres clamps them together, with a metal disc clamped against the back of the rear disc. Ours: close the bushing with a hammer and rivet set.
Материалы для этого шага:
 Волокнистый диск, пропитанный смолой2 штук
 Металлическая втулка1 штука
 Металлический опорный диск1 штука
Необходимые инструменты:
 Клепальный молоток
 Клепальный набор
2
2
Fit the centre contact ring
Fit the centre contact ring
Lay the metal contact ring, with its own terminal lug, on the face of the front disc, centred. An eyelet (or rivet) through the lug holds it. Ours: set with a rivet set and hammer.
Материалы для этого шага:
 Контактное кольцо с выводом1 штука
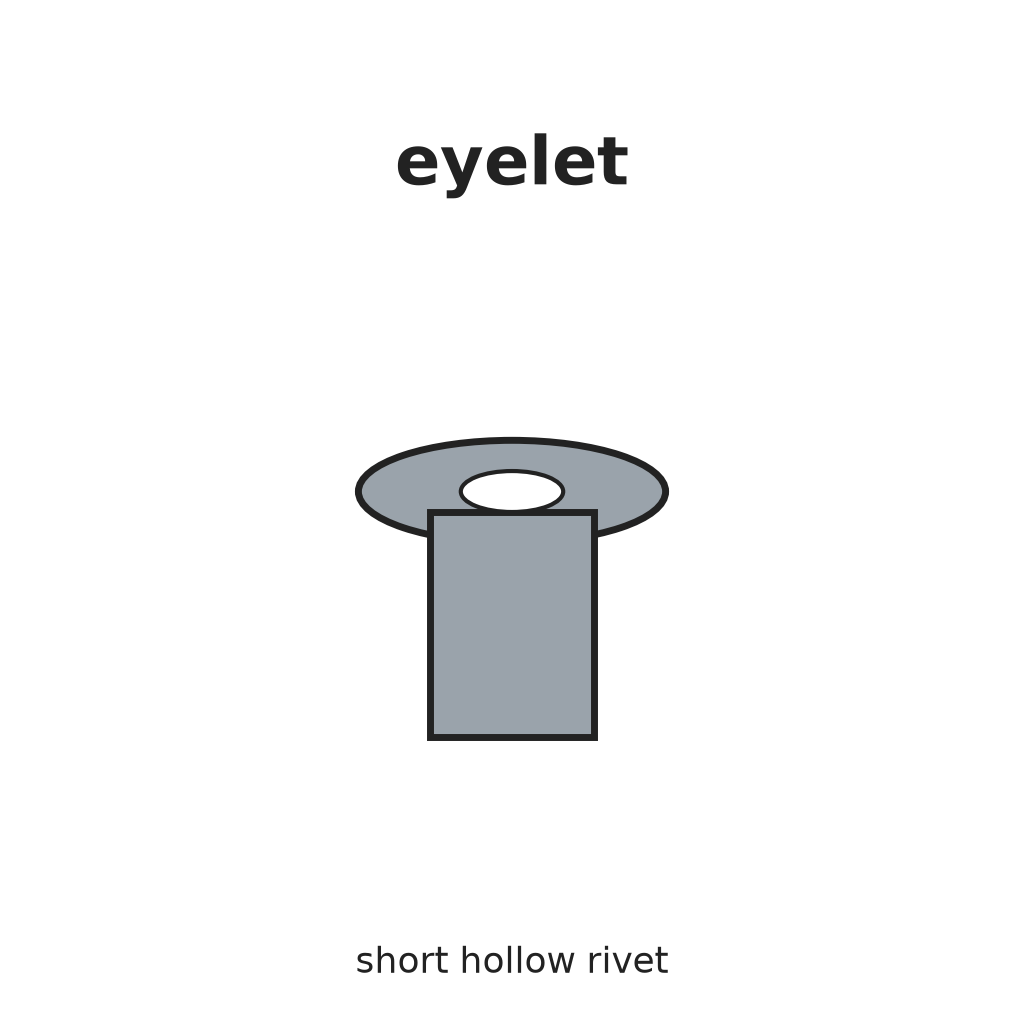 Пистон1 штука
Необходимые инструменты:
Клепальный молотокКлепальный набор3
3
Bolt on the resistance ring
Bolt on the resistance ring
Lay the carbon resistance ring on the front disc, round the contact ring. Two terminal bolts pass through the ring's silver-painted ends and the disc; each holds a terminal lug under the disc. The bolts clamp the ring and connect its ends.
Материалы для этого шага:
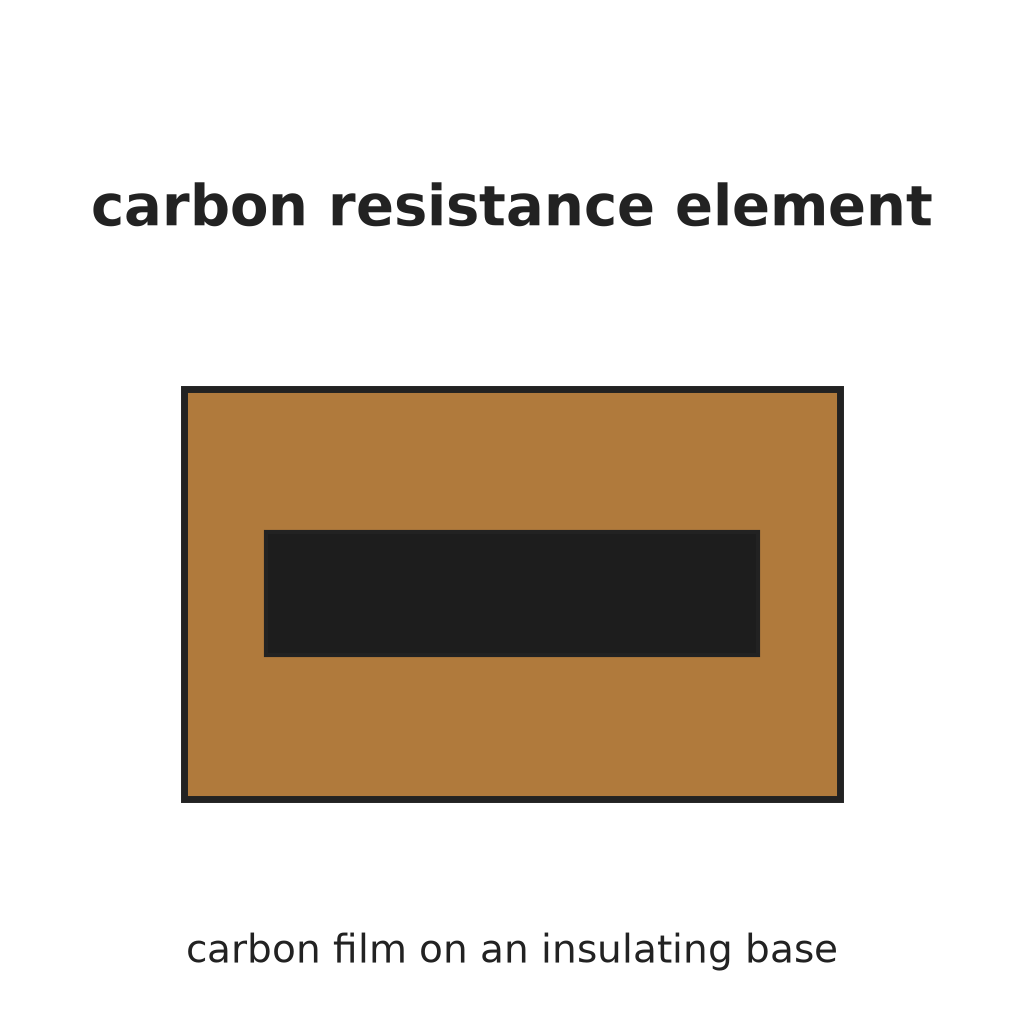 Угольный резистивный элемент1 штука
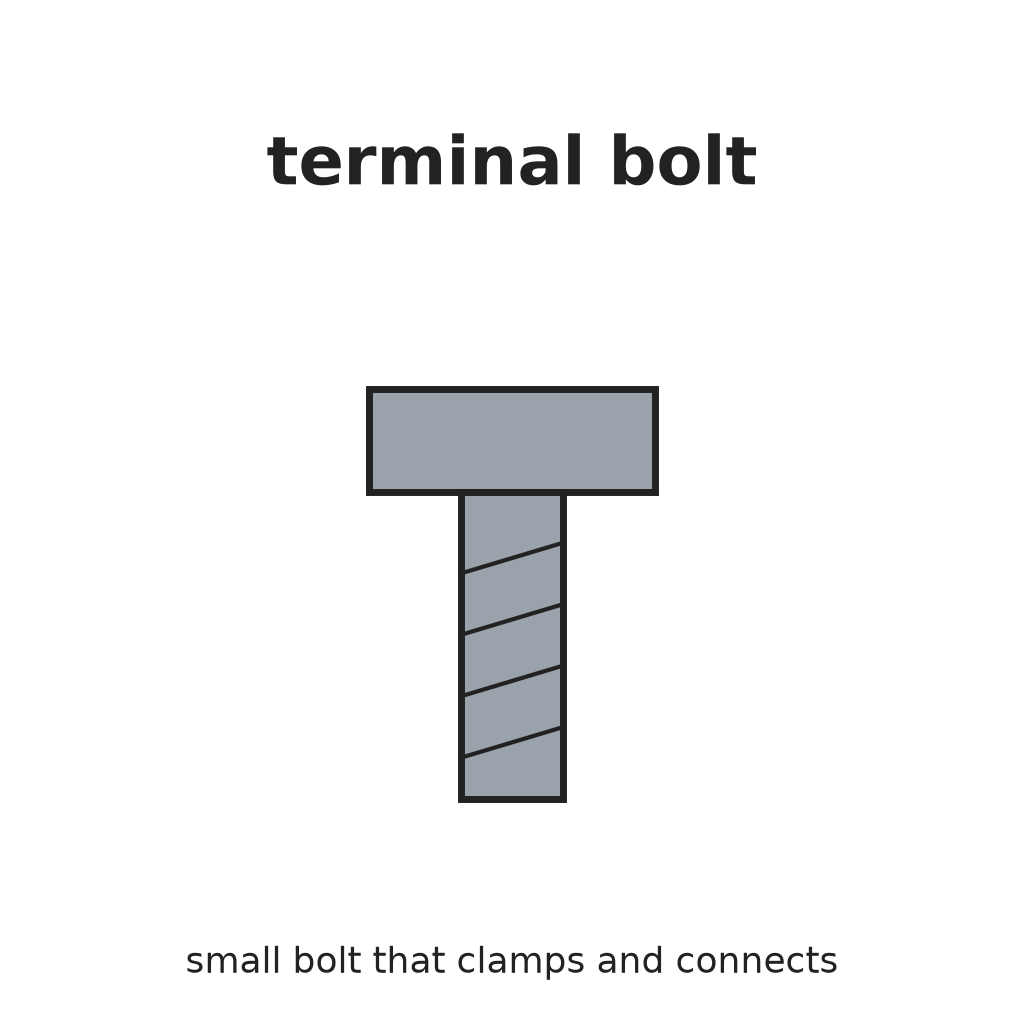 Клеммный болт2 штук
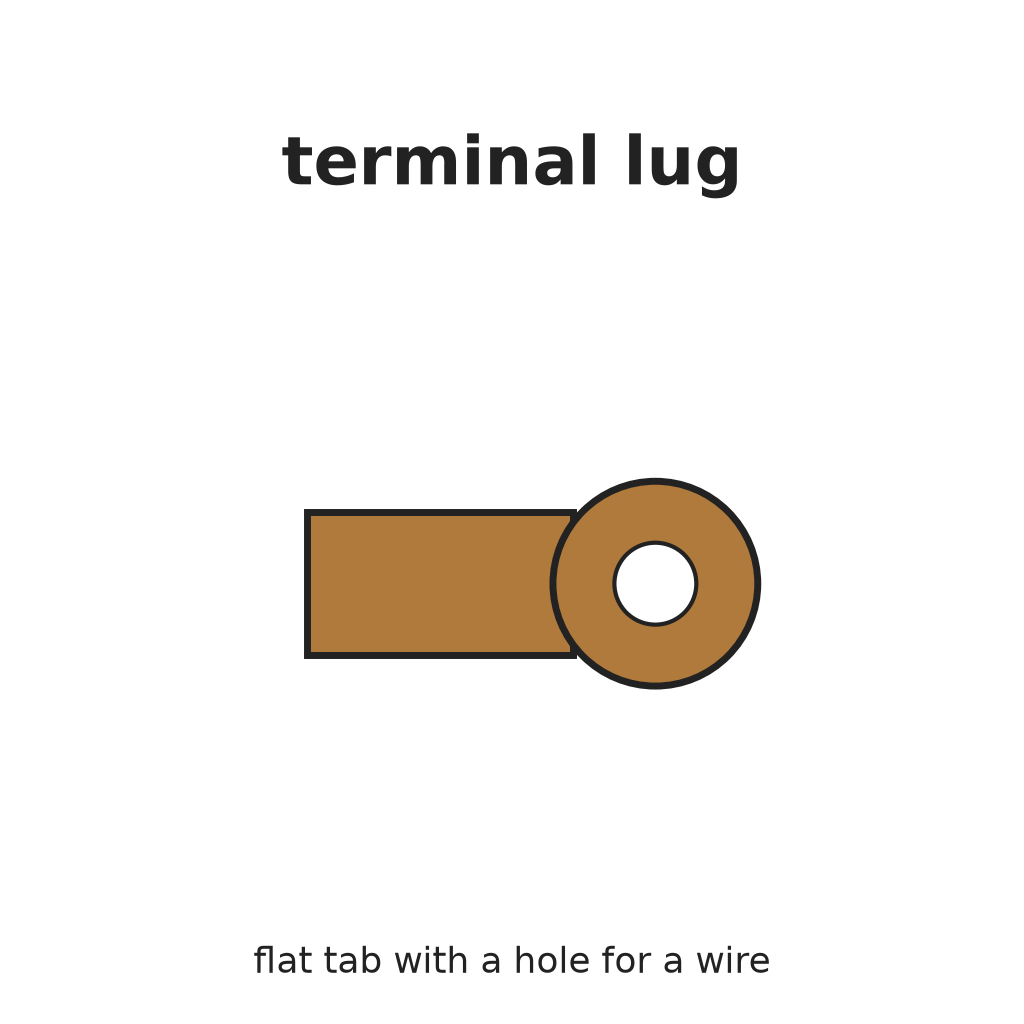 Клеммный наконечник2 штук
Необходимые инструменты:
 Длинногубцы
4
4
Fit shaft and spring contact arm
Fit shaft and spring contact arm
Put the shaft through the bushing. On its front end fix the spring contact arm over a small piece of sheet insulation: upset the shaft end to hold the insulation, and clamp arm and insulation together with a rivet pin. The arm's contactor rides on the carbon track, its fingers on the contact ring.
Материалы для этого шага:
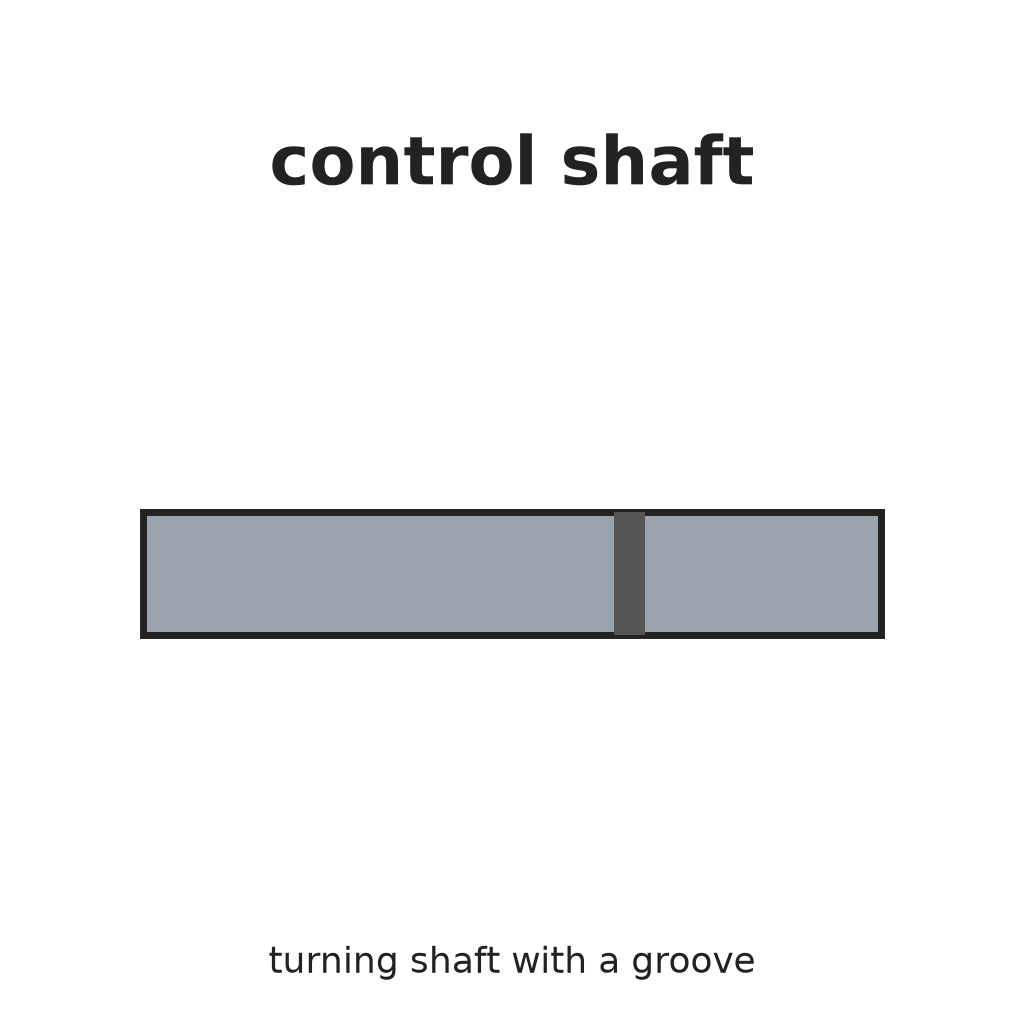 Управляющий вал1 штука
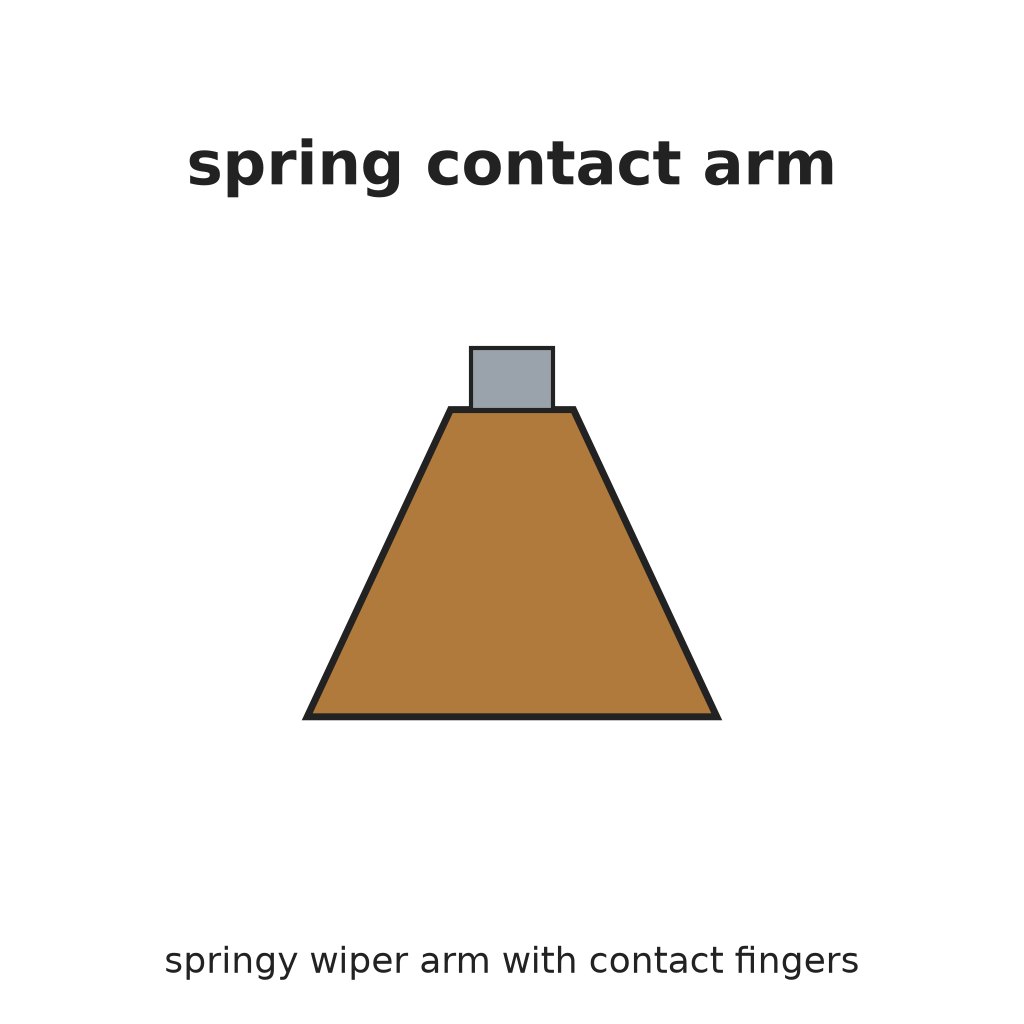 Пружинный контактный рычаг1 штука
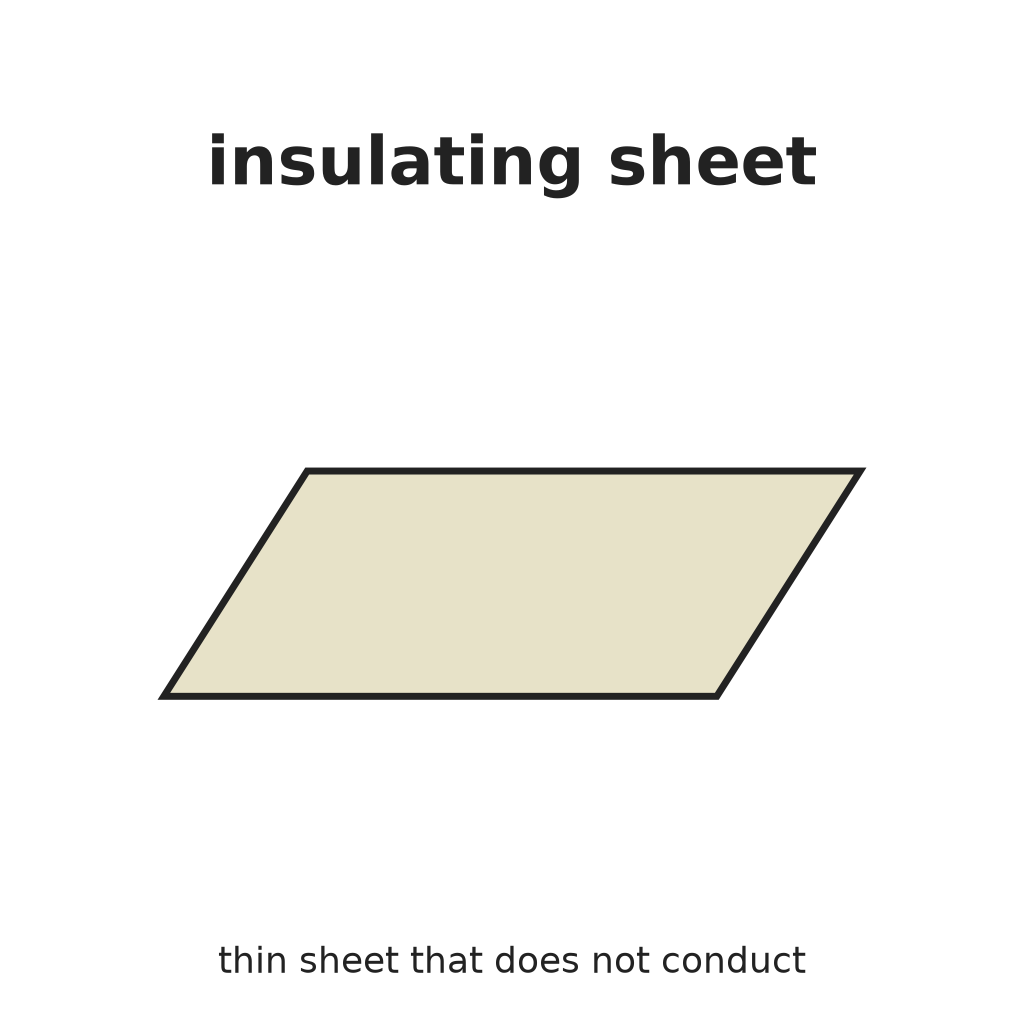 Изоляционный лист1 штука
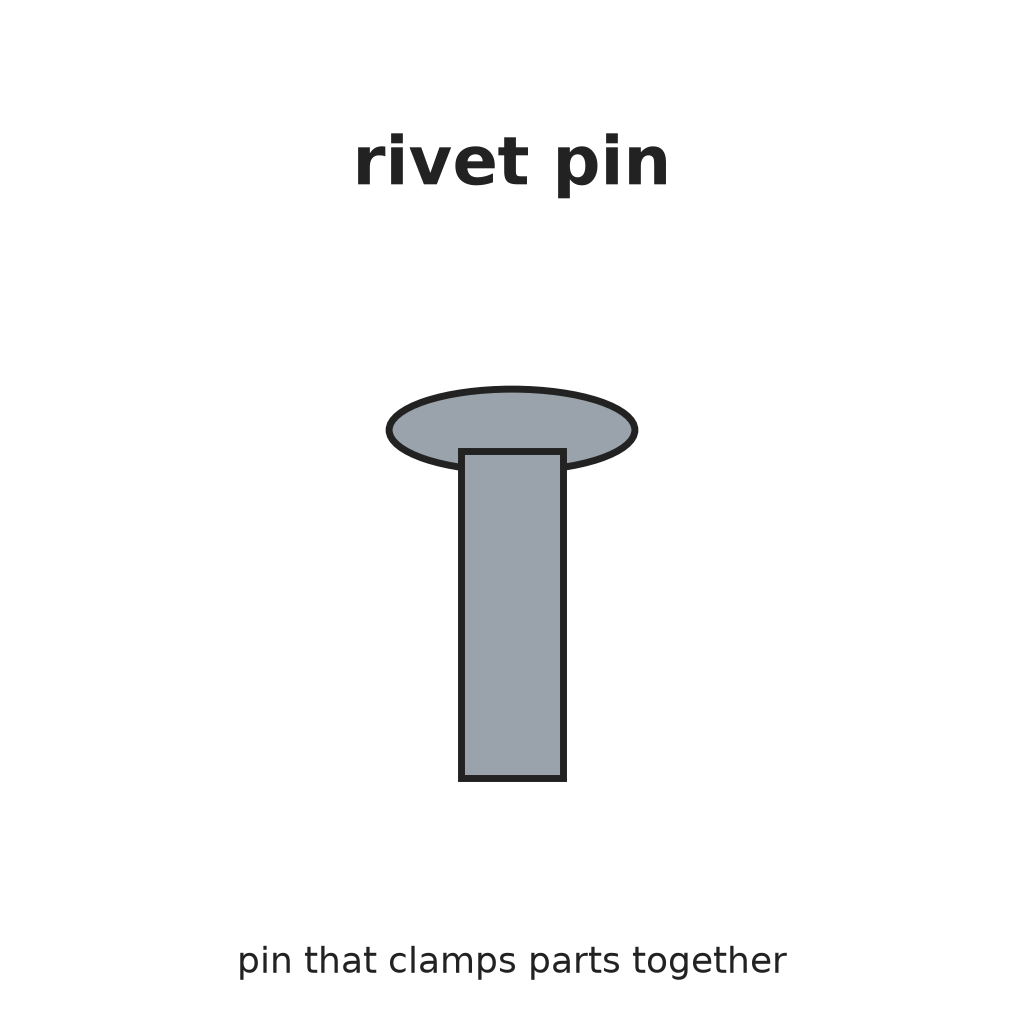 Заклёпка-штифт1 штука
Необходимые инструменты:
Клепальный молотокКлепальный набор5
5
Clip washer and cover
Clip washer and cover
Snap a clip washer into the groove in the shaft behind the bushing. It stops the shaft sliding and keeps the arm and fingers pressed on their rings. Fix the metal cover cap over the parts by bending its ears onto the discs.
Материалы для этого шага:
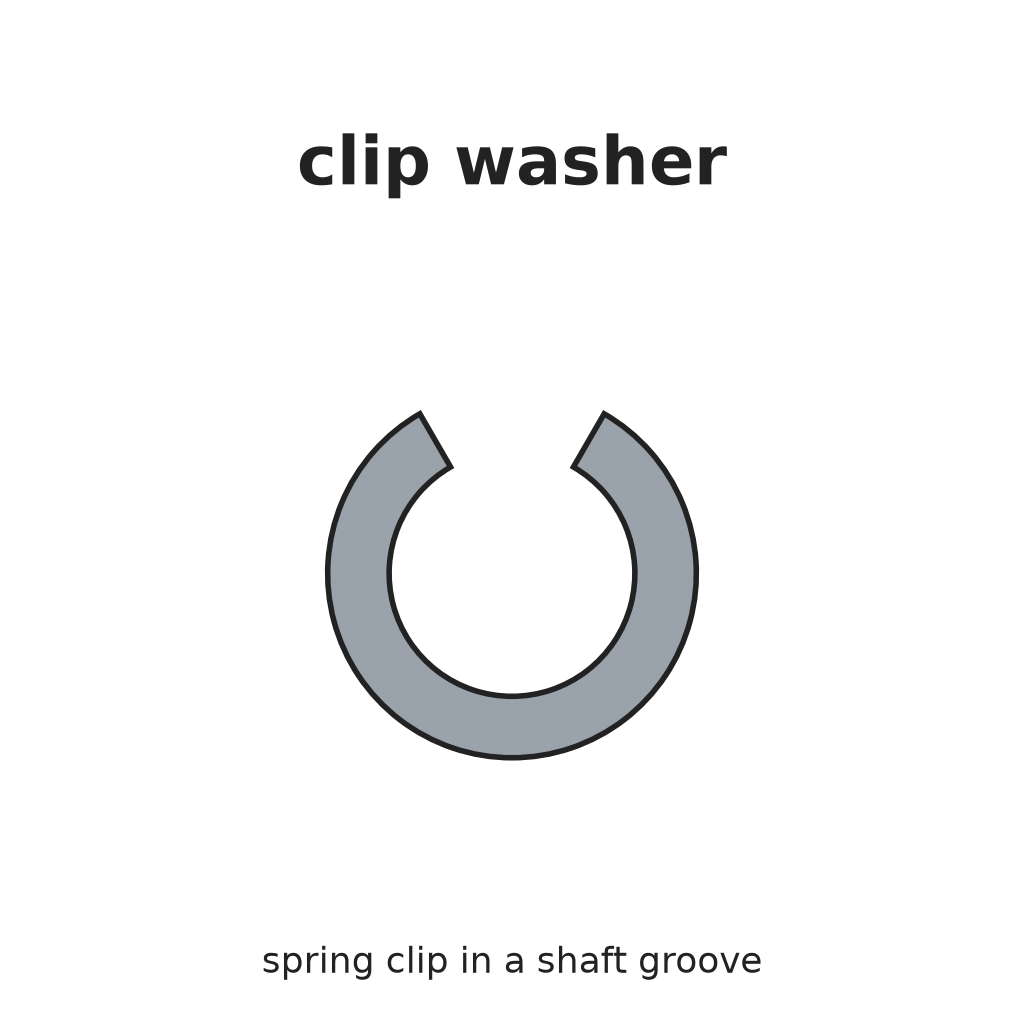 Стопорная шайба-зажим1 штука
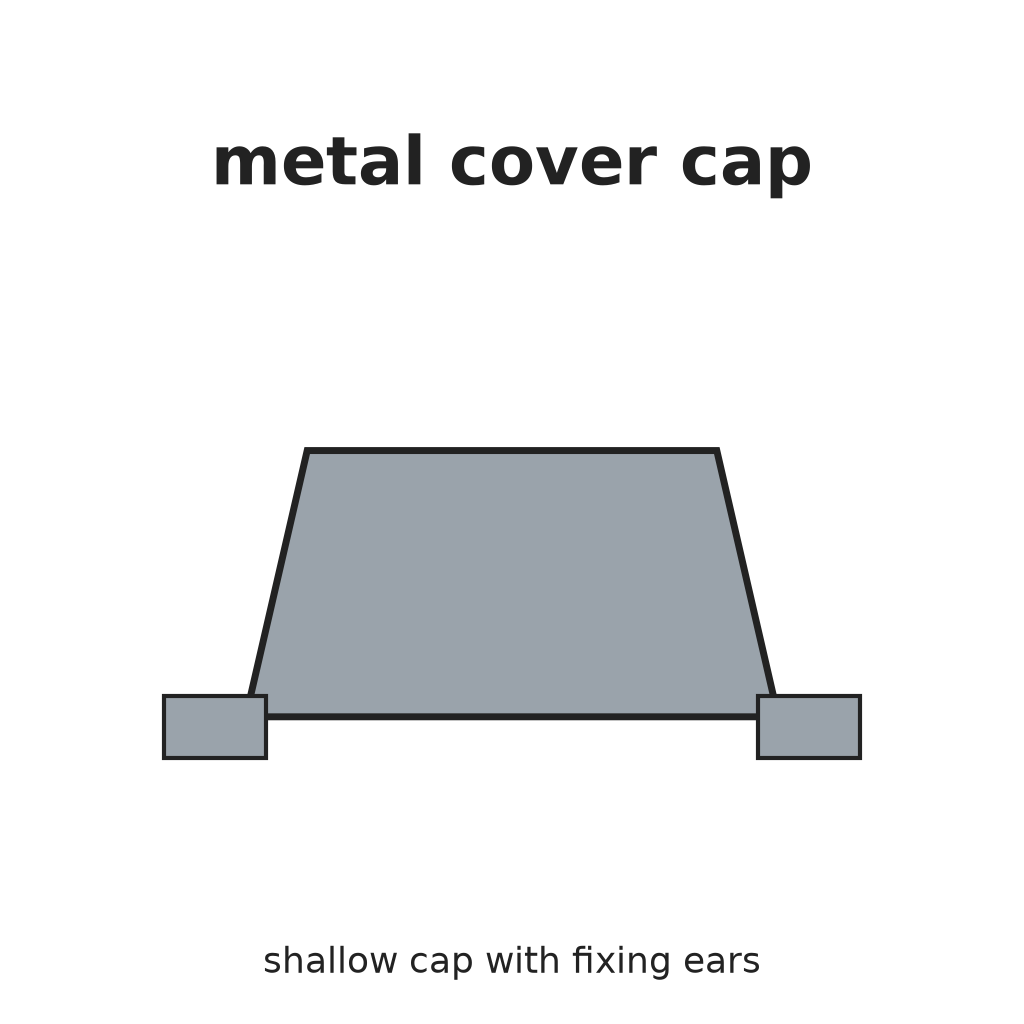 Металлический защитный колпачок1 штука
Необходимые инструменты:
Длинногубцы Плоскогубцы
Материалы
14- Заполнитель
- 1 штукаЗаполнитель
- 1 штукаЗаполнитель
- 1 штукаЗаполнитель
- 1 штукаЗаполнитель
- 1 штукаЗаполнитель
- 2 штукЗаполнитель
- 2 штукЗаполнитель
- 1 штукаЗаполнитель
- 1 штукаЗаполнитель
- 1 штукаЗаполнитель
- 1 штукаЗаполнитель
- 1 штукаЗаполнитель
- Заполнитель
По этому чертежу делают
Связанные чертежи
Эти чертежи делятся знаниями — техники, материалы или принципы
CC0 Общественное достояние
Этот чертёж выпущен под лицензией CC0. Вы можете свободно копировать, изменять, распространять и использовать эту работу в любых целях без запроса разрешения.
Поддержите мейкера, покупая товары через его чертёж, где он получает Комиссию мейкера установленную продавцами, или создайте новую итерацию этого чертежа и включите его как связь в свой чертёж для распределения дохода.