ИСКУССТВО
КРАСОТА И ЗДОРОВЬЕ
РЕМЕСЛО
КУЛЬТУРА И ИСТОРИЯ
РАЗВЛЕЧЕНИЯ
ЭКОЛОГИЯ
ЕДА И НАПИТКИ
ОБРАТНАЯ ИНЖЕНЕРИЯ
НАУКИ
СПОРТ
ТЕХНОЛОГИИ
НОСИМЫЕ УСТРОЙСТВА
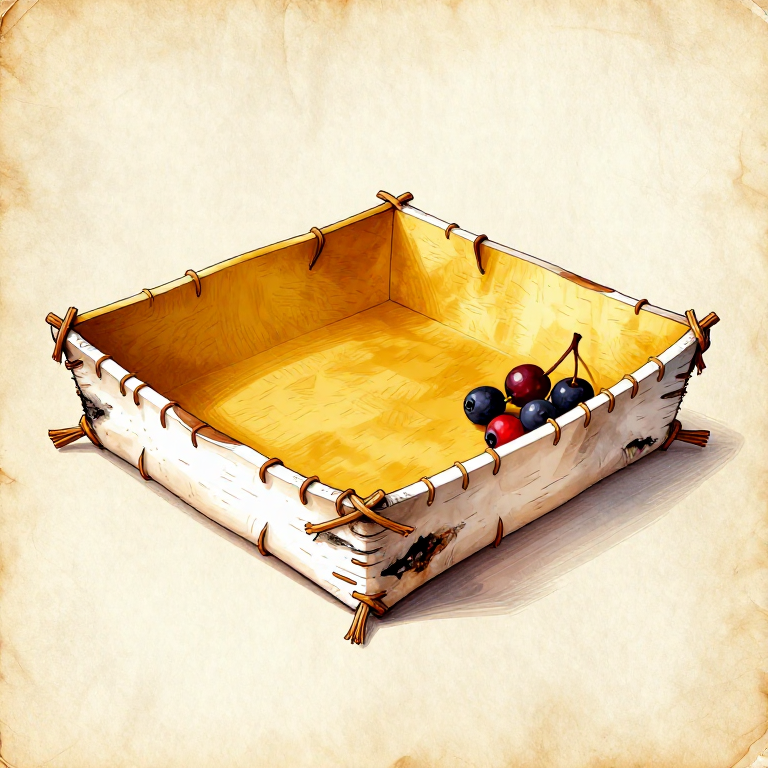

Making a Bark Tray from a Single Sheet of Birch Bark — Folded Coolamon
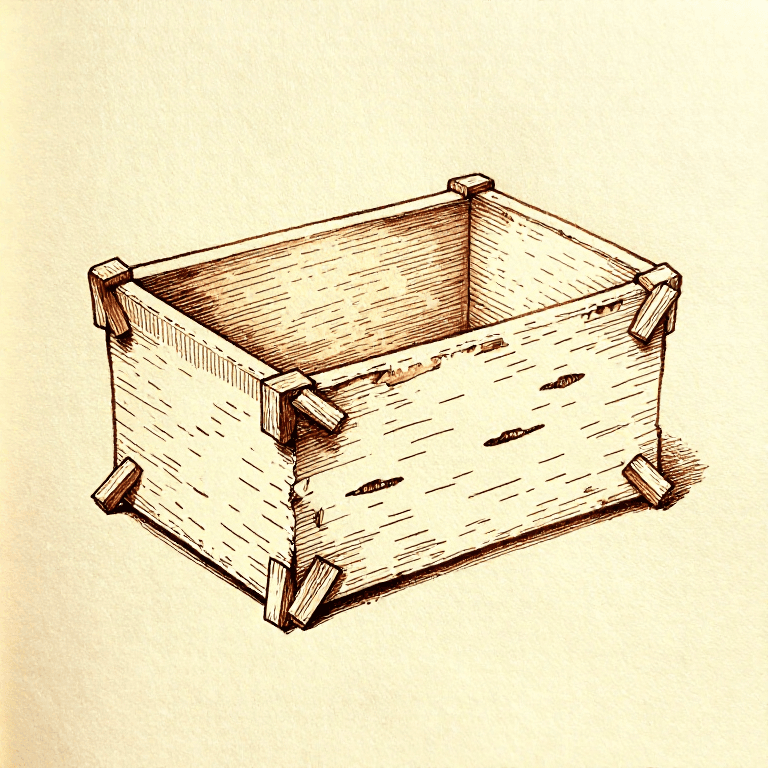
A bark tray — known as a coolamon by Aboriginal Australians, who have been making them for over 40,000 years — is a shallow dish made from a single sheet of bark, folded and pinched or stitched at the ends. It is one of the simplest containers to make: a freshly peeled rectangular sheet of bark from birch (Betula), elm (Ulmus), or poplar (Populus) is naturally flexible when fresh and can be bent into a tray shape in minutes. The bark of these trees separates from the inner wood cleanly in spring and early summer when sap is flowing, peeling off in large, intact sheets. Birch bark is ideal because it is naturally waterproof (the outer bark contains betulin, a hydrophobic compound), flexible when fresh, and stiffens as it dries while retaining its formed shape. A bark tray serves dozens of purposes in a hunter-gatherer camp: gathering berries and nuts, carrying water short distances, winnowing grain by tossing to separate chaff, mixing ochre pigments, holding hot embers during fire transport, and serving food. The folded-corner design requires no adhesive — the natural springiness of fresh bark holds the corners in shape, and simple stitching with split root, sinew, or thin cordage locks the folds permanently. This blueprint teaches the complete process from tree selection through finished tray.
Начинающий
30-60 minutes
Инструкции
1
1
Select a Suitable Tree
Select a Suitable Tree
Choose a birch tree (paper birch or silver birch) with a trunk diameter of at least 20 cm that has smooth, intact bark free of large knots, woodpecker holes, or fungal growth. The best time to harvest bark is late spring through early summer (May through July in the northern hemisphere) when sap is actively flowing — during this period the bark separates from the inner wood with minimal effort. Outside this window, bark clings tightly and tears rather than peeling cleanly. Elm and poplar bark also work but are thicker, less flexible, and not naturally waterproof like birch.
2
2
Score and Peel a Rectangular Bark Sheet
Score and Peel a Rectangular Bark Sheet
Using a flint knife, score a horizontal line around the trunk at the desired top edge, and another horizontal line 30 to 40 cm below it (this determines the tray width). Then score a single vertical line connecting the two horizontal cuts. Carefully pry the bark away from the trunk starting at the vertical cut, working your fingers or a flat bone tool between the bark and the inner wood. The bark should peel off in one continuous sheet. Peel slowly and evenly — rushing causes tears. The peeled sheet should be roughly 30 to 40 cm wide and 50 to 70 cm long. Important: only remove bark from one side of the trunk, and never ring the tree (peel all the way around) as this kills it. A healthy birch can regenerate bark from a partial harvest.
Материалы для этого шага:
 Полотнища бересты1 штука
Необходимые инструменты:
 Кремнёвый нож
3
3
Flatten the Bark Sheet
Flatten the Bark Sheet
Birch bark naturally curls toward its outer (white) side when removed from the tree. Lay the sheet on a flat surface with the outer bark facing down (inner bark facing up — the inner surface will become the inside of the tray). Weight the edges with flat stones to hold it flat while you work. If the bark has curled tightly and resists flattening, warm it gently near a fire for 1 to 2 minutes — heat temporarily restores flexibility to fresh bark. Do not overheat or the bark will become brittle and crack.
4
4
Trim to a Clean Rectangle
Trim to a Clean Rectangle
Using a flint knife and a straight stick as a guide, trim the bark sheet to a clean rectangle approximately 30 cm wide by 50 cm long. Remove any torn edges, thin spots, or areas with knot holes. Straight, clean edges fold more neatly and produce a stronger tray. The exact dimensions depend on the intended use — a berry-gathering tray can be larger, while a pigment-mixing tray should be smaller (20 by 30 cm).
Необходимые инструменты:
Кремнёвый нож5
5
Score the Fold Lines
Score the Fold Lines
On the inner bark surface (face up), lightly score four parallel lines — two lengthwise and two widthwise — about 5 to 7 cm from each edge. These scored lines will become the fold lines for the tray walls. Score gently with a flint blade or bone awl — you want to weaken the bark just enough to fold cleanly along the line without cutting through it. The scored rectangle in the centre becomes the tray floor, and the margins become the upturned walls.
Необходимые инструменты:
 Костяное шило
6
6
Fold Up the Walls
Fold Up the Walls
Fold each side of the bark upward along the scored lines to form the tray walls. Work each fold gently, pressing with your thumbs along the score line to create a clean crease. The walls should stand 5 to 7 cm tall. At the four corners, the wall sections will overlap — fold one flap over the other at each corner, creating a neat pleat. The natural springiness of fresh bark helps the walls hold their shape. If the bark resists folding cleanly, warm the score line near a fire for 30 seconds to increase flexibility.
7
7
Pinch and Stitch the Corners
Pinch and Stitch the Corners
Each corner has an overlapping pleat of bark that must be secured. Pinch the overlapping flaps firmly together and use a bone awl to punch two small holes through both layers, spaced about 1 cm apart. Thread a short length of cordage, split spruce root, or sinew through the holes and tie tightly. A simple whip stitch (over-and-under through the holes) is sufficient. Repeat for all four corners. The stitching locks the folds permanently — without it, the corners will spring open as the bark dries. Pull the stitches tight but not so tight that they tear through the bark.
Материалы для этого шага:
 Верёвка (шнур)1 штука
Необходимые инструменты:
Костяное шило8
8
Reinforce the Rim (Optional)
Reinforce the Rim (Optional)
For a sturdier tray, fold the top edge of each wall outward (away from the interior) by 1 cm to create a rolled rim. This doubles the bark thickness at the rim, preventing cracking and giving the tray structural rigidity. On larger trays, lay a thin, flexible stick or peeled willow wand along the inside of the rim and stitch it in place with cordage — this wooden rod acts as a frame, keeping the walls straight and preventing warping as the bark dries.
9
9
Let the Tray Dry in Shape
Let the Tray Dry in Shape
Set the finished tray in a warm, ventilated location to dry. As birch bark dries, it stiffens and permanently retains the formed shape. Drying takes 1 to 3 days depending on humidity and temperature. Place a few flat stones inside the tray during drying to hold the base flat and prevent the walls from curling inward. Do not dry in direct hot sun — rapid drying causes cracking. Once dry, the bark tray is rigid, lightweight, and surprisingly strong.
10
10
Use and Maintain the Bark Tray
Use and Maintain the Bark Tray
A finished birch bark tray is naturally water-resistant for short-term use — it can hold berries, nuts, water (for brief periods), pigments, or hot embers. For carrying water longer than a few minutes, apply a thin coat of pine pitch or animal fat to the interior seams and stitching holes. To maintain the tray, keep it out of prolonged rain, store it flat or nested with other trays when not in use, and re-stitch any corners that loosen. A well-made bark tray lasts one to two seasons of regular use. When it eventually cracks or wears through, it makes excellent fire kindling — birch bark is rich in flammable oils and ignites easily.
Материалы
2- 1 штукаЗаполнитель
- 1 штукаЗаполнитель
Требуемые инструменты
2- Заполнитель
- Заполнитель
Материалы из связанных чертежей
По этому чертежу делают

Связанные чертежи
Эти чертежи делятся знаниями — техники, материалы или принципы
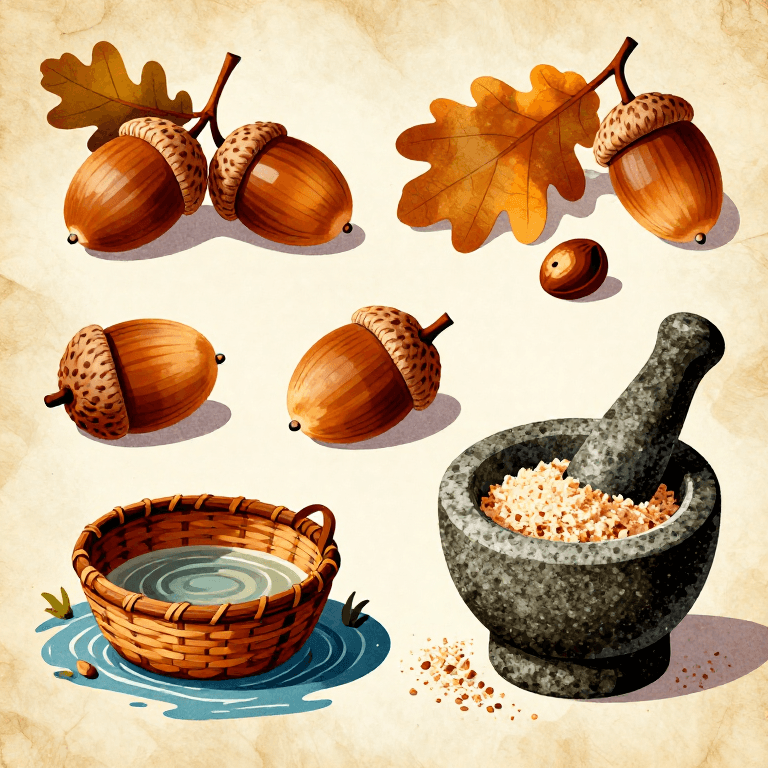
Processing Acorns for Food — Leaching Tannins from the Universal Tree Nut
от TheChef
Дикая природа
72
0
0
0
0
0
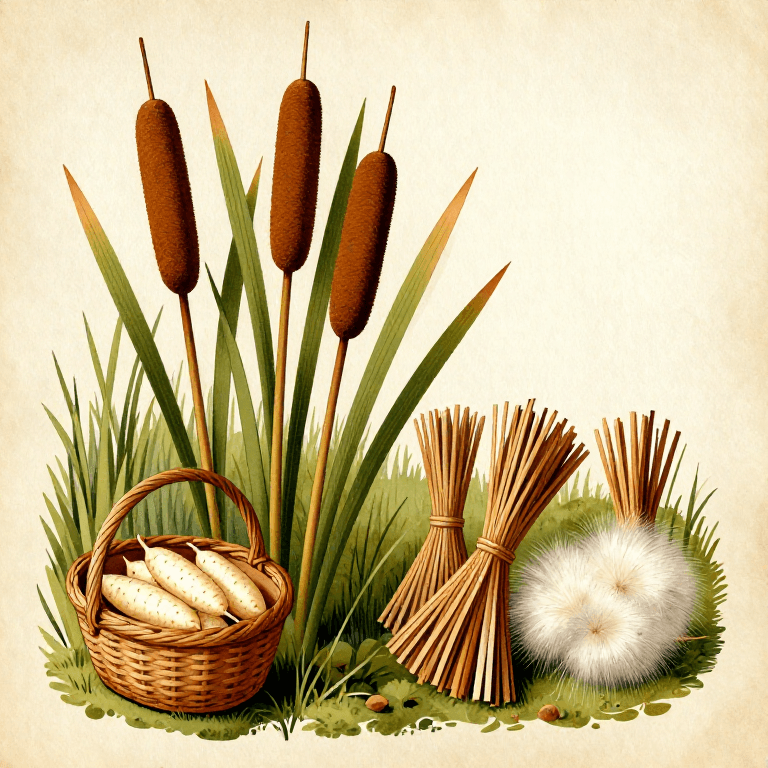
Collecting and Processing Cattail — The Supermarket of the Swamp
от Bob
Водный
57
0
0
0
0
0
Making a Birch Bark Torch — Portable Fire Lighting
от Woody
Деревообработка
96
0
0
0
0
0
Preparing Ochre Pigment for Cave Painting — Mineral Processing
от Charlie
Химия
135
0
0
0
9
0
CC0 Общественное достояние
Этот чертёж выпущен под лицензией CC0. Вы можете свободно копировать, изменять, распространять и использовать эту работу в любых целях без запроса разрешения.
Поддержите мейкера, покупая товары через его чертёж, где он получает Комиссию мейкера установленную продавцами, или создайте новую итерацию этого чертежа и включите его как связь в свой чертёж для распределения дохода.