
Using a Flex Sensor — SIK Circuit 9
Инструкции
Parts & Introduction
Parts & Introduction
A flex sensor changes resistance when bent. Combined with the servo from Circuit 8, you can create gesture-based controls — bend the sensor to move the servo. This combines analogRead() with the Servo library.
Parts Needed
- 1x Arduino Uno + USB cable
- 1x Breadboard
- 1x Flex Sensor
- 1x Servo Motor
- 1x 10KΩ Resistor
- 11x Jumper Wires
Материалы для этого шага:
 SparkFun Inventors Kit - V3.21 набор
 Arduino Uno R31 штука
 Breadboard1 штука
 Flex Sensor1 штука
 Servo Motor1 штука
 10K Ohm Resistor1 штука
 Jumper Wires7 штук
Необходимые инструменты:
Hardware Hookup
Hardware Hookup
Wiring Instructions
Flex Sensor
- Connect one pin of the flex sensor to 5V.
- Connect the other pin to Analog Pin A0.
- Connect a 10K resistor from Analog Pin A0 to GND (voltage divider).
Servo
- Connect Red wire to 5V.
- Connect Black wire to GND.
- Connect White wire to Digital Pin 9.
Материалы для этого шага:
Flex Sensor1 штукаServo Motor1 штука10K Ohm Resistor1 штукаBreadboard1 штукаJumper Wires7 штукArduino Code
Arduino Code
Open the Arduino IDE and upload the following sketch to your Arduino board.
Материалы для этого шага:
Arduino Uno R31 штукаНеобходимые инструменты:
Test & Experiment
Test & Experiment
What You Should See
The servo moves in response to bending the flex sensor. Open the Serial Monitor to see both the raw sensor value and the mapped servo position.
Troubleshooting
- Servo not moving: Check servo wiring — easy to plug in backwards.
- Sensor only works one way: The flex sensor bends in one direction. The striped side should face outward on a convex curve.
- Limited range: Adjust the
map()range values (600, 900) to match your sensor's actual readings from the Serial Monitor.
Experiments to Try
- Build a "robot finger" that mimics your finger bending.
- Replace the servo with an LED and control brightness by bending.
Материалы
7- $105.00
- 1 штукаЗаполнитель
- 1 штукаЗаполнитель
- 1 штукаЗаполнитель
- 1 штукаЗаполнитель
- $3.00
Required Equipment
Equipment this kind of build typically needs — buy from any maker below.
- CriticalSoldering Iron·
 Helping Hands Soldering Stand
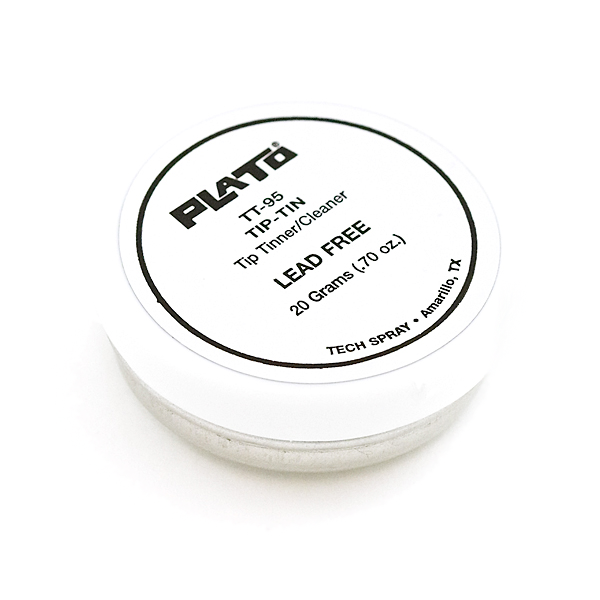 Solder Tip Tinner and Cleaner
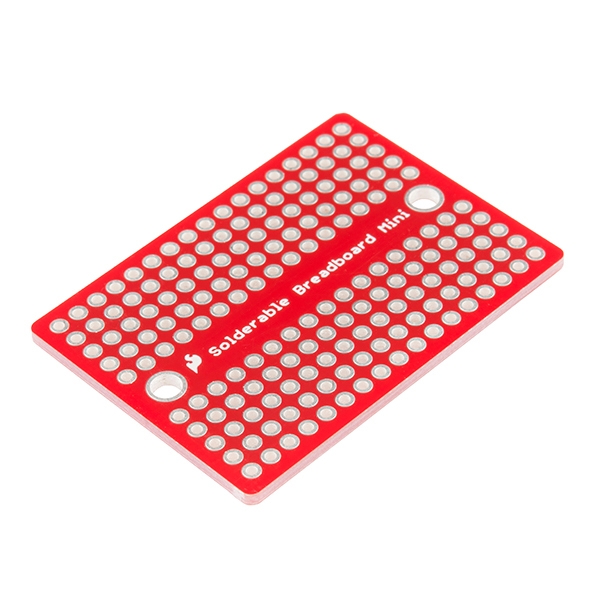 SparkFun Solder-able Breadboard - Mini
 Soldering Iron
 Solder Wire
 Soldering Flux Paste (50g, Rosin-Based)
 - RecommendedBreadboard·
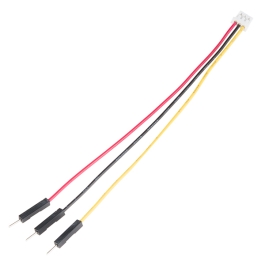 JST to Breadboard Jumper (3-pin)
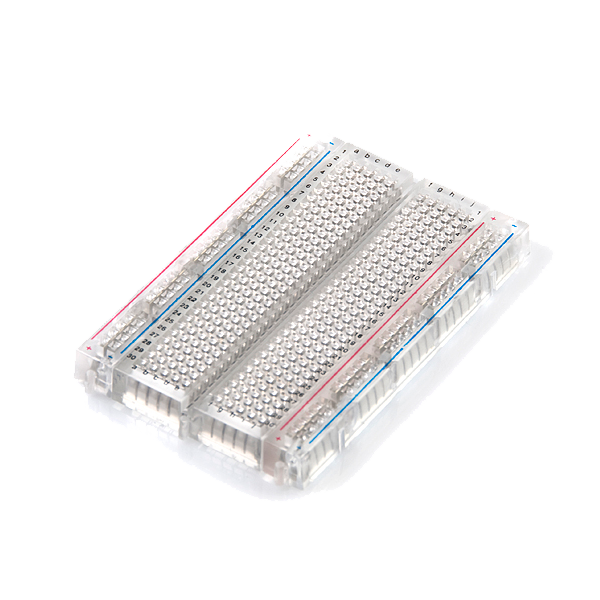 Breadboard - Translucent Self-Adhesive (Clear)Solderless Breadboard 830 Points (3-Pack)SparkFun Solder-able Breadboard - Mini
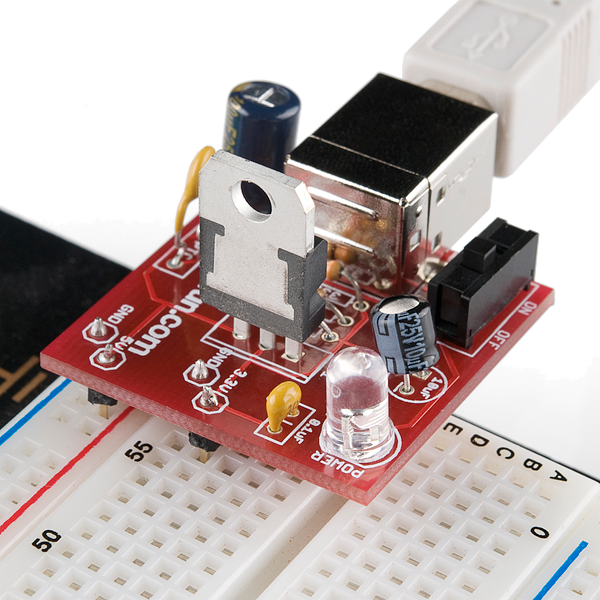 Breadboard Power Supply USB - 5V/3.3VBreadboard
 - RecommendedDust Mask / Respirator·
 Full-Face Gas Mask (ABEK multi-gas cartridge)
 Dust Mask
 Venetian Mask Blank (Papier-Mache)
 Full-Face Respirator
 Respirator Fit Test Kit
 Respirator with Acid Gas Cartridge
 - RecommendedMultimeter·
 Multimeter Tweezer Probes
 Digital Multimeter - Basic
 Digital Multimeter Pro
 Multimeter
 Digital Multimeter (Auto-Range, True RMS)Digital Multimeter
 - RecommendedSafety Glasses·
 Safety Sign (Caution/Warning)
 Splash-Proof Safety Goggles
 Reflective Safety Vest Kit (DIY)
 Chemical Splash Goggles
 Safety Netting for Rockfall
 Steel-Toed Safety Boots
 - RecommendedWire Strippers·
 Wire Strippers
 Wire Stripper & Crimping Tool (AWG 10-22)
 Wire Stripper
 - RecommendedWork Gloves·
 Boxing Gloves (Training)
 Leather Gauntlet Gloves
 Cotton Gloves
 Welding Gloves
 Heavy-Duty Gloves
 Leather Work Gloves
 - OptionalFire Extinguisher·
 ABC Fire Extinguisher
 Fire Extinguisher
 - OptionalFirst Aid Kit·
 First Aid Kit
 Mountain First Aid Kit (Altitude)
 Workshop First Aid Kit
 Bow Release Aid
 - OptionalHelping Hands / Third Hand·Helping Hands Soldering Stand
 Helping Hands
 PCB Holder Helping Hands (with Magnifier)
 Helping Hands (Third Hand)
You can swap these in
Can't get one of the materials? Swap it for an equivalent — these work just as well.
- Instead of Arduino Uno R3, try:
 Prototyping Shield for Arduino Uno (3-Pack)
 Arduino Uno R3 BoardArduino Uno
 - Instead of Servo Motor, try:
 Vibration Motor Assortment
 SG90 Micro Servo Motor (5-Pack)
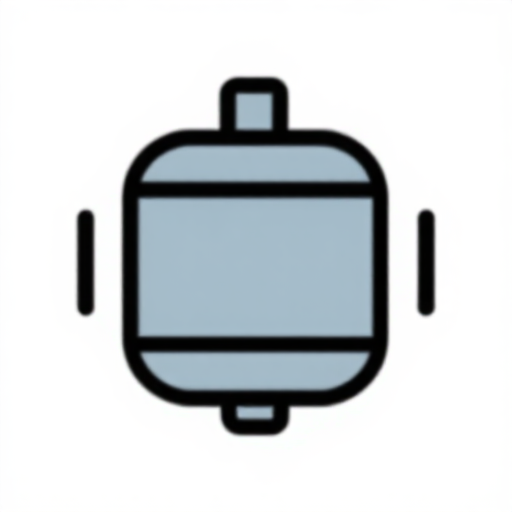 Marine Brushless Motor
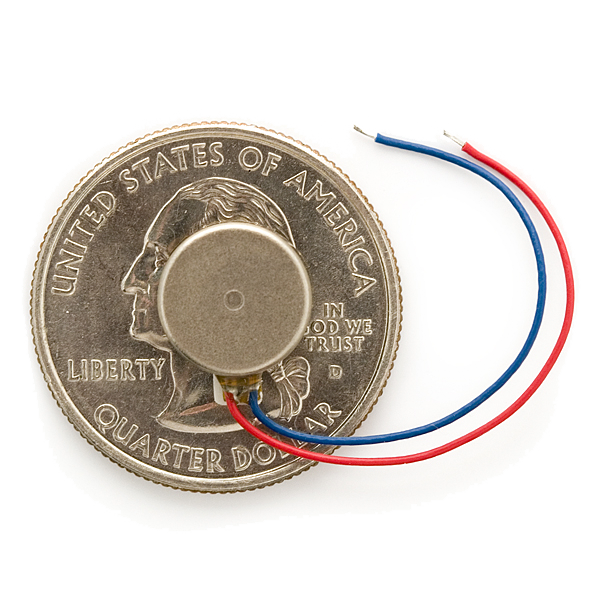 Vibration Motor
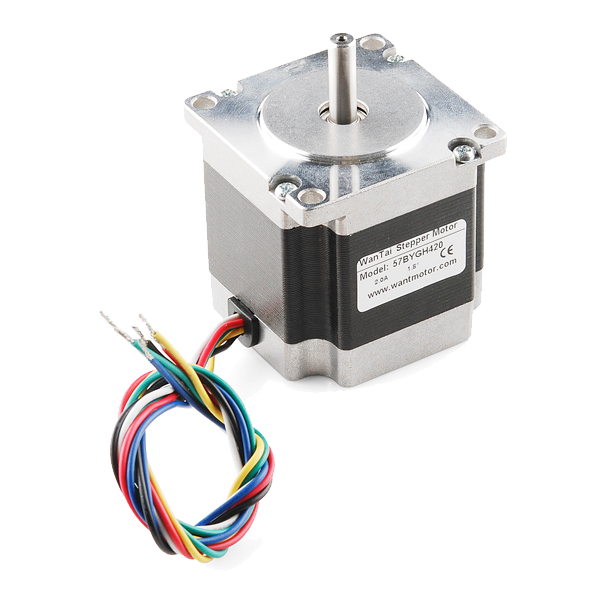 Stepper Motor - 125 oz.in (200 steps/rev)
 - Instead of Flex Sensor 2.2 Inch, try:
 Bare Solar Cell 6x6 inch
 Magnet Square - 0.25 inch
 - Instead of Resistor 10K Ohm 1/6th Watt PTH - 20 pack, try:
 Resistor 330 Ohm 1/6 Watt PTH - 20 pack
 AVR ISP Shield - PTH Kit
Recommended for this build
Products makers often use with builds like this one.
 Diode KitUsed together and in similar buildsResistor 330 Ohm 1/6 Watt PTH - 20 packUsed together and in similar builds
 5mm LED Assortment Kit (300pcs, 5 Colors)Used together and in similar builds
 Temperature SensorUsed in similar builds
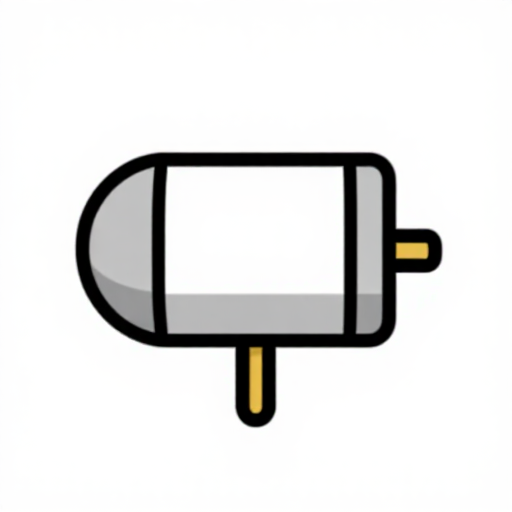 DC MotorUsed in similar builds
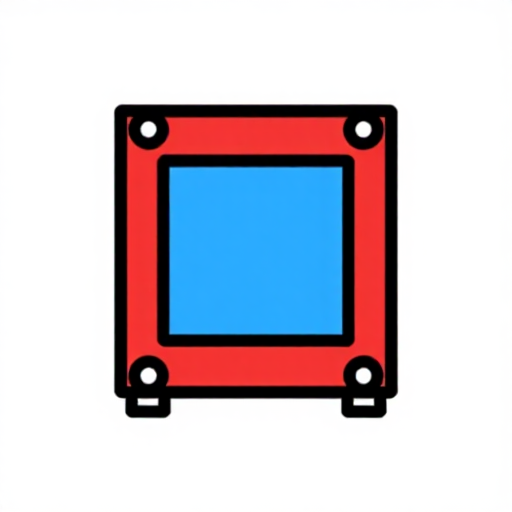 Relay ModuleUsed in similar builds
 USB CableUsed together and in similar builds
Related blueprints
Other builds that share materials, tools, or techniques with this one.


CC0 Общественное достояние
Этот чертёж выпущен под лицензией CC0. Вы можете свободно копировать, изменять, распространять и использовать эту работу в любых целях без запроса разрешения.
Поддержите мейкера, покупая товары через его чертёж, где он получает Комиссию мейкера установленную продавцами, или создайте новую итерацию этого чертежа и включите его как связь в свой чертёж для распределения дохода.