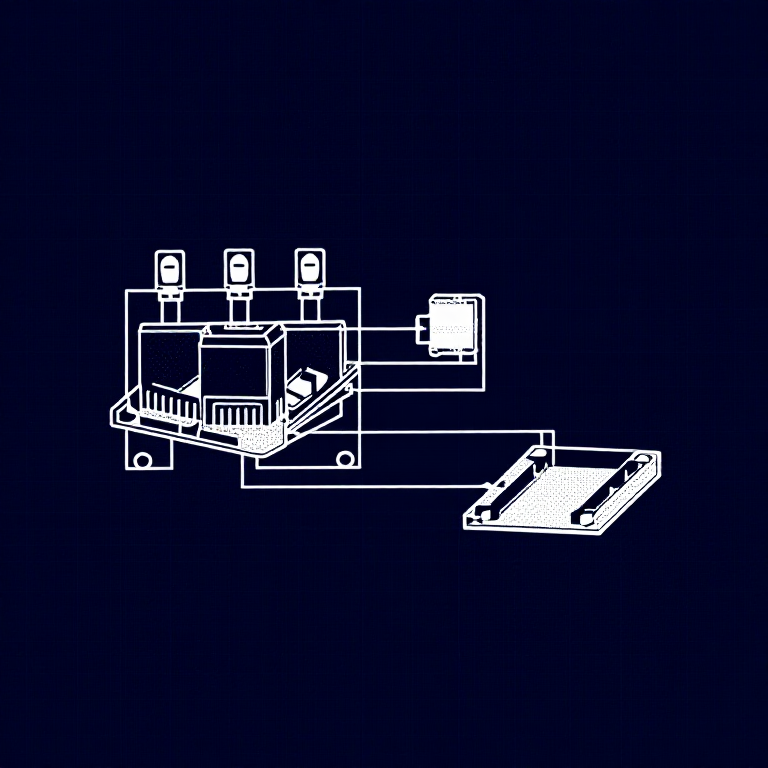


Using Relays — SIK Circuit 13
Инструкции
Parts & Introduction
Parts & Introduction
A relay is an electrically-operated mechanical switch. A small current energizes a coil that physically moves a contact arm, switching a separate circuit. Relays can control high-power devices (motors, lights, appliances) from low-power Arduino signals. This experiment uses an SPDT (Single Pole Double Throw) relay to alternate between two LEDs.
Parts Needed
- 1x Arduino Uno + USB cable
- 1x Breadboard
- 1x SPDT Relay
- 1x NPN Transistor (P2N2222A)
- 1x Diode (1N4148)
- 2x LEDs (different colors)
- 2x 330Ω Resistors
- 14x Jumper Wires
Материалы для этого шага:
 SparkFun Inventor's Kit - V3.21 набор
Необходимые инструменты:
 Компьютер с Arduino IDE
Hardware Hookup
Hardware Hookup
Wiring Instructions
Transistor + Relay Coil
- Connect transistor Base through 330Ω resistor to Arduino Digital Pin 2.
- Connect transistor Emitter to GND.
- Connect one side of the relay coil to transistor Collector.
- Connect other side of relay coil to 5V.
- Flyback Diode: Band (cathode) to 5V, anode to Collector.
Relay Contacts + LEDs
- Connect relay COMMON through a 330Ω resistor to 5V.
- Connect relay NC (Normally Closed) to LED 1 positive leg.
- Connect relay NO (Normally Open) to LED 2 positive leg.
- Connect both LED negative legs to GND.
Материалы для этого шага:
 Реле SPDT1 штука
 Макетная плата1 штука
 Соединительные провода8 штук
Arduino Code
Arduino Code
Open the Arduino IDE and upload the following sketch to your Arduino board.
Материалы для этого шага:
 Arduino Uno R31 штука
Необходимые инструменты:
Компьютер с Arduino IDETest & Experiment
Test & Experiment
What You Should See
You should hear the relay clicking, and see the two LEDs alternating — one on, one off — switching every second.
Troubleshooting
- LEDs not lighting: Check LED polarity — longer leg is positive.
- No clicking sound: The transistor or coil circuit isn't working. Verify transistor orientation and coil connections.
- Relay not making good contact: The SIK relay is designed for soldering, not breadboarding. Press it firmly to ensure all pins contact.
- Confusion: Don't mix up the TMP36 temperature sensor with the transistor!
Experiments to Try
- Replace the LEDs with a motor on the NO contact — use the relay as a motor on/off switch.
- Use a button to control when the relay toggles.
- Add variable delay to create morse code patterns.
Материалы
9- SparkFun Inventor's Kit - V3.210% комиссия1 набор$106.86
- Заполнитель
- Заполнитель
- Заполнитель
- 1 штукаЗаполнитель
- 1 штукаЗаполнитель
- 1 штукаЗаполнитель
- Заполнитель
- 2 штукЗаполнитель
Требуемые инструменты
1- Заполнитель
CC0 Общественное достояние
Этот чертёж выпущен под лицензией CC0. Вы можете свободно копировать, изменять, распространять и использовать эту работу в любых целях без запроса разрешения.
Поддержите мейкера, покупая товары через его чертёж, где он получает Комиссию мейкера установленную продавцами, или создайте новую итерацию этого чертежа и включите его как связь в свой чертёж для распределения дохода.