ИСКУССТВО
КРАСОТА И ЗДОРОВЬЕ
РЕМЕСЛО
КУЛЬТУРА И ИСТОРИЯ
РАЗВЛЕЧЕНИЯ
ЭКОЛОГИЯ
ЕДА И НАПИТКИ
ОБРАТНАЯ ИНЖЕНЕРИЯ
НАУКИ
СПОРТ
ТЕХНОЛОГИИ
НОСИМЫЕ УСТРОЙСТВА
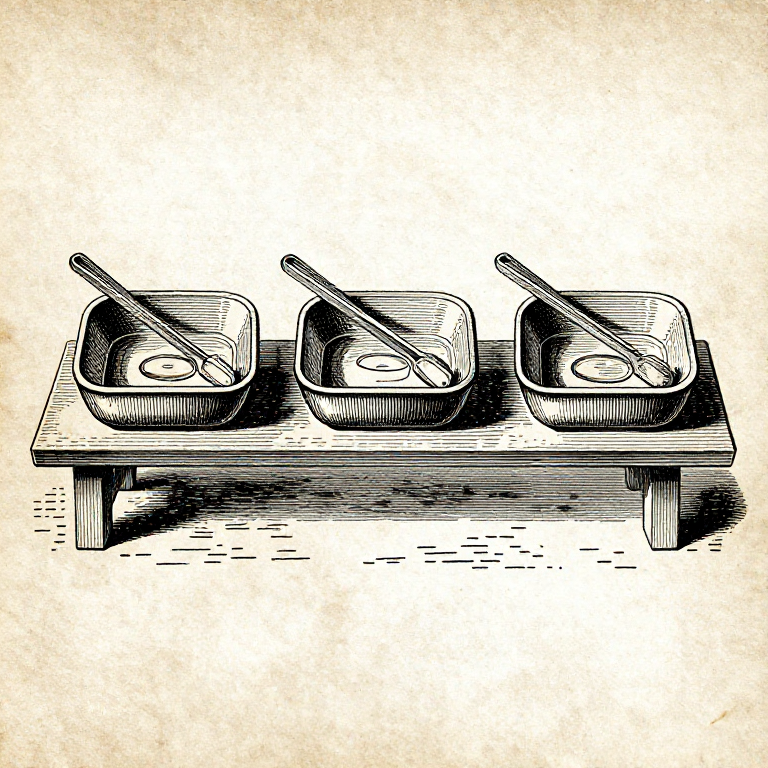


Stop, Fix, Wash: The Three Baths That Decide Whether It Lasts
Development makes the image. The three baths after it decide whether the image still exists in fifty years.
**Stop** halts development at a defined moment. **Fix** dissolves away the silver that was never exposed, which is what makes the film safe to look at in daylight. **Wash** removes the fixer, and it is the step most often cut short — an under-washed negative looks perfect and stains brown over a decade.
None of the three is optional, and none of them is interesting to do, which is exactly why they are the steps that get rushed.
Средний
3 hours
Инструкции
1
1
Stop: why plain water is not quite enough
Stop: why plain water is not quite enough
Development does not end when the developer is poured out. Developer soaked into the emulsion keeps working until it is neutralised or diluted away, and that is several seconds of uncontrolled extra development.
**A stop bath is dilute acetic or citric acid.** Developers work in alkali, so an acid bath stops them instantly and completely. Thirty seconds with agitation.
**A water rinse is the alternative** and it is genuinely used — two or three changes of water, half a minute. It dilutes rather than neutralises, so it is slower to act, and for a film with a long development time the difference is negligible. For a short development or for paper, an acid stop is better.
**It also protects the fixer.** Carrying alkaline developer straight into an acid fixer neutralises the fixer a little each time, so a stop bath makes the fixer last considerably longer. That is the practical reason most people use one.
**Indicator stop bath** changes colour when it is exhausted, which removes the only question about it.
Same temperature as the developer, within a couple of degrees. A large temperature jump between baths can crack the emulsion into a fine crazing called reticulation — occasionally used deliberately, usually a disaster.
Необходимые инструменты:
 Бачок для проявки (нержавеющая сталь, 2 спирали)
 Лабораторный термометр
 Мерный цилиндр
 Химически стойкие перчатки
 Набор фотохимии (проявитель, стоп-ванна, фиксаж, ч/б)
2
2
Fix: removing the silver that never got the chance
Fix: removing the silver that never got the chance
A film emulsion is silver halide crystals in gelatin. Exposure and development turn the exposed ones into black metallic silver. The unexposed ones are still light-sensitive, and if they are left there the whole film darkens the moment it sees daylight.
**The fixer dissolves them.** Sodium or ammonium thiosulphate forms a soluble complex with silver halide and carries it out of the emulsion.
**The clearing test sets the time.** Drop a scrap of undeveloped film into fresh fixer and time how long it takes to go from milky to clear. **Fix for twice that time.** That is the only reliable way to know, because it adapts automatically to how tired the fixer is.
**A fixer that takes more than about twice as long to clear as it did when fresh is finished.** Continuing to use it is how negatives end up with a permanent milky haze.
**Over-fixing is possible** — prolonged fixing slowly attacks the image silver itself, and it also makes the fixer harder to wash out of paper. Twice the clearing time, not ten minutes for luck.
**The used fixer holds dissolved silver** and should not go down the drain. It is also the one bath worth saving, because that silver can be recovered.
Материалы для этого шага:
 Фотоплёнка1 штука
Необходимые инструменты:
Бачок для проявки (нержавеющая сталь, 2 спирали)Мерный цилиндрХимически стойкие перчаткиНабор фотохимии (проявитель, стоп-ванна, фиксаж, ч/б)3
3
Wash: the step that decides the next fifty years
Wash: the step that decides the next fifty years
Fixer left in the emulsion slowly attacks the silver image. The negative looks perfect when it dries and develops brown stains and fading over years — which is why this is the step whose consequences nobody sees until it is far too late.
**Running water for twenty to thirty minutes** is the traditional answer for film, and it works and wastes a great deal of water.
**The Ilford sequence is better and faster**: fill the tank, invert five times, dump; fill, invert ten times, dump; fill, invert twenty times, dump. Three changes, a couple of minutes, and a measured result — each change dilutes what is left by a large factor, and three of them is enough.
**A hypo clearing agent** cuts washing time substantially and is genuinely worth it for fibre-based paper, which holds fixer in the paper base itself rather than just in the emulsion.
**Paper needs far more washing than film.** Resin-coated paper washes in a few minutes; fibre-based paper needs an hour, or a clearing agent and twenty minutes. An archivally washed fibre print is the most durable photographic object there is, and an unwashed one is among the least.
**Test it** if it matters: a residual hypo test kit puts a drop on the margin and reads the stain against a scale. It is the only way to know.
Материалы для этого шага:
 Фотобумага (мультиградационная)1 штука
Необходимые инструменты:
Бачок для проявки (нержавеющая сталь, 2 спирали)Лабораторный термометр4
4
Drying without marks
Drying without marks
Nearly every mark on an otherwise good negative happens in the last five minutes.
**A wetting agent in the final rinse.** A few drops in the last change of water lowers the surface tension so the water sheets off instead of beading. Beads dry into hard mineral spots that are visible in every print made afterwards.
**Hang it and leave it.** Weighted at the bottom so it hangs straight, in still air, somewhere dust-free. A bathroom after a hot shower is the traditional answer, because the steam has settled the dust.
**Do not wipe it.** A squeegee or fingers on a wet emulsion scratch it, and the gelatin is at its softest and most vulnerable while wet. If the wetting agent is doing its job, nothing needs wiping.
**Do not force-dry with heat.** Fast drying makes the film curl hard and can leave drying marks where one part dries much sooner than another.
**Cut and sleeve when completely dry**, which takes a couple of hours. Film that is still slightly damp will stick to the sleeve, and that damage is permanent.
Handle by the edges for the rest of its life. A fingerprint on an emulsion etches into it over months.
Материалы для этого шага:
Фотоплёнка1 штукаНеобходимые инструменты:
 Шкаф для сушки плёнки (беспыльный)
 Ювелирная лупа
Материалы
2- 1 штукаЗаполнитель
- Заполнитель
Требуемые инструменты
7- Заполнитель
- Заполнитель
- Заполнитель
- Заполнитель
- Заполнитель
Связанные чертежи
Эти чертежи делятся знаниями — техники, материалы или принципы


CC0 Общественное достояние
Этот чертёж выпущен под лицензией CC0. Вы можете свободно копировать, изменять, распространять и использовать эту работу в любых целях без запроса разрешения.
Поддержите мейкера, покупая товары через его чертёж, где он получает Комиссию мейкера установленную продавцами, или создайте новую итерацию этого чертежа и включите его как связь в свой чертёж для распределения дохода.