ИСКУССТВО
КРАСОТА И ЗДОРОВЬЕ
РЕМЕСЛО
КУЛЬТУРА И ИСТОРИЯ
РАЗВЛЕЧЕНИЯ
ЭКОЛОГИЯ
ЕДА И НАПИТКИ
ОБРАТНАЯ ИНЖЕНЕРИЯ
НАУКИ
СПОРТ
ТЕХНОЛОГИИ
НОСИМЫЕ УСТРОЙСТВА
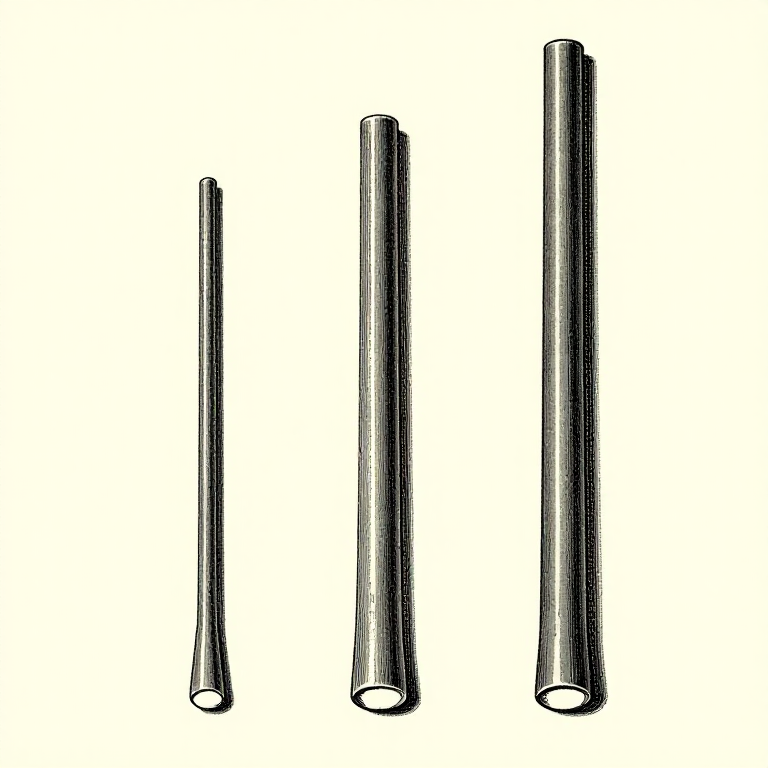


Striking and Holding an Arc: Four Things Under Your Hand at Once
An arc is a conducting column of ionised gas. It will not start across a gap on its own at welding voltages, so it is started by touching the electrode to the work and lifting away — the short circuit heats the tip enough to ionise the air above it.
Once lit, four things are under the welder's hand at the same time: the current set on the machine, the length of the arc, the angle the electrode is held at, and how fast it travels. Everything that goes right or wrong in a bead comes out of those four.
This rung is about lighting the arc and holding it steady. Laying a bead with it is the next rung.
Начинающий
3 hours
Инструкции
1
1
Set the current before you touch the work
Set the current before you touch the work
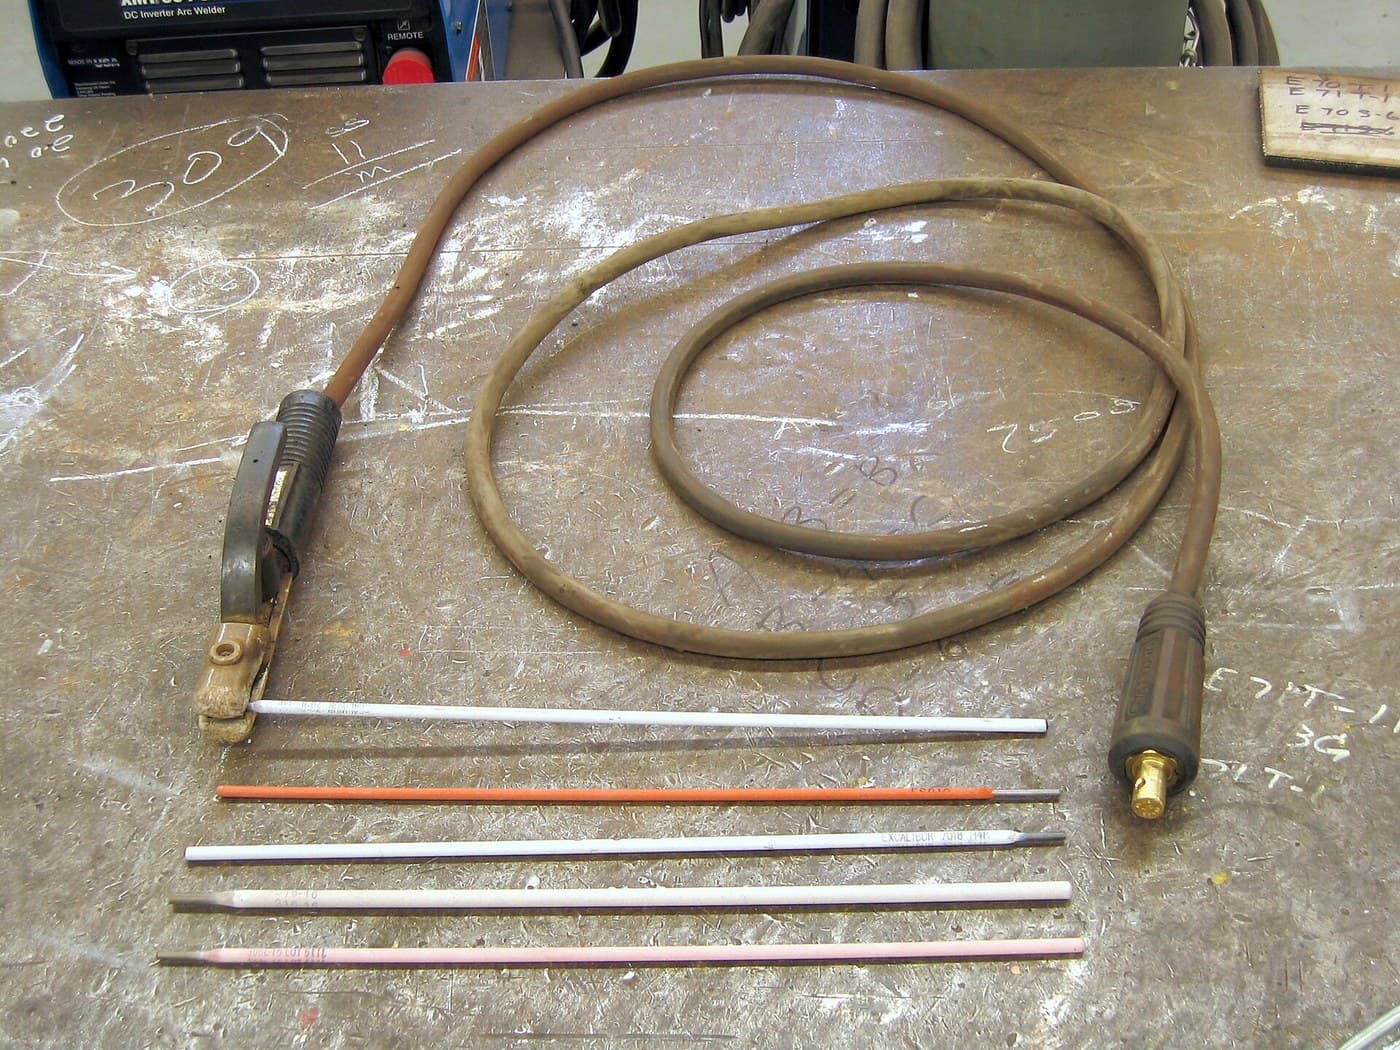
Current is set by the electrode, not by the plate. The rule of thumb that holds for general-purpose mild steel rods is roughly 30 to 40 amps per millimetre of core diameter:
* 2.0 mm rod — 50 to 80 A
* 2.5 mm rod — 70 to 110 A
* 3.2 mm rod — 100 to 140 A
* 4.0 mm rod — 140 to 190 A
Every box of electrodes prints its own range and that printed range beats the rule of thumb every time.
Start in the middle. Too low and the rod sticks and the arc keeps going out; too high and the rod glows red before it is half used, the pool runs, and the edges of the joint are undercut.
Материалы для этого шага:
 Сварочный электрод1 упаковка
Необходимые инструменты:
 Сварочный аппарат дуговой сварки
 Сварочная маска с автозатемнением
 Сварочные перчатки
 Кожаный фартук
2
2
Two ways to strike, and what to do when it sticks
Two ways to strike, and what to do when it sticks
**Scratch start.** Drag the tip across the plate like striking a match, then lift about 3 mm the moment it lights. It is the easier of the two to learn and it leaves a scratch outside the joint, so scratch where the weld will later cover, or on scrap.
**Tap start.** Bring the tip straight down onto the spot, touch, and lift. It starts exactly where you want it, which matters when the bead must begin at a line, but it sticks more often.
It will stick. The rod welds itself to the plate and the machine goes into short circuit. Twist the holder sharply sideways and it usually breaks free. If it does not, release the rod from the holder first — do not stand there pulling while the machine pours current into a dead short — then snap the stuck rod off and chip the stub away.
Sticking on nearly every strike means the current is too low.
Материалы для этого шага:
Сварочный электрод1 упаковка Лист малоуглеродистой стали1 штука
Необходимые инструменты:
Сварочный аппарат дуговой сваркиСварочная маска с автозатемнениемСварочные перчатки Молоток
 Набор проволочных щёток
3
3
Arc length is the one you cannot see yourself getting wrong
Arc length is the one you cannot see yourself getting wrong
Hold the arc about as long as the core wire is thick — 3.2 mm of gap for a 3.2 mm rod. That is the single most useful number in stick welding.
The reason it matters is that arc voltage rises with arc length, so a long arc puts more heat in at the same current, spreads it wider, and lets air at the pool. A long arc sounds hollow and fluttery, throws spatter everywhere, and leaves a wide flat bead with porosity in it.
A correct arc has a sharp continuous crackle, like frying bacon. Learn the sound, because behind a helmet the sound tells you about the arc length faster than the view does.
As the rod burns down, the hand has to feed it in at exactly the rate it is consumed. That is the actual skill, and it is why the first hour is spent running beads on scrap with no joint at all.
Материалы для этого шага:
Сварочный электрод1 упаковкаЛист малоуглеродистой стали1 штукаНеобходимые инструменты:
Сварочный аппарат дуговой сваркиСварочная маска с автозатемнениемСварочные перчатки Защита слуха (наушники, SNR 30 дБ)
4
4
Angle: along the joint, and across it
Angle: along the joint, and across it
Two angles, and they do different jobs.
**Travel angle** is the lean along the direction of travel. For stick welding, drag the rod: tilt the top of the electrode back about 5 to 15 deg from vertical so it trails behind the pool as it moves. Dragging pushes the slag backwards out of the pool. (MIG is the opposite — it is usually pushed — because there is no slag to sweep.)
**Work angle** is the lean across the joint. On a flat butt weld, straight up at 90 deg. On a horizontal fillet in a tee joint, about 45 deg so the heat is shared evenly between the upright and the base; tilt towards one member and that one gets the fusion while the other gets a cold edge.
Getting the work angle wrong on a fillet is the commonest cause of a weld that looks fine and is only attached to one of the two parts.
Материалы для этого шага:
Лист малоуглеродистой стали1 штука Уголок из мягкой стали1 штука
Необходимые инструменты:
Сварочный аппарат дуговой сваркиСварочная маска с автозатемнениемСварочные перчатки Цифровой угломер
Материалы
3- 1 упаковкаЗаполнитель
- 1 штукаЗаполнитель
- 1 штукаЗаполнитель
Требуемые инструменты
8- Заполнитель
- Заполнитель
- Заполнитель
- Заполнитель
- Заполнитель
- Заполнитель
- Заполнитель
- Заполнитель
Связанные чертежи
Эти чертежи делятся знаниями — техники, материалы или принципы


CC0 Общественное достояние
Этот чертёж выпущен под лицензией CC0. Вы можете свободно копировать, изменять, распространять и использовать эту работу в любых целях без запроса разрешения.
Поддержите мейкера, покупая товары через его чертёж, где он получает Комиссию мейкера установленную продавцами, или создайте новую итерацию этого чертежа и включите его как связь в свой чертёж для распределения дохода.