ИСКУССТВО
КРАСОТА И ЗДОРОВЬЕ
РЕМЕСЛО
КУЛЬТУРА И ИСТОРИЯ
РАЗВЛЕЧЕНИЯ
ЭКОЛОГИЯ
ЕДА И НАПИТКИ
ОБРАТНАЯ ИНЖЕНЕРИЯ
НАУКИ
СПОРТ
ТЕХНОЛОГИИ
НОСИМЫЕ УСТРОЙСТВА
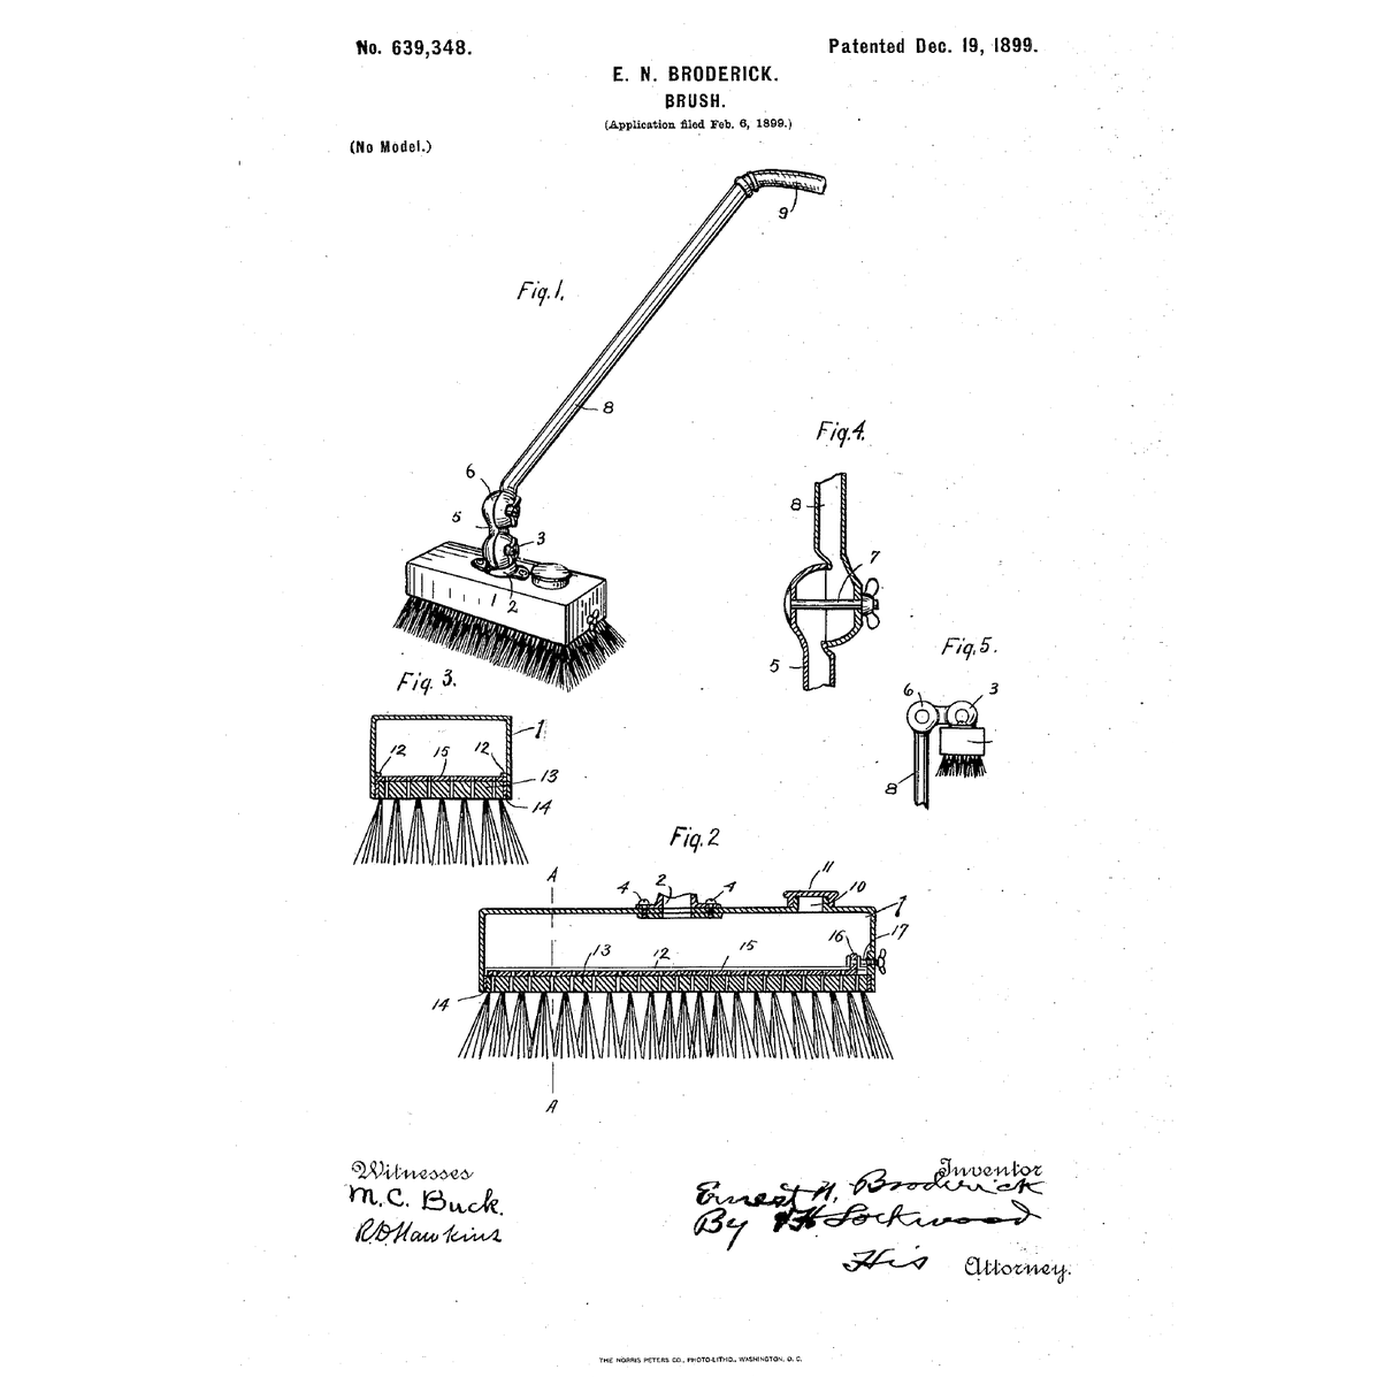


The Tank-Headed Self-Feeding Brush: Soap in the Tank, a Plate to Meter It
Scrubbing a floor means going back to the bucket every few strokes.
Ernest N. Broderick of Indianapolis received US 639,348, dated 19 December 1899, for a cleaning brush with a small tank on its perforated top, fed through a hollow handle from a hose; a perforated plate slid by a screw sets how far the holes open, and soap in the tank turns the water to suds — "a self-feeding brush."
This rung works out how the sliding plate opens the holes, then builds the tank on a scrub brush and measures the flow at each plate setting.
Средний
About 4 hours
Инструкции
1
1
Open area of the plate
Open area of the plate
Загрузка блокнота Jupyter…
2
2
A scrubbing brush before it
A scrubbing brush before it
The embedded blueprint holds two brush heads on a sprung holder. Broderick puts a water tank on the head and feeds it through the handle.
3
3
Read US 639,348
Read US 639,348
"When used for scrubbing, the hose can be connected to a hydrant, and thus supply the desired amount of water to the brush, making it unnecessary to dip the brush into the bucket or tub of water. In other words, my device is a self-feeding brush. Should I desire to use soapy water, I can insert through the openings 10 particles of soap or soap powder. In this way I get soapsuds, which I use in scrubbing as it is needed, keeping the brush constantly supplied."
4
4
Perforate the brush back
Perforate the brush back
Drill fourteen 4 mm holes through the scrub brush's back between the tufts, in two rows 30 mm apart.
Материалы для этого шага:
 Жёсткая щётка1 штука
Необходимые инструменты:
 Слесарные тиски
 Аккумуляторная дрель
 Набор свёрл
 Перманентный маркер
 Линейка
 Прозрачные защитные очки
5
5
Make the sliding plate
Make the sliding plate
Cut an aluminium plate 10 mm shorter than the back. Drill it through the back's holes, then file its end square. Rivet two guide strips to the back's top so it slides lengthwise.
Материалы для этого шага:
 Алюминиевый лист1 штука
 Стальные заклёпки1 штука
Необходимые инструменты:
 Ножницы по металлуАккумуляторная дрельНабор свёрл
 Напильники (ручной напильник)
 Клепальный набор
 Клепальный молоток
6
6
Build the tank
Build the tank
Fold an aluminium box 50 mm deep to the back's size with a lid. Drill the lid for a 25 mm filling hole and a handle socket. Seal it to the back with silicone and screws.
Материалы для этого шага:
Алюминиевый лист1 штукаСтальные заклёпки1 штука Силиконовый герметик1 штука
 Шуруп по дереву #8 x 1"1 штука
Необходимые инструменты:
Ножницы по металлуСлесарные тискиКлепальный наборАккумуляторная дрельНабор свёрл Кожаные рабочие перчатки
7
7
Fit the adjusting screw
Fit the adjusting screw
Run an M4 screw through a nut epoxied on the tank's end wall so its tip pushes the plate. Turn it to close or open the holes.
Материалы для этого шага:
 Машинные винты1 штука
 Шестигранная гайка1 штука
 Двухкомпонентная эпоксидка1 штука
Необходимые инструменты:
Аккумуляторная дрельНабор свёрл Набор отвёрток
8
8
Fit the handle
Fit the handle
Fix 1.2 m of 15 mm copper tube in the socket with brass fittings. Fit a ball valve and hose connector at its top.
Материалы для этого шага:
 Медная труба1 штука
 Латунные фитинги1 штука
 Шаровой кран1 штука
 Уплотнительная лента ПТФЭ для резьбы1 штука
Необходимые инструменты:
 Труборез
 Разводной ключ
9
9
The patent drawing
The patent drawing
US 639,348 drawing sheet, public domain (expired patent).
10
10
Measure the flow at each setting
Measure the flow at each setting
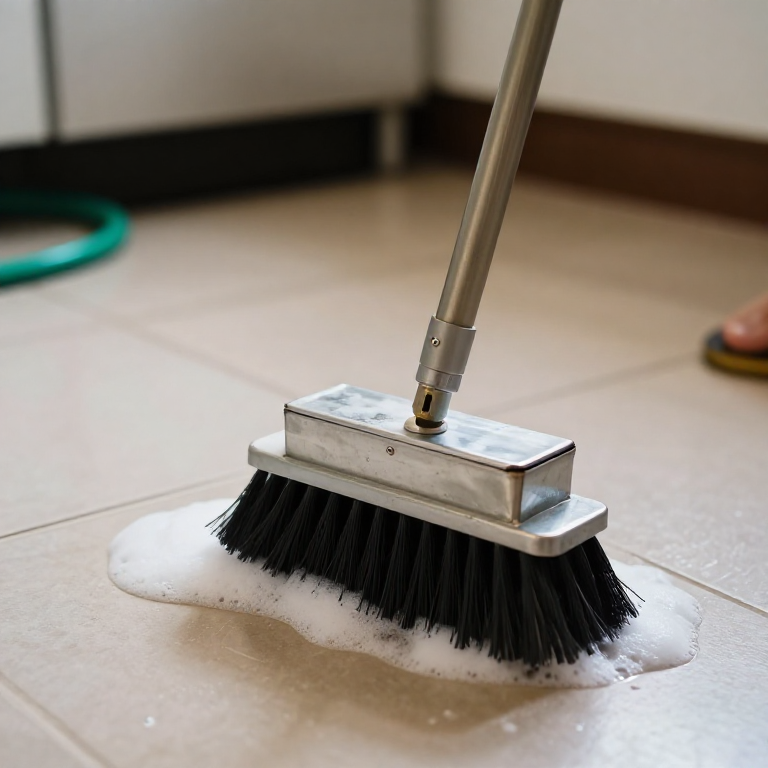
Connect the garden hose. Set the plate fully open, half and nearly shut, and catch the water for 30 s each in the jug. Then add a squirt of soap through the filling hole and scrub.
Материалы для этого шага:
 Вода1 штука
 Кастильское мыло (жидкое)1 штука
Необходимые инструменты:
 Мерный кувшин
 Секундомер
 Цифровой штангенциркуль 6 дюймов
 Садовый шланг
11
11
A brush that floods, starves or leaks
A brush that floods, starves or leaks
Tank-headed self-feeding brush troubleshooting.
Flow
Loading...
12
12
History and honest limits
History and honest limits
**Ernest N. Broderick** of Indianapolis filed US 639,348 on 6 February 1899; it is dated 19 December 1899. Rubber or leather strips seal the tank to the brush-top. Two hollow adjustable joints, ground to fit and clamped by a bolt, let the handle be set at any angle, for floors, walls, windows or dusting high furniture; with compressed air instead of water it blows dust away, and a mop or duster may replace the brush.
**Honest limits.** Our handle is fixed; his joints are not built here. The notebook gives open area, not flow through a real hole. Your flows are the result.
Материалы
14- 1 штукаЗаполнитель
- 1 штукаЗаполнитель
- 2 штукЗаполнитель
- 1 штукаЗаполнитель
- 1 штукаЗаполнитель
- 1 штукаЗаполнитель
- 1 штукаЗаполнитель
- 1 штукаЗаполнитель
- 1 штукаЗаполнитель
- 1 штукаЗаполнитель
- 1 штукаЗаполнитель
- Заполнитель
- 1 штукаЗаполнитель
- 1 штукаЗаполнитель
Требуемые инструменты
18- Заполнитель
- 1 vendor sell this, none ship to you yetЗаполнитель
- Заполнитель
- Заполнитель
- Заполнитель
- Заполнитель
- Заполнитель
- Заполнитель
- Заполнитель
- Заполнитель
- Заполнитель
- Заполнитель
- Заполнитель
- Заполнитель
- Заполнитель
- Заполнитель
- Заполнитель
- Садовый шланг10% комиссияЗаполнитель
Связанные чертежи
Эти чертежи делятся знаниями — техники, материалы или принципы



CC0 Общественное достояние
Этот чертёж выпущен под лицензией CC0. Вы можете свободно копировать, изменять, распространять и использовать эту работу в любых целях без запроса разрешения.
Поддержите мейкера, покупая товары через его чертёж, где он получает Комиссию мейкера установленную продавцами, или создайте новую итерацию этого чертежа и включите его как связь в свой чертёж для распределения дохода.