


Tool and Cutter Grinder
Инструкции
Build the wheelhead
Build the wheelhead
A small wheel, running true, on a rigid spindle.
- Mount a spindle in two 608 bearings in a plywood head, taking a 100 mm grinding wheel.
- Fix the head to a column with M6 × 50 hex bolts × 4, M6 flat washers × 8 and M6 hex nuts × 4.
- Check wheel runout with a dial indicator and dress the wheel true before any grinding.
- Fit a guard covering the upper half of the wheel.
Dressing the wheel is not maintenance, it is setup. A grinding wheel that runs out grinds each tooth to a different depth as it passes, which reproduces exactly the unevenness the machine exists to remove. Dress first, and re-dress whenever the wheel loads or glazes.
Fit the guard before the first run, not afterwards. A grinding wheel that bursts does so without warning, and the fragments leave at the rim speed.Материалы для этого шага:
 Лист фанеры1 лист
 Шарикоподшипник2 штук
 Алюминиевый круг1 штука
 Плоская шайба8 штук
 Шестигранная гайка4 штук
Необходимые инструменты:
 Аккумуляторная дрель
 Набор свёрл
 Электролобзик
 Набор шестигранных ключей
 Цифровой штангенциркуль 6 дюймов
 Набор напильников
Make the swivelling, tilting workhead
Make the swivelling, tilting workhead
The cutter must be presentable to the wheel at any angle in two planes.
- Build a workhead carrying a Morse-taper socket or a plain 16 mm arbor for mounting cutters.
- Mount it on a swivel base with a degree scale, clamped by two M6 × 40 hex bolts in curved slots.
- Add a tilting joint above the swivel, also scaled, with M6 flat washers × 4 and M6 hex nuts × 2.
- Check both scales read zero when the arbor is parallel to the table.
Two angles, two different jobs. The swivel sets the clearance angle ground behind each tooth. The tilt handles helical and angular cutters whose teeth do not lie in a plane. Between them, almost any cutter geometry can be presented to a flat wheel face — which is why the machine is called universal in the same sense as the milling machine.
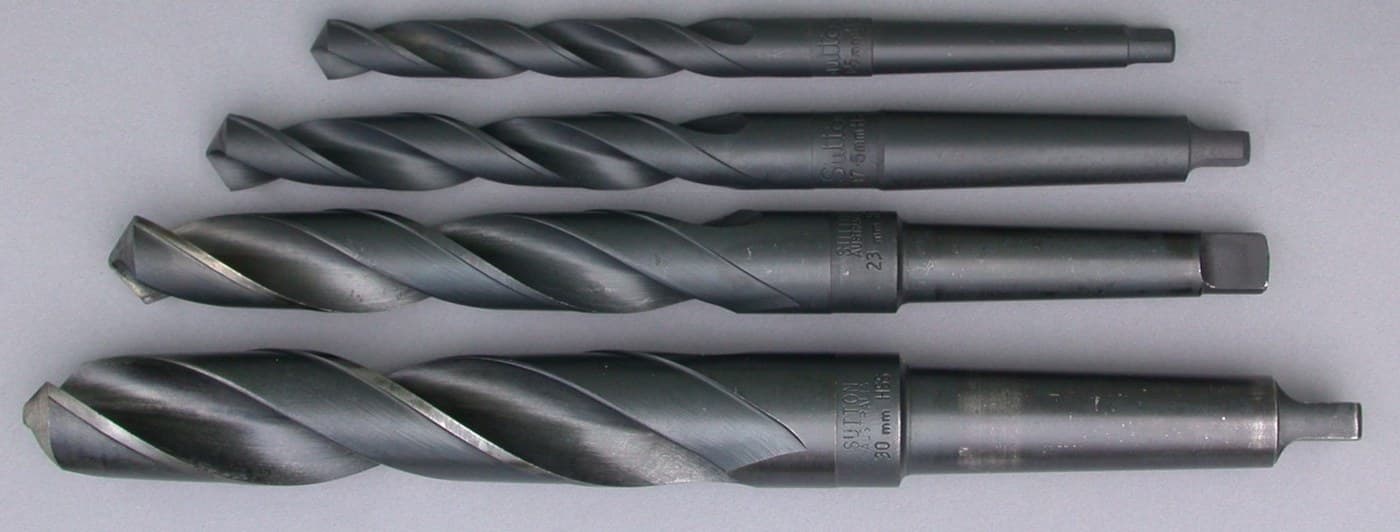
Use the Morse taper from earlier in this batch to mount cutters. Its concentricity and repeatability matter here more than almost anywhere: a cutter that sits differently each time it is remounted cannot be reground consistently.Материалы для этого шага:
Алюминиевый круг1 штука Алюминиевая пластина1 штукаПлоская шайба8 штукШестигранная гайка4 штук
Необходимые инструменты:
Аккумуляторная дрельНабор свёрлНабор напильников Комбинированный угольник
 КернерЦифровой штангенциркуль 6 дюймов
Make the tooth rest — the part that does the real work
Make the tooth rest — the part that does the real work
A thin blade that each tooth rests against, so every tooth arrives in the same place.
- Cut a tooth rest blade from 1 mm spring steel or thin aluminium, with a rounded tip.
- Mount it on an adjustable post so its tip can be set at a chosen height relative to the wheel.
- Clamp the post with an M5 cup point set screw.
- Set the blade so the cutter, resting on it, presents one tooth to the wheel at the correct clearance.
The height of the tooth rest relative to the cutter centre IS the clearance angle. Raise it and the ground clearance increases; lower it and it decreases. That geometric relationship is the whole method: rather than measuring an angle on each tooth, you set one height once, and every tooth that touches the rest is ground identically.
Mount the rest on the WHEELHEAD, not the workhead, whenever the cutter will be rotated during grinding. If the rest moves with the cutter it cannot index the teeth at all — a subtle mistake that produces a cutter with a smooth spiral of varying tooth heights.Материалы для этого шага:
 Алюминиевая полоса1 штука
 Установочный винт с чашеобразным концом2 штук
 Набор пружин сжатия1 набор
Необходимые инструменты:
Набор напильников Слесарные тискиАккумуляторная дрельНабор свёрлНабор шестигранных ключейЦифровой штангенциркуль 6 дюймов
Grind a cutter and measure tooth-to-tooth consistency
Grind a cutter and measure tooth-to-tooth consistency
The result is judged by uniformity, not by sharpness.
- Mount a multi-tooth cutter and set the tooth rest.
- Grind each tooth in turn, taking the same pass on every one, indexing by hand against the rest.
- Go round twice with no infeed change on the second pass, to catch any tooth that was missed.
- Measure each tooth's radius from the arbor with a dial indicator and record all readings.
- Compute the spread.
Необходимые инструменты:
Цифровой штангенциркуль 6 дюймовНабор шестигранных ключей Секундомер
The machine that maintains the others, and history
The machine that maintains the others, and history
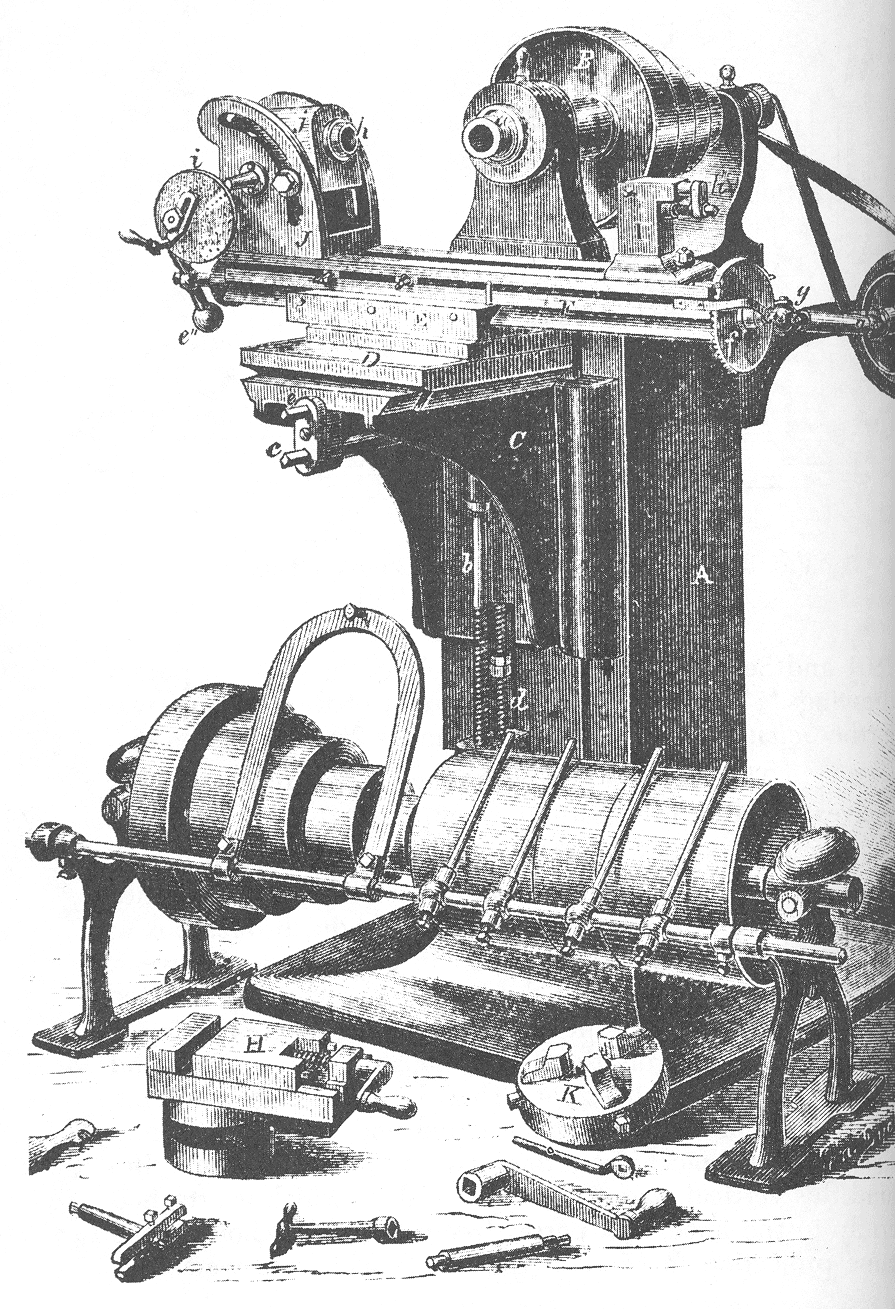
Tool and cutter grinders appear alongside milling machines from the 1860s, and Brown & Sharpe — the firm that built the universal miller in 1862 — was among the makers, for the obvious reason that they had created the demand. A workshop that buys a milling machine and no way to sharpen its cutters has bought a consumable, not a machine tool.
This is a category worth naming: the maintenance machine. It makes no products. Its entire output is keeping other machines capable, and its value is invisible in any count of parts produced. Saw doctors, wheel dressers, lapping plates and this machine all belong to it, and workshops that neglect the category slowly lose accuracy everywhere without any single failure to point at.
What it depends on from earlier in this chain: the milling machine created the cutters, the Morse taper mounts them repeatably, and the surface grinder later in this batch handles the flat work this machine cannot. The dependency runs both ways — the grinder needs the mill's cutters to exist, and the mill needs the grinder to keep working past its first hundred hours.
Its honest limit: regrinding changes a cutter's diameter, so a cutter that has been sharpened many times is measurably smaller than new. For slotting to a nominal width that matters, and the standard answer is to grind only the faces that do not set the size — which is why a good regrind is a geometry decision, not just a sharpening job.
Материалы
9- 1 листЗаполнитель
- Заполнитель
- 1 штукаЗаполнитель
- 8 штукЗаполнитель
- 4 штукЗаполнитель
- 1 штукаЗаполнитель
- 1 штукаЗаполнитель
- Заполнитель
- 1 наборЗаполнитель
Требуемые инструменты
10- 1 vendor sell this, none ship to you yetЗаполнитель
- Заполнитель
- 1 vendor sell this, none ship to you yetЗаполнитель
- Заполнитель
- Заполнитель
- Заполнитель
- Заполнитель
- Заполнитель
- Заполнитель
- Заполнитель
Связанные чертежи
Эти чертежи делятся знаниями — техники, материалы или принципы

CC0 Общественное достояние
Этот чертёж выпущен под лицензией CC0. Вы можете свободно копировать, изменять, распространять и использовать эту работу в любых целях без запроса разрешения.
Поддержите мейкера, покупая товары через его чертёж, где он получает Комиссию мейкера установленную продавцами, или создайте новую итерацию этого чертежа и включите его как связь в свой чертёж для распределения дохода.