ИСКУССТВО
КРАСОТА И ЗДОРОВЬЕ
РЕМЕСЛО
КУЛЬТУРА И ИСТОРИЯ
РАЗВЛЕЧЕНИЯ
ЭКОЛОГИЯ
ЕДА И НАПИТКИ
ОБРАТНАЯ ИНЖЕНЕРИЯ
НАУКИ
СПОРТ
ТЕХНОЛОГИИ
НОСИМЫЕ УСТРОЙСТВА
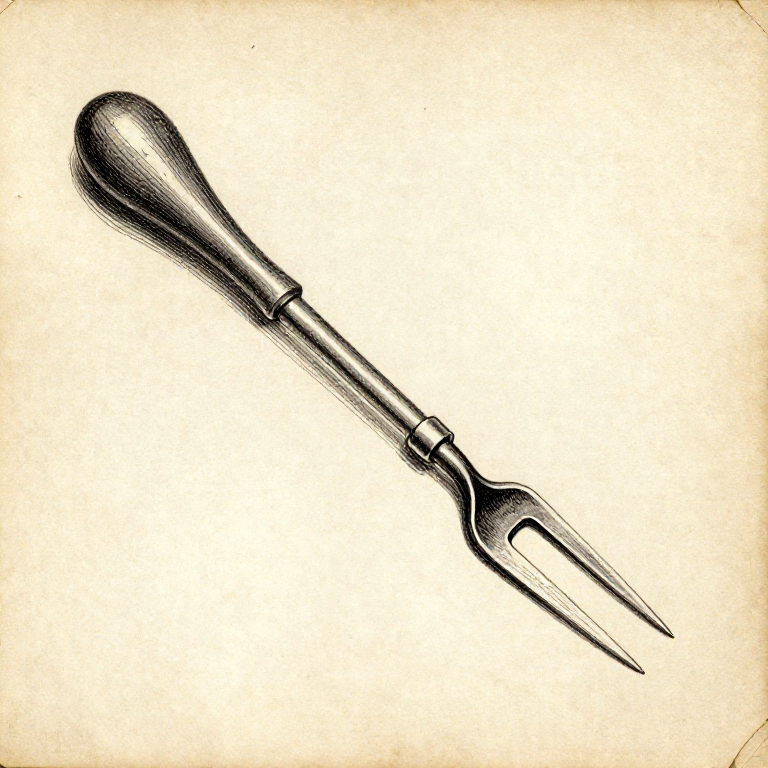


Unpicking: A Normal Step, Not an Admission of Failure
Every experienced sewer unpicks constantly. It is part of the process — you tack, you check, you unpick, you adjust — and treating it as a mistake is what leads people to leave a seam they know is wrong.
The skill is unpicking without damaging the cloth, because a seam ripper driven through fabric leaves a hole that no amount of re-sewing hides.
It is also how you take garments apart to reuse the material, which is worth far more than the technique suggests: an old coat is several square metres of good cloth and a set of patterns.
Начинающий
2 hours
Инструкции
1
1
The ripper's parts, and which one cuts
The ripper's parts, and which one cuts
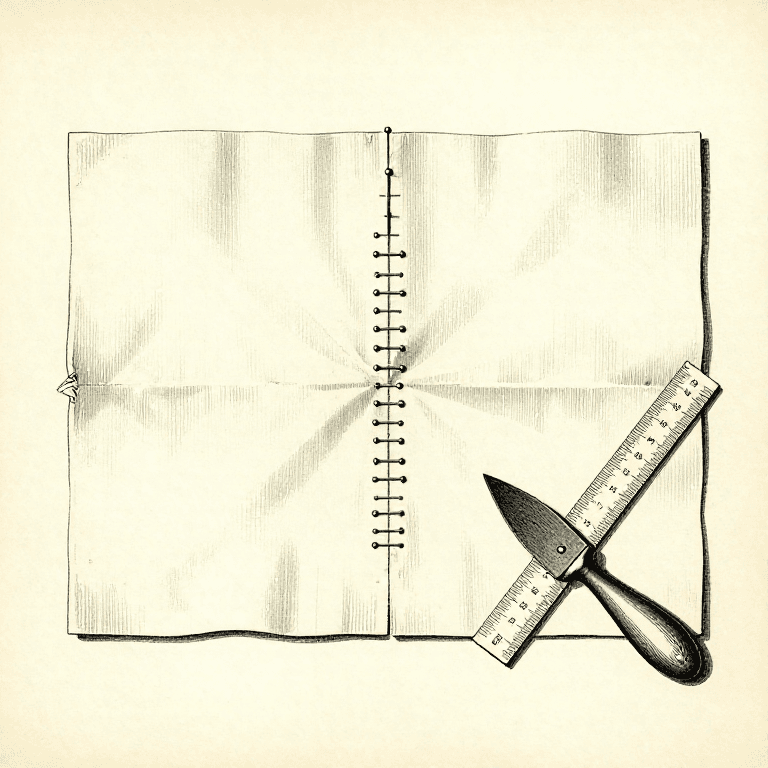
A seam ripper has a long sharp prong, a short prong usually tipped with a small ball, and a curved blade in the crook between them. The BLADE cuts; the prongs get it into position.
Slide the long prong under a single stitch, so the thread lies in the crook, and push gently. The blade severs that one thread. The ball on the short prong is there to stop it catching the fabric as it travels.
What it is not is a knife to run along a seam. Doing that cuts threads and fabric indiscriminately, and it is why so many unpicked seams end up with a row of small nicks along them.
Материалы для этого шага:
 Льняная ткань2 штук
Необходимые инструменты:
 Вспарыватель швов
 Ювелирная лупа
2
2
Cut every few stitches, then pull the thread out
Cut every few stitches, then pull the thread out
Cut one stitch every five or six along the seam, from one side. Then turn the work over and pull the thread from the other side — it lifts out in lengths, leaving the fabric untouched.
This is far faster than cutting each stitch, and much safer, because most of the work is pulling rather than cutting. The stitches you did not cut simply come away with the rest.
Work on the side where the stitches are most accessible, and on the seam allowance rather than the visible surface where you can choose. A slip of the blade in the allowance is invisible in the finished piece.
Материалы для этого шага:
Льняная ткань2 штукНеобходимые инструменты:
Вспарыватель швов Портновские ножницы
3
3
Get the lint out, and press the holes closed
Get the lint out, and press the holes closed
Unpicking leaves a row of short thread ends embedded in the weave. Brush them out with a piece of tape or a stiff brush — left in, they show through the new seam as flecks of the old colour.
Then press. The needle holes from the old stitching are still there, and steam plus pressure closes most of them by swelling the fibres back into place. On wool they usually disappear entirely; on tightly woven synthetics they may not.
Check before re-sewing. If the old holes are still obvious, place the new seam a couple of millimetres away rather than through the same perforations — sewing through them weakens the line exactly where it needs to be strong.
Материалы для этого шага:
Льняная ткань2 штук Хлопчатобумажная ткань1 штука
Необходимые инструменты:
 Утюг для одеждыЮвелирная лупаВспарыватель швов
4
4
Taking a garment apart for its cloth and its pattern
Taking a garment apart for its cloth and its pattern
Before unpicking anything you intend to reuse, photograph it and label each piece — front, back, left sleeve — with chalk or a pinned note. Once it is a pile of flat shapes, working out which was which is genuinely difficult.
The pieces then ARE a pattern. Press them flat, draw round them, and you have the shapes for a garment that already fitted someone — which is far more useful than a commercial pattern in a nominal size.
Cut around worn areas rather than discarding a whole piece. Elbows, cuffs and collars wear out while the back and skirts of a garment are often barely touched, and that is where the reusable cloth is.
Материалы для этого шага:
Льняная ткань2 штукНеобходимые инструменты:
Вспарыватель швов Портновский мелокПортновские ножницы
Требуемые инструменты
5- Заполнитель
- Заполнитель
- Заполнитель
- Заполнитель
- Заполнитель
Связанные чертежи
Эти чертежи делятся знаниями — техники, материалы или принципы
CC0 Общественное достояние
Этот чертёж выпущен под лицензией CC0. Вы можете свободно копировать, изменять, распространять и использовать эту работу в любых целях без запроса разрешения.
Поддержите мейкера, покупая товары через его чертёж, где он получает Комиссию мейкера установленную продавцами, или создайте новую итерацию этого чертежа и включите его как связь в свой чертёж для распределения дохода.