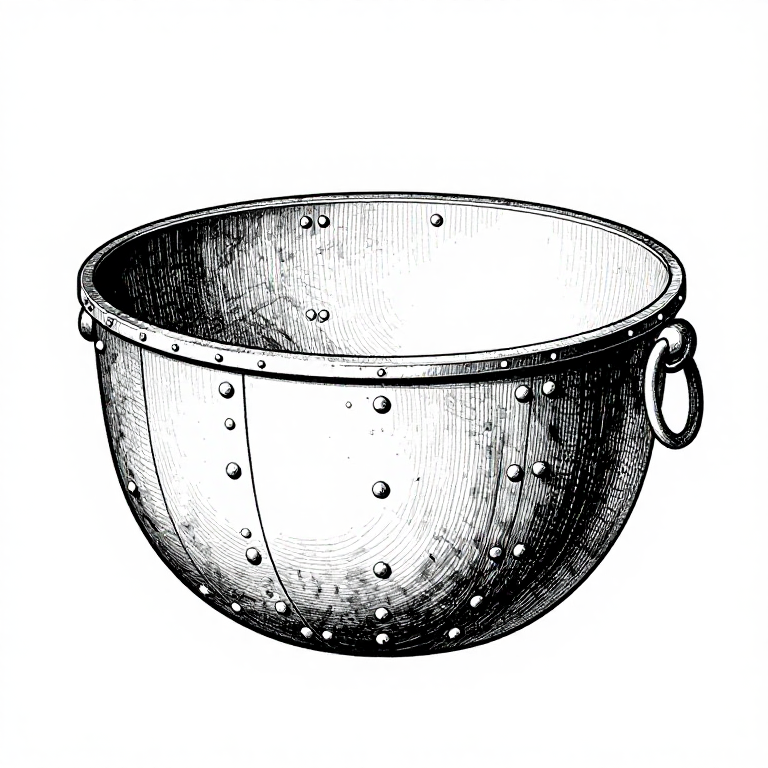
Building a Viking Riveted Cauldron — Iron Cookware
Инструкции
Forge Iron Sheets
Forge Iron Sheets
Heat bloom iron and hammer it into flat sheets approximately 2-3mm thick. You need several sheets large enough to form the curved panels of the cauldron bowl. Each sheet should be roughly rectangular — approximately 30cm × 20cm for a medium-sized cauldron.
Forge-weld smaller pieces together if needed to achieve the required sheet size. Work at welding heat (white-hot, with sparks flying) and hammer firmly to fuse the iron. Achieving uniform thickness across large sheets requires patience and skill — this is the most labor-intensive part of the project.
Материалы для этого шага:
 Bloom Iron (Sponge Iron)3-5 kg кг
 Iron Rivets50-100 штука
 Iron Sheet (Hammered)~1m m
Необходимые инструменты:
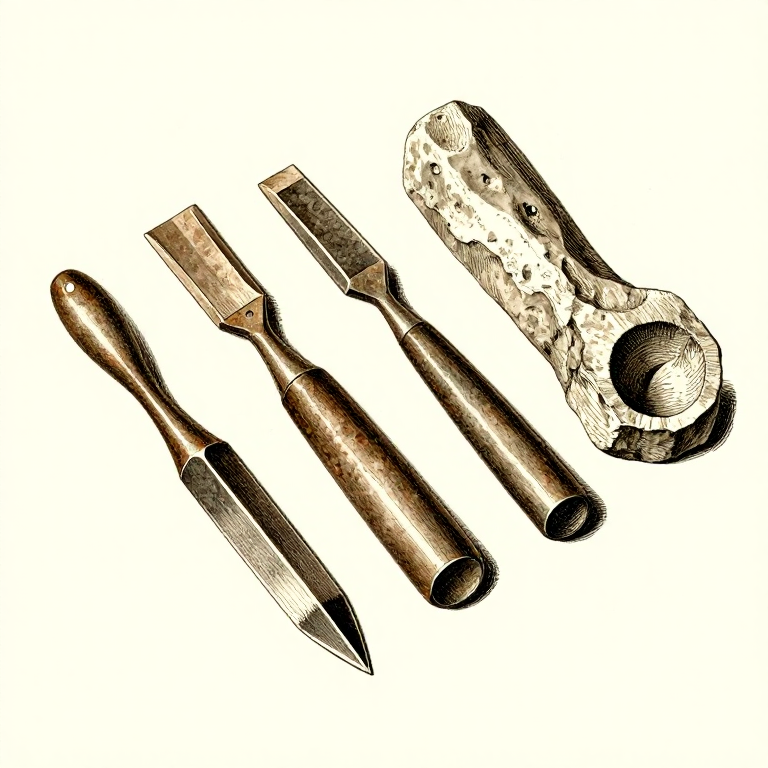
 Anvil
Anvil Forge Hammer (Cross-Peen)
 Forge Tongs
 Forming Stake
 Rivet Set
Shape Bowl Sections
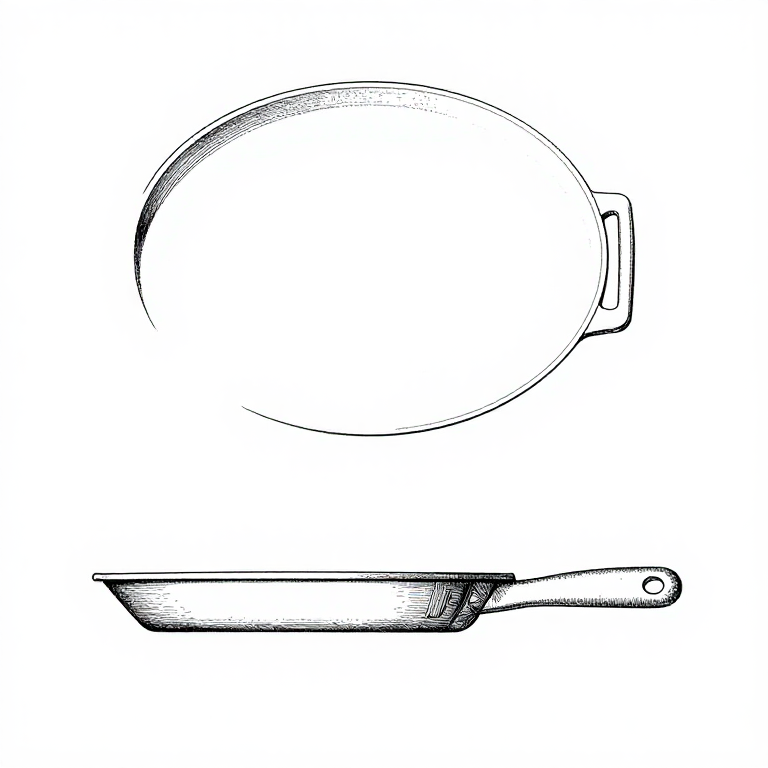
Shape Bowl Sections
Working over a forming stake (a domed iron or wooden form set into a stump) or a dished stump, hammer each sheet into a curved section. Each piece forms one panel of the cauldron bowl. Work from the center outward, rotating the piece regularly to maintain even curvature.
The number of panels depends on the desired cauldron size — typically 4 to 8 panels for a medium cauldron (30-40cm diameter). Each panel overlaps its neighbor by 2-3cm at the edges where they will be riveted together. Shape a separate flat or slightly dished disc for the bottom of the cauldron.
Punch Rivet Holes
Punch Rivet Holes
Along the overlapping edges of each panel, punch evenly-spaced holes (every 1.5-2cm) using a punch set over a backing hole in the anvil or a punching block. The holes should be just large enough to receive the rivet shanks — approximately 4-5mm diameter.
Clamp or hold corresponding panels together and punch matching holes through both layers simultaneously to ensure perfect alignment. Misaligned rivet holes will cause gaps and leaks in the finished cauldron.
Rivet the Sections Together
Rivet the Sections Together
Insert iron rivets through aligned holes from the outside of the cauldron. On the inside, place a rove (a small iron washer or diamond-shaped plate) over the protruding rivet shank. Support the rivet head on a backing tool or small anvil and peen (hammer) the shank end over the rove, mushrooming it flat to lock the joint.
Work systematically around the entire cauldron, riveting all panels together. Start at the bottom and work upward. The overlapping joints should be watertight when all rivets are set. If gaps remain, additional rivets or gentle hammer-closing of the seam can seal them.
Forge and Attach the Rim Band
Forge and Attach the Rim Band
Forge a flat iron strip (approximately 2cm wide, 3mm thick) and bend it into a circle matching the cauldron mouth diameter. This rim band reinforces the top edge of the cauldron, preventing the thin walls from cracking or deforming.
Place the rim band around the outside of the top edge and rivet it in place using the same riveting technique. Space rivets every 3-4cm around the entire circumference. The rim should sit flush with the top edge of the cauldron walls.
Attach the Suspension Ring
Attach the Suspension Ring
Forge an iron ring (approximately 8-10cm diameter) or a semicircular arch that spans the mouth of the cauldron. Attach it to the rim band at two opposite points using rivets or by forging the ends into hooks that clip over the rim.
This suspension ring or arch is where a chain connects to hang the cauldron over the hearth. The attachment must be very strong — a full cauldron of stew is extremely heavy. Some Viking-era cauldrons used a separate adjustable chain hook (a trammel) to control the height above the fire.
Test the completed cauldron by filling with water and checking for leaks at the rivet joints. Seal any drips by peening the rivets tighter or applying a thin slurry of clay and ash to the inside joints (this was a historical technique).
Материалы
3- 3-5 kg штукаЗаполнитель
- 50-100 штукаЗаполнитель
- ~1m штукаЗаполнитель
Related blueprints
Other builds that share materials, tools, or techniques with this one.
CC0 Общественное достояние
Этот чертёж выпущен под лицензией CC0. Вы можете свободно копировать, изменять, распространять и использовать эту работу в любых целях без запроса разрешения.
Поддержите мейкера, покупая товары через его чертёж, где он получает Комиссию мейкера установленную продавцами, или создайте новую итерацию этого чертежа и включите его как связь в свой чертёж для распределения дохода.