Сотрудничество
ИСКУССТВО
КРАСОТА И ЗДОРОВЬЕ
РЕМЕСЛО
КУЛЬТУРА И ИСТОРИЯ
РАЗВЛЕЧЕНИЯ
ЭКОЛОГИЯ
ЕДА И НАПИТКИ
ОБРАТНАЯ ИНЖЕНЕРИЯ
НАУКИ
СПОРТ
ТЕХНОЛОГИИ
НОСИМЫЕ УСТРОЙСТВА
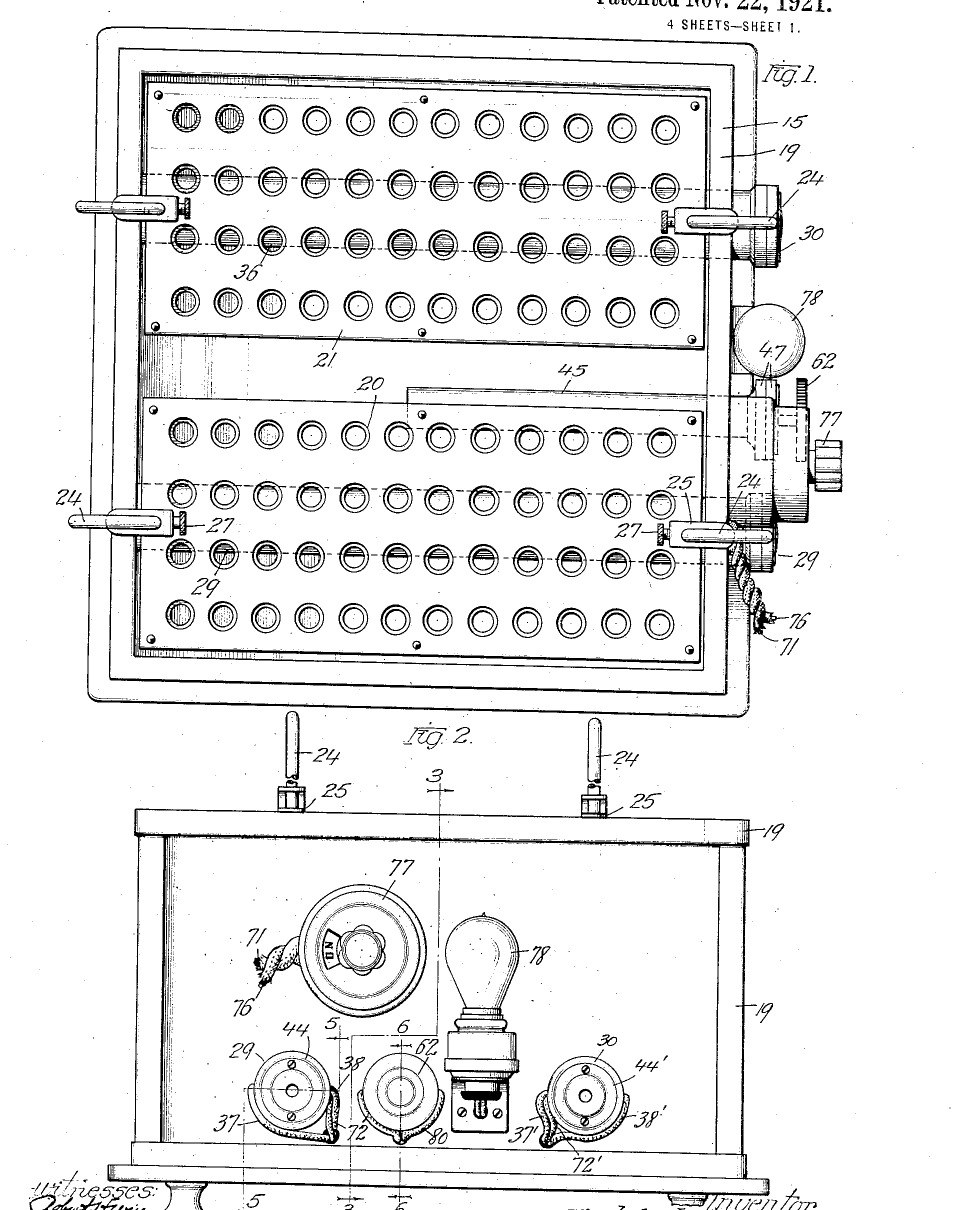


Water Bath: Copper Tank with Plug-In Heaters and an Air-Tube Thermostat (Lidberg, US 1,397,766, 1921)
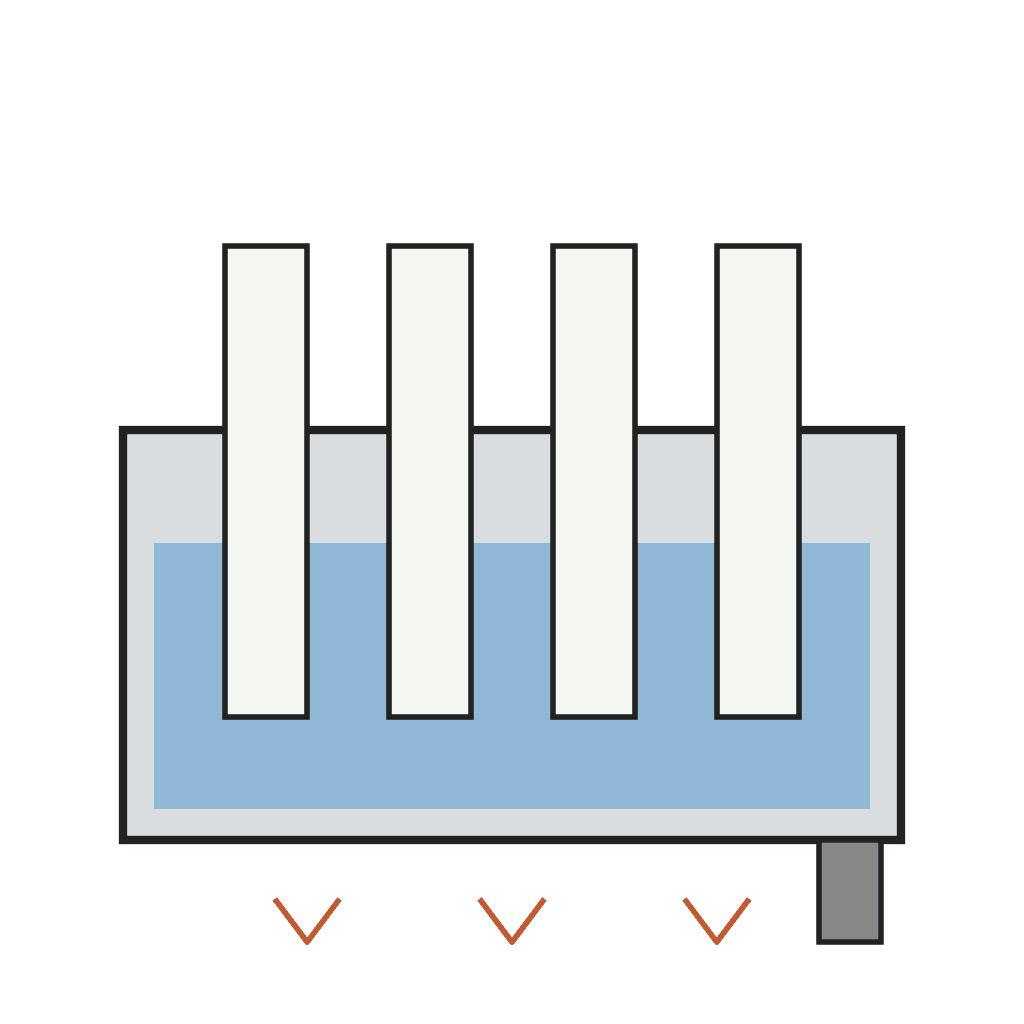
An electric constant-temperature water bath for laboratory and bacteriological work. A copper tank sits in an insulated fibre-board box; two heater tubes and a thermostat tube are soldered through its wall so the heating coils and the switch plug in from outside. A switch adds extra coils to heat the water up quickly; then the thermostat alone holds the set temperature. Perforated trays on adjustable rods hold the tubes or flasks at the depth you choose.
Result: a thermostatic water bath that holds its water at a set temperature.
Source: T. Lidberg (Chicago Surgical & Electrical Co.), US 1,397,766 (1921). Unknown: sizes, the temperature range, the heater wire. Picture: the patent drawing.
Средний
Unknown
Инструкции
1
1
Build the insulated tank
Build the insulated tank
Make a rectangular box of fibrous board on four short legs and line it with hair felt or cloth. Set a sheet copper tank inside, its walls a little taller than the box and turned over the top edge as a bead. Make perforated trays of several shelves, each with an upright rod hooked at the top for lifting, and on each rod a sliding clip with a set screw whose end rests on the tank edge, to set how deep the tray hangs. Not given: sizes.
Материалы для этого шага:
 Неизвестный материал1 fibrous board box, legs
 Неизвестная ткань1 hair felt or cloth lining
 Медный лист1 tank
 Перфорированная ситовая плита1 trays
 Неизвестный металл1 rods, clips
 Машинные винты1 штука
Необходимые инструменты:
 Ножницы по металлу
 Паяльник
 Неизвестные размеры
2
2
Fit the heater tubes
Fit the heater tubes
Solder two watertight tubes across the tank, each closed at its inner end and open outside the wall, and a third for the thermostat. For each heater, wind two coils on a rod held in the tube by an insulating disk and an end head; join one end of each coil to the rod and the others to plates on the head, and cover the terminals with a cap plate. Slide each heater into its tube. Ours: nichrome wire. Not given: the coil ratings.
Материалы для этого шага:
 Медная труба3 heater and thermostat tubes
 Оловянно-свинцовый припой1 as needed
 Нихромовая проволока1 four coilsНеизвестный металл2 rods, plates, caps
 Неизвестный изоляционный материал1 disks, heads
Необходимые инструменты:
Паяльник Ножовка по металлу
3
3
Make the air-tube thermostat
Make the air-tube thermostat
In the closed thermostat tube, mount on an insulating disk a strip carrying a thermostatic bar with a contact at its free end. Facing it, pivot an adjustable bar with its own contact on a bracket in the tube's insulating head, held by a spring against an adjusting screw with a knob outside: turning it sets the temperature at which the contacts open. Bridge the contacts with a condenser to stop sparking. The air in the tube takes the bath's temperature and bends the bar. Ours: a bimetallic strip.
Материалы для этого шага:
 Биметаллическая пластина1 thermostatic barНеизвестный металл1 strip, bar, bracket, contacts, screwНеизвестный изоляционный материал1 disk, head
 Набор пружин сжатия1 штука
 Набор конденсаторов1 spark condenser
Необходимые инструменты:
 Набор отвёрток
4
4
Wire and use it
Wire and use it
Wire one coil of each heater through the thermostat, and the other coil of each through a hand switch, with a lamp across the supply to show when current flows. To start, close the switch so all four coils heat the water up. Once it is at temperature, open the switch: the thermostat then switches its two coils on and off to hold the bath steady. Lower the trays of tubes or flasks to the depth wanted.
Материалы для этого шага:
 Тумблер1 штука
 Ламповый патрон1 штука
 Лампа накаливания1 штука
 Гибкий шнур с вилкой1 штука
Необходимые инструменты:
Набор отвёртокМатериалы
17- 1 fibrous board box, legsЗаполнитель
- 1 hair felt or cloth liningЗаполнитель
- 1 tankЗаполнитель
- Заполнитель
- 1 strip, bar, bracket, contacts, screwЗаполнитель
- 1 штукаЗаполнитель
- 3 heater and thermostat tubesЗаполнитель
- 1 as neededЗаполнитель
- 1 four coilsЗаполнитель
- 1 disk, headЗаполнитель
- 1 thermostatic barЗаполнитель
- 1 штукаЗаполнитель
- 1 spark condenserЗаполнитель
- Заполнитель
- 1 штукаЗаполнитель
- 1 штукаЗаполнитель
- 1 штукаЗаполнитель
Требуемые инструменты
5- Заполнитель
- 2 vendors sell this, none ship to you yetЗаполнитель
- Заполнитель
- Заполнитель
- Заполнитель
Материалы из связанных чертежей

По этому чертежу делают
CC0 Общественное достояние
Этот чертёж выпущен под лицензией CC0. Вы можете свободно копировать, изменять, распространять и использовать эту работу в любых целях без запроса разрешения.
Поддержите мейкера, покупая товары через его чертёж, где он получает Комиссию мейкера установленную продавцами, или создайте новую итерацию этого чертежа и включите его как связь в свой чертёж для распределения дохода.