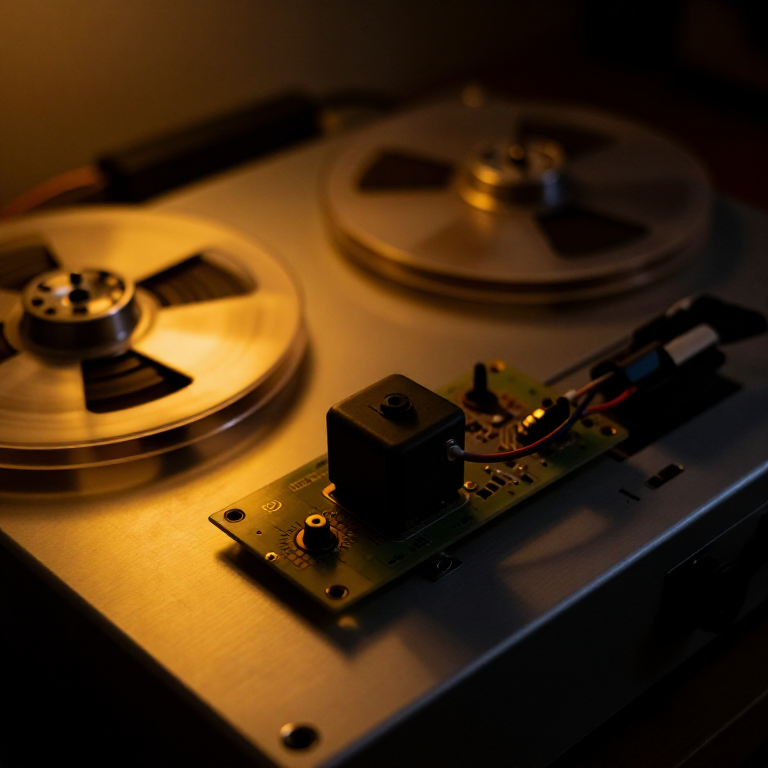


AC Bias
Amabwiriza
Plot the tape's transfer curve and find the dead zone
Plot the tape's transfer curve and find the dead zone
Measure the non-linearity before trying to defeat it.
- Record a series of steady tones at increasing levels, from very quiet to very loud.
- Play each back and measure the output level.
- Plot recorded level against playback level.
- Examine the shape near the origin.
The curve is S-shaped, and the flat part near zero is the problem. Small signals produce almost no magnetisation at all — the material resists being magnetised until the applied field passes a threshold. Everything quiet either vanishes or emerges grossly distorted, and since music spends most of its time at low levels this ruins the recording.
Keep this plot. In step 3 you will produce it again with bias applied, and the difference between the two curves is the entire content of this blueprint.Ibikoresho by'iyi ntambwe:
 Graph Paper1 pad
Ibikoresho bikenewe:
 DDS Signal Generator (1Hz-65MHz)
 Digital Oscilloscope (100MHz, 2-Channel)
 Digital Multimeter (Lab Grade)
Build a high-frequency oscillator and mix it in
Build a high-frequency oscillator and mix it in
A tone far above hearing, added to the audio, at substantial amplitude.
- Build or set an oscillator running at 60 to 100 kHz — well above the audible range.
- Mix its output with the audio signal feeding the record head.
- Make the bias level adjustable over a wide range.
- Confirm on the oscilloscope that the audio waveform is riding on the high-frequency carrier.
The bias must be far above the highest audio frequency you intend to record. If it is too close, the difference between bias and audio frequencies falls into the audible band as a whistle. Professional machines used bias frequencies several times the audio limit for exactly this reason, and the choice interacts with head gap and tape speed.
The same oscillator usually feeds the erase head as well, at higher amplitude — erasing is simply biasing so hard that nothing survives. One circuit, two jobs, which is why bias and erase share a frequency on almost every machine ever built.Ibikoresho by'iyi ntambwe:
 1/4W Resistor Kit (600pcs, 30 Values)1 ibikoresho
 Ceramic Capacitor Kit1 ibikoresho
 Adjustable Bench Power Supply (30V/5A)1 igice
Ibikoresho bikenewe:
DDS Signal Generator (1Hz-65MHz)Digital Oscilloscope (100MHz, 2-Channel)Digital Multimeter (Lab Grade)Re-plot the transfer curve and hear the change
Re-plot the transfer curve and hear the change
Same measurement as step 1, with bias applied — the comparison is dramatic.
- Repeat the level series with bias applied at a moderate setting.
- Plot the new curve over the first.
- Note that the flat dead zone near the origin has gone.
- Record music with bias off, then on, and listen to both.
Ibikoresho by'iyi ntambwe:
Graph Paper1 padIbikoresho bikenewe:
DDS Signal Generator (1Hz-65MHz)Digital Oscilloscope (100MHz, 2-Channel)Digital Multimeter (Lab Grade)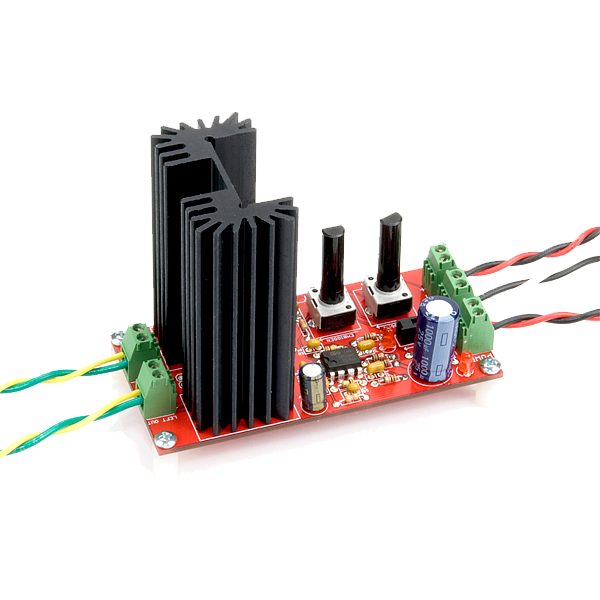 Audio Amplifier Kit - STA540
Find the optimum, which is a genuine compromise
Find the optimum, which is a genuine compromise
More bias is better until suddenly it is not, and the crossover is per-tape.
- Record a mid-frequency tone at several bias levels and plot output against bias.
- Repeat with a high-frequency tone and plot on the same axes.
- Note that the two peaks occur at DIFFERENT bias settings.
- Choose a setting between them and record music to judge.
Ibikoresho bikenewe:
DDS Signal Generator (1Hz-65MHz)Digital Oscilloscope (100MHz, 2-Channel)Digital Multimeter (Lab Grade)Discovered by accident, repeatedly, and history
Discovered by accident, repeatedly, and history
AC bias was found by accident at least three times. Walter Weber and Hans Joachim von Braunmühl at German radio arrived at it around 1940 while investigating why one Magnetophon sounded far better than the others — an amplifier fault was oscillating and inadvertently biasing the tape. Marvin Camras in the United States and Kenzo Nagai in Japan reached it independently in the same period.
An oscillating amplifier is normally a fault to be fixed. The significant act was not stumbling on it but noticing that the broken machine sounded better and asking why, rather than repairing it and moving on. That is a recurring pattern in this catalogue — the Mannesmann brothers turning a rolling defect into a tube-making process is the same move in a different industry.
Its effect on the medium was decisive. Pre-bias magnetic recording was usable for dictation and little else. Post-bias it had the dynamic range and low distortion to record music seriously, which is why the wartime German broadcasts sounded like live performances and why tape swept through broadcasting and recording within a decade of the war.
Its honest limits: the high-frequency erasure effect in step 4 caps treble response; bias must be re-set whenever tape type changes; and the bias oscillator can leak into other circuits and produce whistles. Digital recording eventually removed the problem entirely by not storing a continuously varying magnetisation at all — a different answer rather than a better version of the same one.
Ibikoresho
4- 1 padUmwanya
- 1 ibikoreshoUmwanya
- 1 ibikoreshoUmwanya
- Umwanya
Blueprint zijyanye
Izi blueprint zisangira ubumenyi — uburyo, ibikoresho cyangwa amahame


CC0 Umurenge rusange
Iyi blueprint yasohowe munsi ya CC0. Ushobora gukoporora, guhindura, gukwirakwiza no gukoresha nta kwemererwa.
Shyigikira Umuremyi ugura ibicuruzwa binyuze muri Blueprint ye Komisiyo y'Umuremyi byashyizweho n'Abacuruzi, cyangwa kora verisiyo nshya y'iyi Blueprint ukayinjiza nk'isano muri Blueprint yawe kugira ngo musangire inyungu.