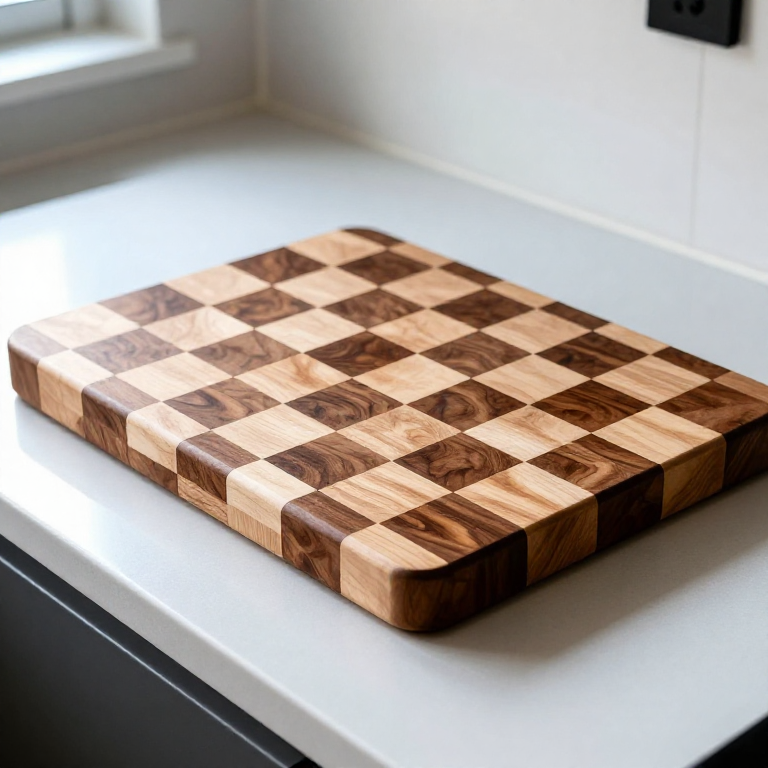


Making an End-Grain Cutting Board — Butcher Block Construction
Amabwiriza
Mill and Glue the Face-Grain Panel
Mill and Glue the Face-Grain Panel
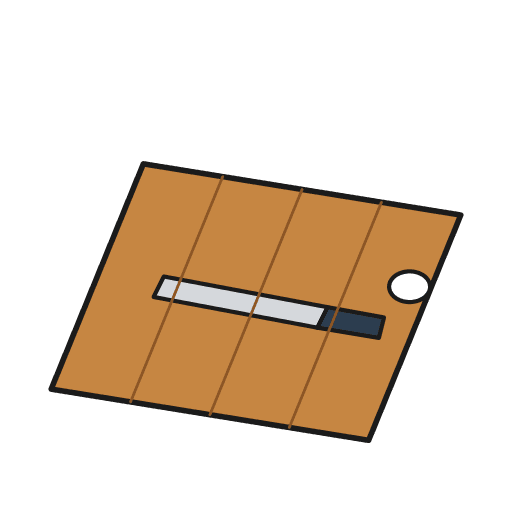
Mill hardwood strips to identical thickness (approximately 40mm) and width (approximately 40mm). Alternate species (e.g., maple-walnut-cherry-maple) for visual contrast in the finished board. Joint the edges of each strip perfectly straight and square — gaps in the glue line are structural weaknesses. Apply waterproof wood glue to each mating edge and clamp the strips together into a flat panel using bar or pipe clamps. Alternate clamp pressure above and below the panel to prevent bowing. Tighten until a thin, even bead of glue squeezes from every joint. Allow to cure for the glue manufacturer's recommended time (typically 24 hours for full strength under waterproof conditions).
Ibikoresho by'iyi ntambwe:
 Agace k'igiti gikomeyeboard feet sufficient for desired size, ~20mm thick mm
 Ikinyabutabire cy'Ibiti200-300ml ml
 Amavuta y'amabuye akwiriye ibiribwa100ml ml
 Uduce tw'Igishashara50g g
Ibikoresho bikenewe:
 Ikimasa cyo ku meza
 Ipfundo ry'umuyoboro
 Imashini isya ifite umukandara
 Imashini ibaza inkombe
 Imashini ya sablaje izunguruka ku buryo butunguranye
Cross-Cut into Strips and Rotate
Cross-Cut into Strips and Rotate
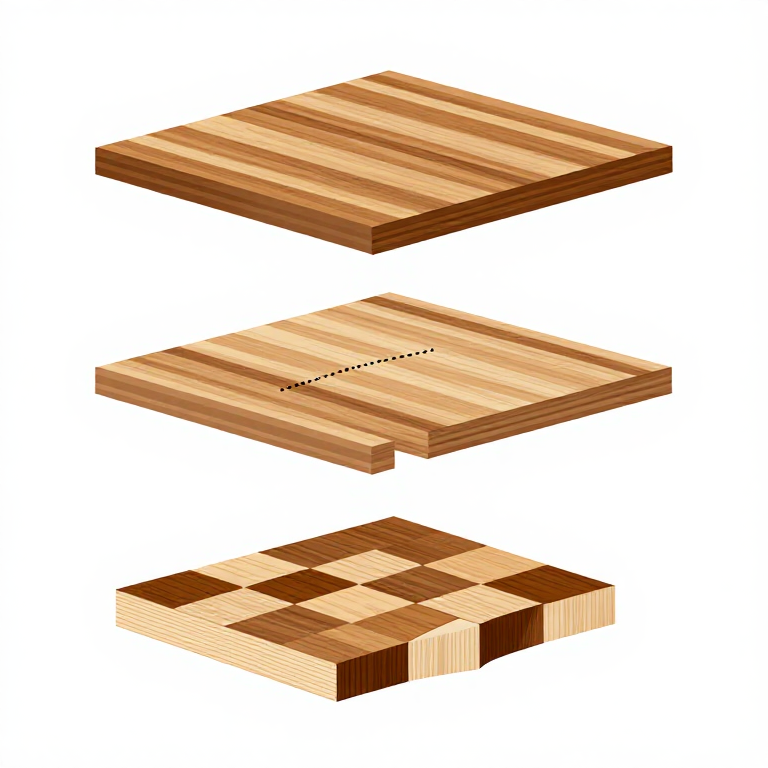
After the glue has fully cured, scrape off the squeeze-out and plane or sand one face flat. Cross-cut the face-grain panel into strips of equal width (matching the original strip width, approximately 40mm) using a table saw with a crosscut sled for safety and accuracy. Each cross-cut strip now shows end grain on two faces and edge grain on the other two. Rotate each strip 90 degrees so the end grain faces upward. This is the key transformation: the exposed end grain surface is what gives the board its self-healing and knife-friendly properties.
Second Glue-Up (End Grain Up)
Second Glue-Up (End Grain Up)
Apply waterproof wood glue to the long-grain edges of the rotated strips and clamp them together into the final panel with end grain facing upward. End grain absorbs glue rapidly, so apply a generous coat, wait 2-3 minutes for the grain to absorb the first application, then apply a second coat before clamping. This double-application ensures sufficient glue remains in the joint for structural strength. Clamp firmly and check that the top surface is as level as possible before the glue sets — misaligned strips require more planing to flatten, which wastes thickness.
Flatten and Sand
Flatten and Sand
After the second glue-up cures, flatten both faces. A drum sander or wide belt sander is ideal for end grain (which is much harder than face grain and resists hand planing). Alternatively, use a router sled to flatten the surface. Sand progressively through 80, 120, 180, and 220 grit on a random orbital sander. End grain shows scratches more prominently than face grain, so do not skip grits. After final sanding, round over all edges and corners with a router and roundover bit (a 6mm radius is comfortable) or by sanding a bevel by hand. Sharp corners on a thick cutting board are uncomfortable to grip and chip more easily.
Apply Food-Safe Finish
Apply Food-Safe Finish
Flood the board surface with food-safe mineral oil, applying it generously and allowing it to soak in for 15-20 minutes. End grain absorbs significantly more oil than face grain — apply 3-5 coats over 2-3 days, allowing each coat to soak in before wiping off the excess and applying the next. The oil fills the wood cells and prevents water from absorbing during use (water absorption leads to warping, cracking, and bacterial growth). After the final oil coat has dried, apply a thin layer of board butter (a mixture of mineral oil and beeswax) and buff to a soft sheen. Never use drying oils (linseed, tung) or film-forming finishes (polyurethane, lacquer) on a cutting board — they crack under knife cuts and contaminate food. Re-oil the board monthly with regular use.
Ibikoresho
4- board feet sufficient for desired size, ~20mm thick mmUmwanya
- 200-300ml mlUmwanya
- Umwanya
- 50g gUmwanya
Ibikoresho bikenewe
6- 1 vendor sell this, none ship to you yetUmwanya
- Umwanya
- 1 vendor sell this, none ship to you yetUmwanya
- Umwanya
- Pipe clamps or bar clamps (4-6)
Iki gishushanyo gikora
CC0 Umurenge rusange
Iyi blueprint yasohowe munsi ya CC0. Ushobora gukoporora, guhindura, gukwirakwiza no gukoresha nta kwemererwa.
Shyigikira Umuremyi ugura ibicuruzwa binyuze muri Blueprint ye Komisiyo y'Umuremyi byashyizweho n'Abacuruzi, cyangwa kora verisiyo nshya y'iyi Blueprint ukayinjiza nk'isano muri Blueprint yawe kugira ngo musangire inyungu.