ART
BEAUTÉ ET BIEN-ÊTRE
ARTISANAT
CULTURE ET HISTOIRE
DIVERTISSEMENT
ENVIRONNEMENT
NOURRITURE ET BOISSONS
AVENIR VERT
INGÉNIERIE INVERSE
SCIENCES
SPORTS
TECHNOLOGIE
TECHNOLOGIE PORTABLE
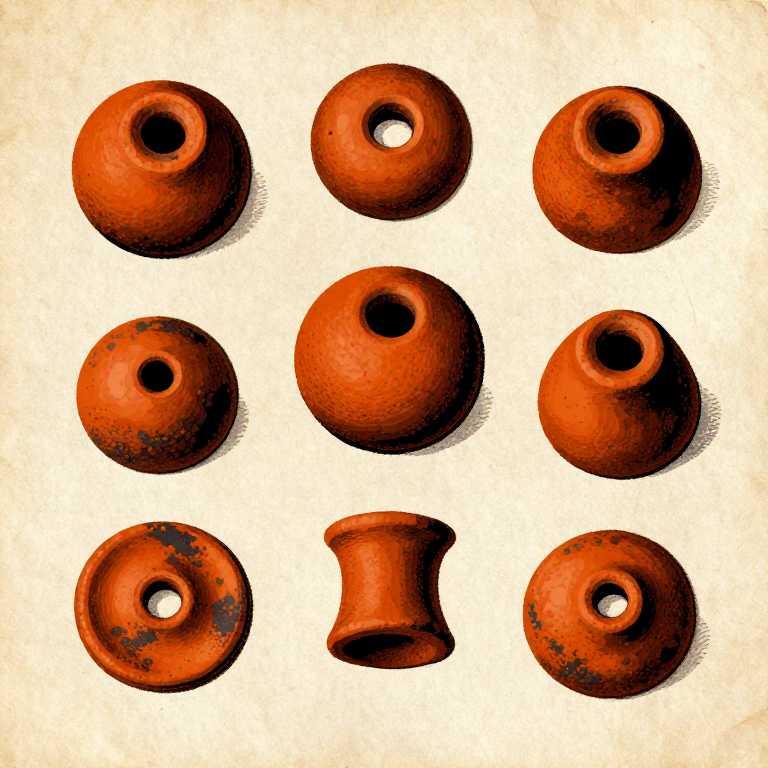
Making Clay Beads — Hand-Rolled and Pit-Fired Ornaments
Clay beads are among the oldest decorative objects made by humans — fired clay beads from Dolní Věstonice in the Czech Republic date to approximately 26,000 years ago, making them some of the earliest known ceramics. Unlike shell or bone beads that require drilling through hard material, clay beads are formed soft and pierced with a stick before firing, making them far easier to produce in quantity. Beads served as personal ornament, trade goods, counting tokens, and markers of social status across all prehistoric cultures. The process is simple: prepare clay, roll beads, pierce holes, dry, fire. The key challenge is preventing the beads from cracking during drying and firing — uniform thickness, thorough drying, and slow temperature increase are essential.
Débutant
2-3 hours (plus firing)
Consignes
1
1
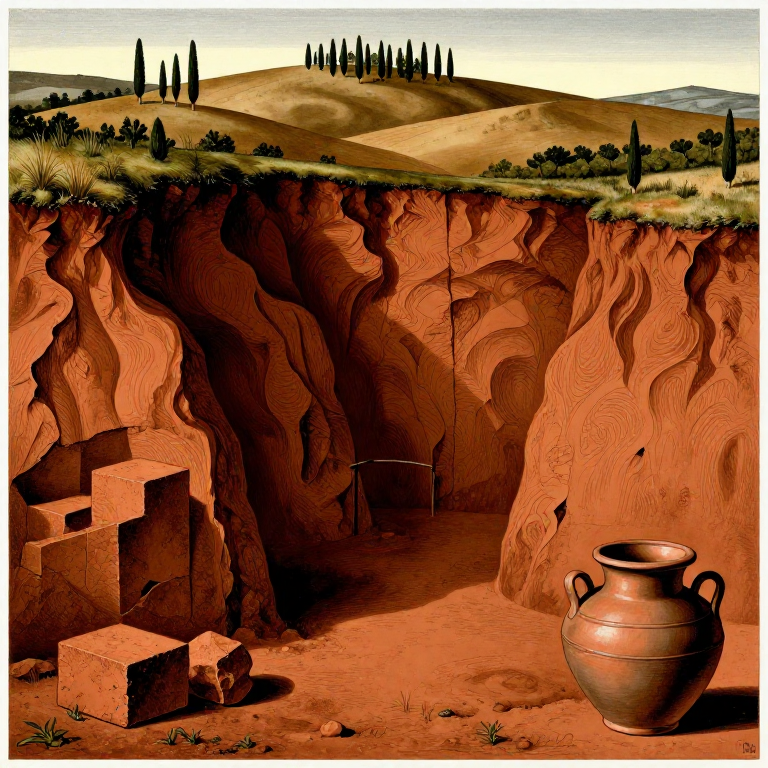
Gather and Clean the Clay
Gather and Clean the Clay
Gather fine-grained clay and remove stones, roots, and debris by hand.
Matériaux pour cette étape :
 Raw Clay from Riverbank1 pièce
2
2
Knead the Clay Thoroughly
Knead the Clay Thoroughly
Knead the clay thoroughly to remove air bubbles — wedging on a flat stone works well.
3
3
Add Temper (Optional)
Add Temper (Optional)
Optionally mix in a small amount of fine sand (10-15%) as temper to reduce cracking.
4
4
Roll the Beads
Roll the Beads
Pinch off a small piece of clay and roll it between your palms into a smooth sphere (8-15mm diameter).
5
5
Pierce the Centre Hole
Pierce the Centre Hole
Pierce the centre of each bead with a thin stick, twig, or bone awl — push through from one side, then ream from both sides.
Outils nécessaires :
 Bone Awl
6
6
Size the Hole for Cordage
Size the Hole for Cordage
The hole should be large enough for a cord (2-3mm diameter).
7
7
Leave the Stick in During Drying
Leave the Stick in During Drying
Leave the stick in place while drying to keep the hole open and prevent it from closing.
8
8
Dry Slowly in Shade
Dry Slowly in Shade
Set beads on a dry surface in shade and dry slowly for 2-3 days — fast drying causes cracks.
9
9
Remove the Sticks
Remove the Sticks
Remove the sticks once the clay is leather-hard.
10
10
Add Surface Decoration (Optional)
Add Surface Decoration (Optional)
Optional: press patterns into the bead surface with a pointed stick or stamp with cord impressions before drying.
11
11
Fire in a Pit Kiln
Fire in a Pit Kiln
Fire the beads in a pit kiln: place in the coals, cover with fuel, burn for 2-3 hours at 600-800°C, and allow to cool slowly in the ash.
Matériaux
1- 1 pièceEspace réservé
Matériaux des Blueprints connectés
Blueprints liés
Ces blueprints partagent des connaissances — techniques, matériaux ou principes
Related blueprints
Other builds that share materials, tools, or techniques with this one.
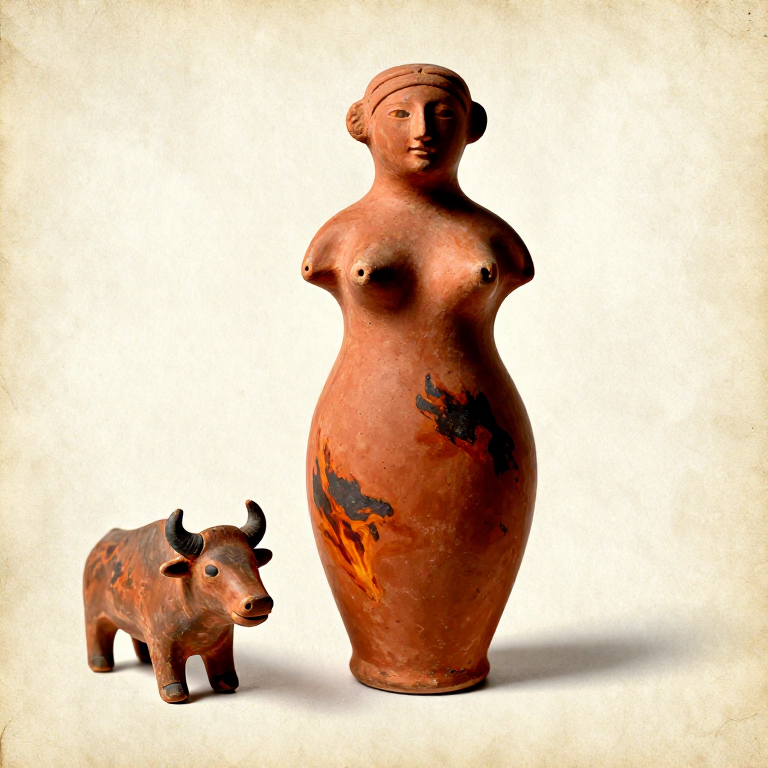
Hand-Forming a Clay Figurine and Pit-Firing — Prehistoric Ceramic Artceramics-and-clay
Ukuthola Nokwenza Ubumba Lwasemfuleni — Isiko LaseZulu Lokwenza Izitshaceramics-and-clay
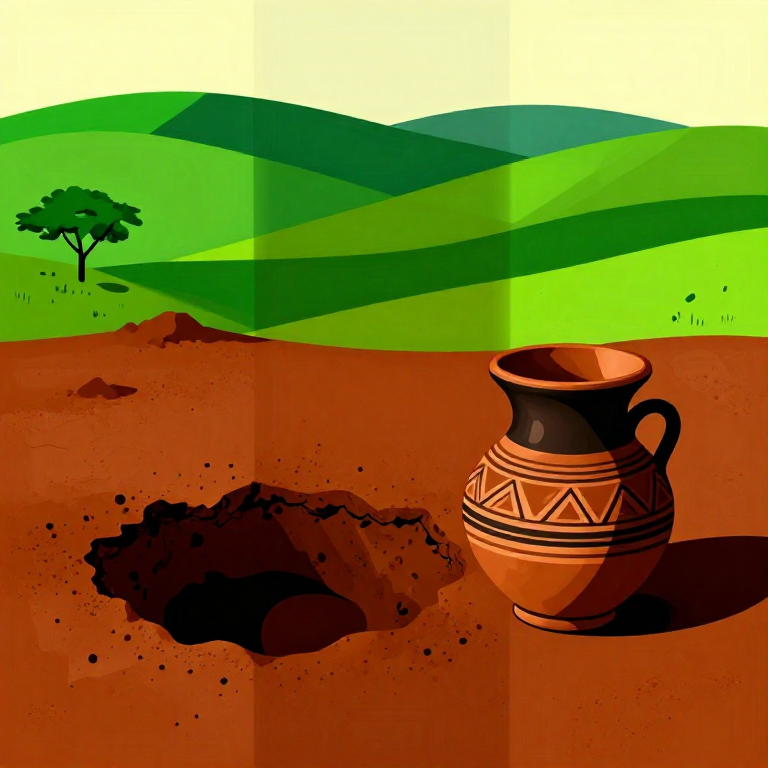
Raccolta dell'Argilla Toscana — Dalla Terra alla Massa Ceramicaceramics-and-clay
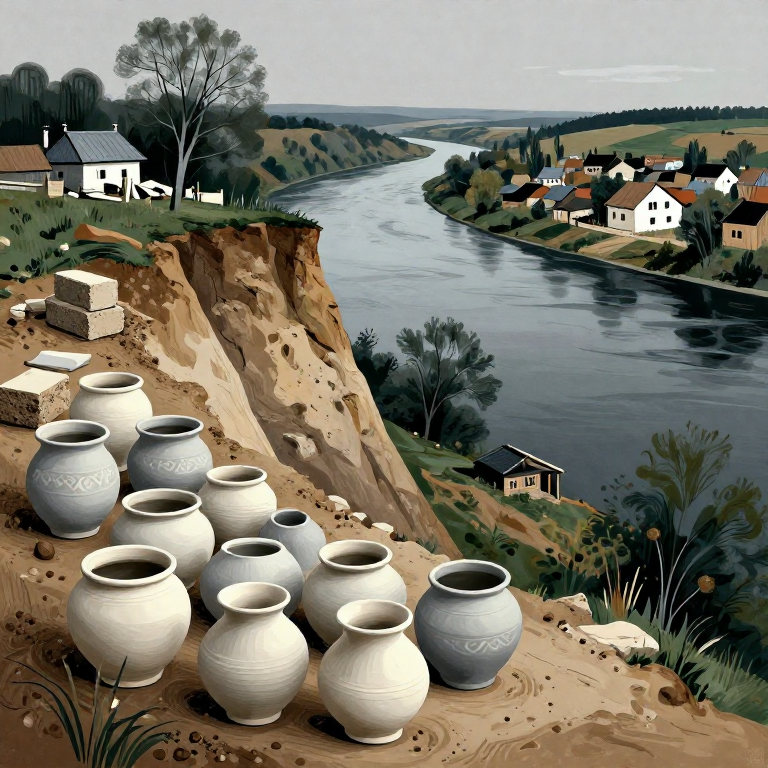
Збирання гончарної глини з річкових урвищ — Українська традиція Опішнянської керамікиceramics-and-clay
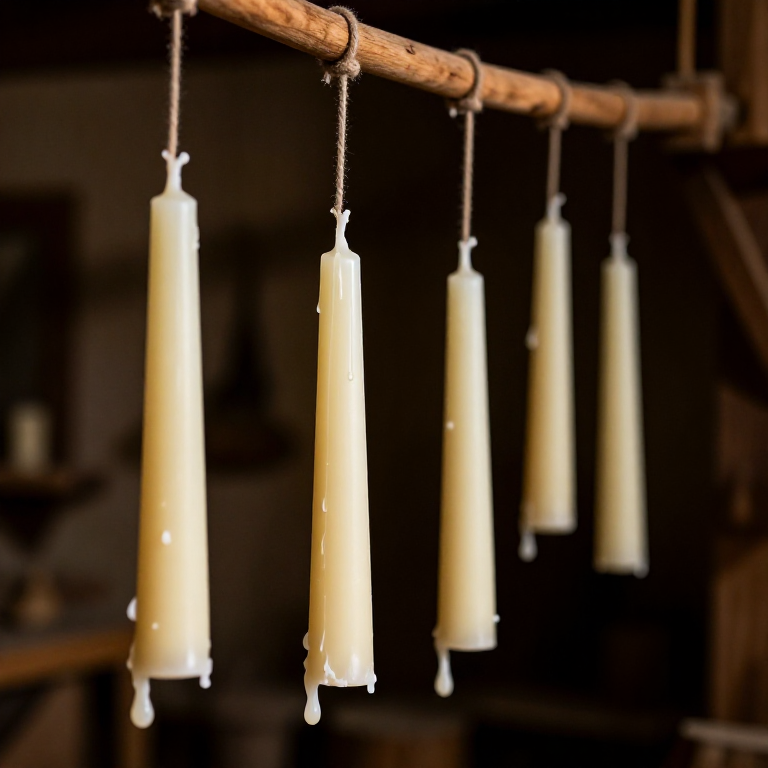
Making Tallow Dipped Candles — The Poor Man's Light for Two Thousand YearsHOME & LIVING
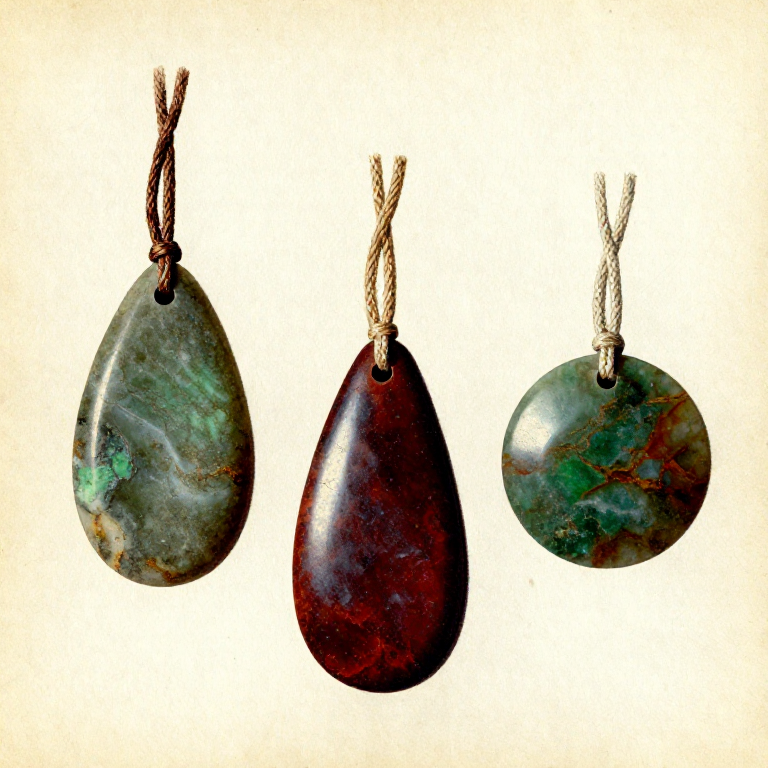
Making a Polished Stone Pendant — Prehistoric Personal Ornamentjewelry
CC0 Domaine public
Ce blueprint est publié sous CC0. Vous êtes libre de copier, modifier, distribuer et utiliser ce travail pour tout usage, sans demander la permission.
Soutenez le Maker en achetant des produits via son Blueprint où il perçoit une Commission Maker définie par les Vendeurs, ou créez une nouvelle itération de ce Blueprint et incluez-le comme connexion dans votre propre Blueprint pour partager les revenus.