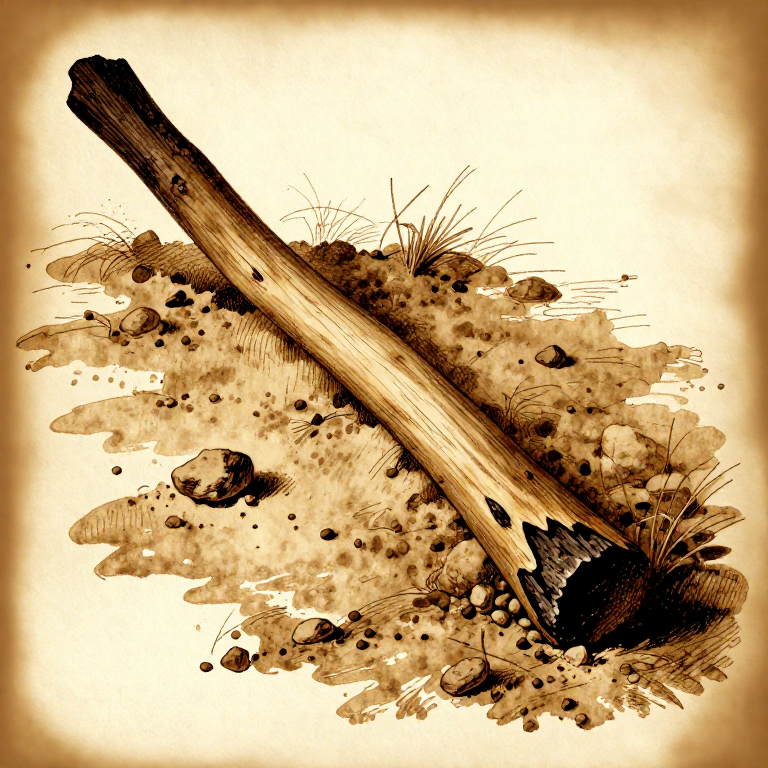
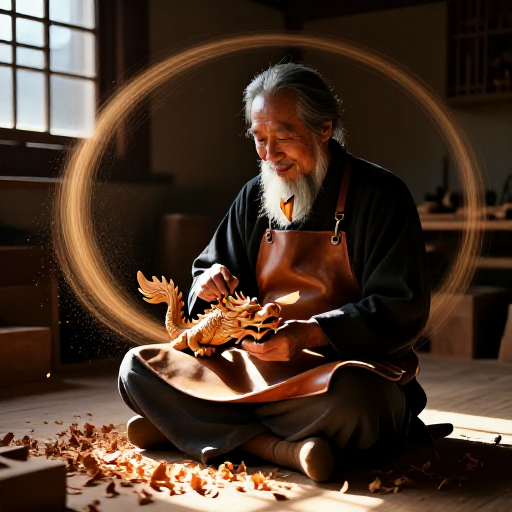

Making a Fire-Hardened Digging Stick — The First Farming Tool
Amabwiriza
Select Hardwood
Select Hardwood
Select a straight hardwood sapling — oak, ash, hazel, or birch — 4-5 cm in diameter and 120-150 cm long
Ibikoresho by'iyi ntambwe:
 Inkoni y'Igiti Gito Gikomeye1 igice
Strip Bark
Strip Bark
Strip all bark from the shaft using the back edge of a knife or a sharp stone flake
Ibikoresho bikenewe:
 Icyuma
Trim Branches
Trim Branches
Trim any side branches flush with the main shaft so the surface is smooth
Ibikoresho bikenewe:
IcyumaMark Working End
Mark Working End
Mark a line 30 cm from one end — everything below this line is the working tip zone
Carve Chisel Point
Carve Chisel Point
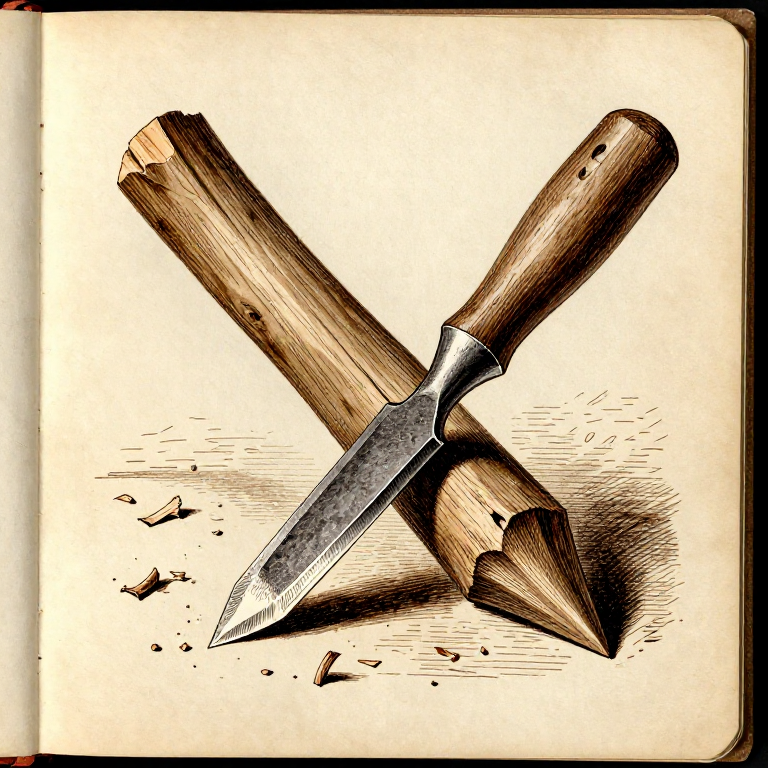
Carve the working end to a symmetrical chisel-point, removing wood evenly from both sides
Ibikoresho bikenewe:
IcyumaShape Wedge Edge
Shape Wedge Edge
Shave the tip to a flat wedge shape, 2-3 cm wide at the cutting edge
Ibikoresho bikenewe:
IcyumaSmooth Surfaces
Smooth Surfaces
Smooth all carved surfaces with a sandstone block, working along the grain
Ibikoresho bikenewe:
 Ibuye ry'Umusenyi (Iryo Gusya)
Build Fire
Build Fire
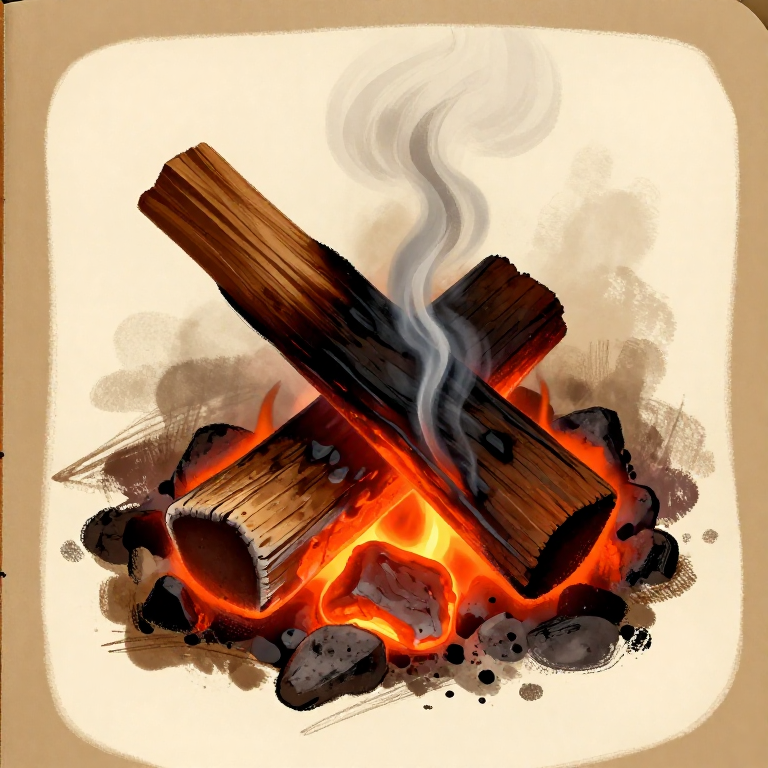
Build a small fire and allow it to burn down to a bed of glowing coals with no open flame
Ibikoresho by'iyi ntambwe:
 Inkwi1 umuzingo
First Charring Pass
First Charring Pass
Hold the carved tip 10 cm above the coals, rotating the shaft slowly and steadily
Monitor Colour
Monitor Colour
Continue rotating until the surface chars evenly to a deep chestnut brown — not black ash
Scrape First Char
Scrape First Char
Remove from heat and scrape off the thin charred layer with the edge of a hammerstone
Ibikoresho bikenewe:
 Ibuye ryo Gukubita
Second Hardening Pass
Second Hardening Pass
Return the tip to the coals for a second charring pass, rotating as before
Scrape Second Char
Scrape Second Char
Scrape off the second char layer — the wood beneath is now noticeably harder, dense, and glassy
Ibikoresho bikenewe:
Ibuye ryo GukubitaTest Hardness
Test Hardness
Test the hardened tip by pressing it firmly into packed earth — it should resist deformation
Carve Grip Notch
Carve Grip Notch
Carve a shallow grip notch 20 cm from the upper end for a secure handhold
Ibikoresho bikenewe:
IcyumaFinal Smoothing
Final Smoothing
Smooth the full shaft with fine sandstone to remove any rough fibres or splinters
Ibikoresho bikenewe:
Ibuye ry'Umusenyi (Iryo Gusya)Seal with Fat
Seal with Fat
Rub a generous coat of rendered animal fat (tallow) into the entire wood surface to seal the grain
Ibikoresho by'iyi ntambwe:
 Amavuta y'Itungo1 ikiyiko kinini
Test in Soil
Test in Soil
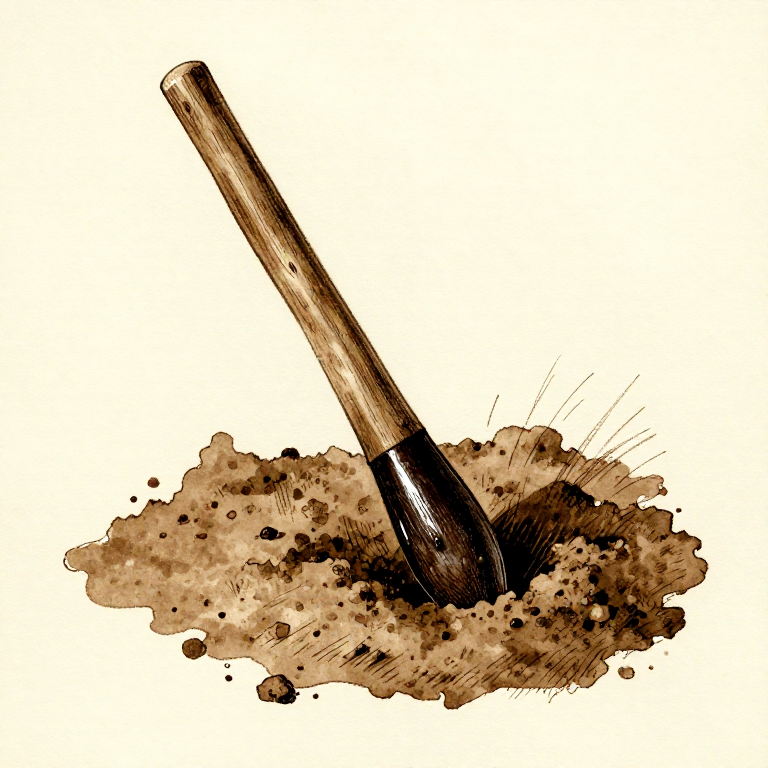
Test the finished digging stick in loose soil — push the tip in at 45° and lever upward to break the earth
Ibikoresho
3- 1 igiceUmwanya
- 1 umuzingoUmwanya
- 1 ikiyiko kininiUmwanya
CC0 Umurenge rusange
Iyi blueprint yasohowe munsi ya CC0. Ushobora gukoporora, guhindura, gukwirakwiza no gukoresha nta kwemererwa.
Shyigikira Umuremyi ugura ibicuruzwa binyuze muri Blueprint ye Komisiyo y'Umuremyi byashyizweho n'Abacuruzi, cyangwa kora verisiyo nshya y'iyi Blueprint ukayinjiza nk'isano muri Blueprint yawe kugira ngo musangire inyungu.