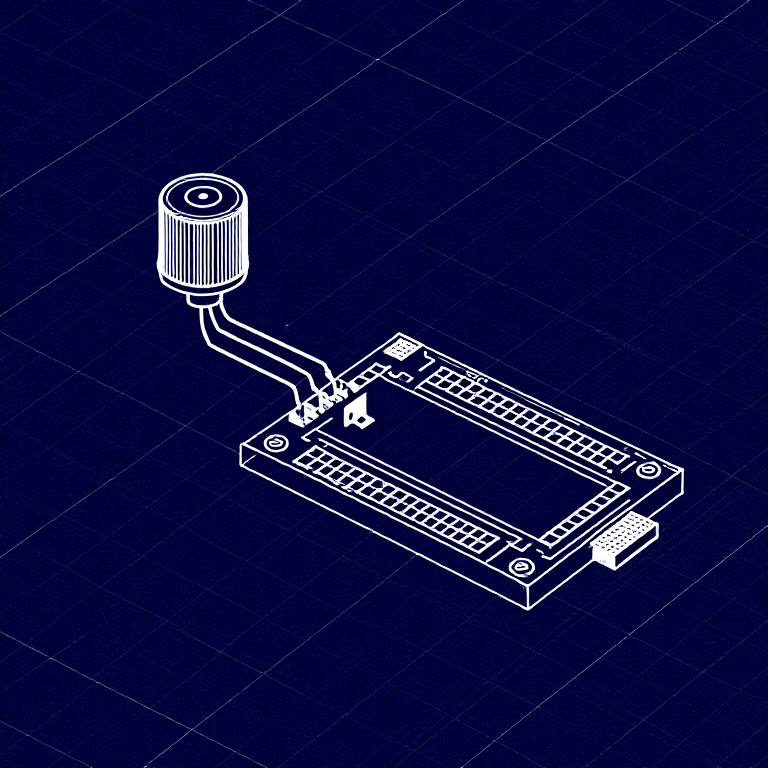


Reading a Potentiometer — SIK Circuit 2
Amabwiriza
Parts & Introduction
Parts & Introduction
In this experiment you'll use a potentiometer (a variable resistor with a knob) to control how fast an LED blinks. This introduces analogRead() — reading voltage levels between 0 and 5V as values from 0 to 1023.
Parts Needed
- 1x Arduino Uno + USB cable
- 1x Breadboard
- 1x Potentiometer (10K)
- 1x LED (any color)
- 1x 330Ω Resistor
- 6x Jumper Wires
Ibikoresho by'iyi ntambwe:
 SparkFun Inventor's Kit - V3.21 ibikoresho
Ibikoresho bikenewe:
 Mudasobwa Ifite Arduino IDE
Hardware Hookup
Hardware Hookup
Wiring Instructions
- Place the potentiometer in the breadboard. It has three pins.
- Connect the left pin to GND and the right pin to 5V (or vice versa).
- Connect the middle pin (wiper) to Analog Pin A0.
- Place an LED in the breadboard. Connect the positive leg (longer) to Digital Pin 13.
- Connect the negative leg (shorter) through a 330Ω resistor to GND.
- Connect the 5V and GND rails on the breadboard to the Arduino.
Ibikoresho by'iyi ntambwe:
 Ikibaho cy'Ibizamini1 igice
 Insinga zo guhuza6 ibice
Arduino Code
Arduino Code
Open the Arduino IDE and upload the following sketch to your Arduino board.
Ibikoresho by'iyi ntambwe:
 Arduino Uno R31 igice
Ibikoresho bikenewe:
Mudasobwa Ifite Arduino IDETest & Experiment
Test & Experiment
What You Should See
The LED blinks faster or slower as you turn the potentiometer knob. At one extreme it blinks very fast, at the other it blinks slowly.
Troubleshooting
- Sporadically working: The potentiometer pins may not be making good contact. Press it firmly into the breadboard.
- Not working: Make sure the wiper (middle pin) goes to Analog pin 0, not Digital pin 0.
- LED not lighting: LEDs only work in one direction. Flip it around.
Experiments to Try
- Open the Serial Monitor and print the
sensorValueto see the raw numbers (0-1023). - Use
map()to convert the sensor range to a brightness range and control LED brightness withanalogWrite().
Ibikoresho
7- SparkFun Inventor's Kit - V3.210% komisiyo1 ibikoresho$106.76
- Umwanya
- Umwanya
- Umwanya
- Umwanya
- Umwanya
- Umwanya
Ibikoresho bikenewe
1- Umwanya
CC0 Umurenge rusange
Iyi blueprint yasohowe munsi ya CC0. Ushobora gukoporora, guhindura, gukwirakwiza no gukoresha nta kwemererwa.
Shyigikira Umuremyi ugura ibicuruzwa binyuze muri Blueprint ye Komisiyo y'Umuremyi byashyizweho n'Abacuruzi, cyangwa kora verisiyo nshya y'iyi Blueprint ukayinjiza nk'isano muri Blueprint yawe kugira ngo musangire inyungu.