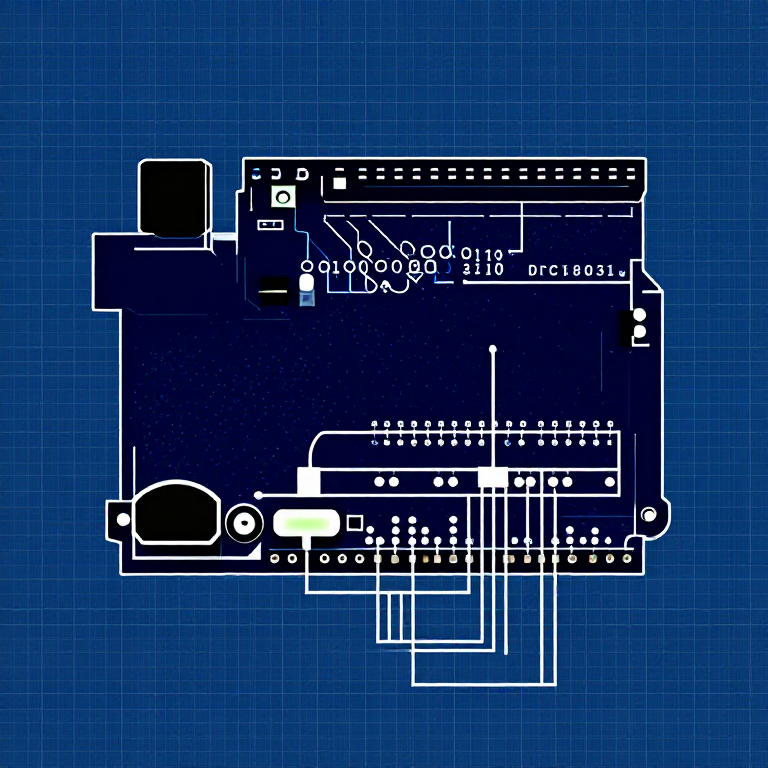


Push Buttons — SIK Circuit 5
Amabwiriza
Parts & Introduction
Parts & Introduction
Push buttons are the simplest digital input. This experiment uses two buttons with an XOR logic gate: the LED turns on if you press either button, but turns off if you press both. You'll learn about digitalRead(), pull-up resistors, and boolean logic.
Parts Needed
- 1x Arduino Uno + USB cable
- 1x Breadboard
- 2x Push Buttons
- 1x LED (any color)
- 1x 330Ω Resistor
- 2x 10KΩ Resistors (pull-ups)
- 7x Jumper Wires
Ibikoresho by'iyi ntambwe:
 SparkFun Inventor's Kit - V3.21 ibikoresho
Ibikoresho bikenewe:
 Mudasobwa Ifite Arduino IDE
Hardware Hookup
Hardware Hookup
Wiring Instructions
- Place both push buttons across the center canyon of the breadboard.
- Button 1: Connect one pin to GND. Connect the opposite diagonal pin to Arduino Digital Pin 2. Add a 10K resistor between Pin 2 and 5V (pull-up).
- Button 2: Connect one pin to GND. Connect the opposite diagonal pin to Arduino Digital Pin 3. Add a 10K resistor between Pin 3 and 5V (pull-up).
- Connect LED positive leg to Digital Pin 13, negative leg through 330Ω resistor to GND.
Note: The pull-up resistors hold the input HIGH when the button is not pressed. Pressing the button connects the pin to GND (LOW).
Ibikoresho by'iyi ntambwe:
 Buto ikandwa2 ibice
 Ikibaho cy'Ibizamini1 igice
 Insinga zo guhuza7 ibice
Arduino Code
Arduino Code
Open the Arduino IDE and upload the following sketch to your Arduino board.
Ibikoresho by'iyi ntambwe:
 Arduino Uno R31 igice
Ibikoresho bikenewe:
Mudasobwa Ifite Arduino IDETest & Experiment
Test & Experiment
What You Should See
The LED turns on when you press either button individually. It turns off when you press both buttons simultaneously (XOR logic).
Troubleshooting
- Not responding: Push buttons are square — it's easy to put them in the wrong orientation. Try rotating 90°.
- LED always on or always off: Check the pull-up resistor connections. Without them, the input pin floats and reads random values.
Experiments to Try
- Change the logic to AND (both buttons required) or simple OR.
- Use the buttons to control an RGB LED — one button for color, one for brightness.
- Try using
INPUT_PULLUPmode to eliminate the external resistors.
Ibikoresho
8- SparkFun Inventor's Kit - V3.210% komisiyo1 ibikoresho$106.86
- Umwanya
- Umwanya
- Umwanya
- Umwanya
- Umwanya
- Umwanya
- Umwanya
Ibikoresho bikenewe
1- Umwanya
CC0 Umurenge rusange
Iyi blueprint yasohowe munsi ya CC0. Ushobora gukoporora, guhindura, gukwirakwiza no gukoresha nta kwemererwa.
Shyigikira Umuremyi ugura ibicuruzwa binyuze muri Blueprint ye Komisiyo y'Umuremyi byashyizweho n'Abacuruzi, cyangwa kora verisiyo nshya y'iyi Blueprint ukayinjiza nk'isano muri Blueprint yawe kugira ngo musangire inyungu.