Using a Piezo Buzzer — SIK Circuit 11
Amabwiriza
Parts & Introduction
Parts & Introduction
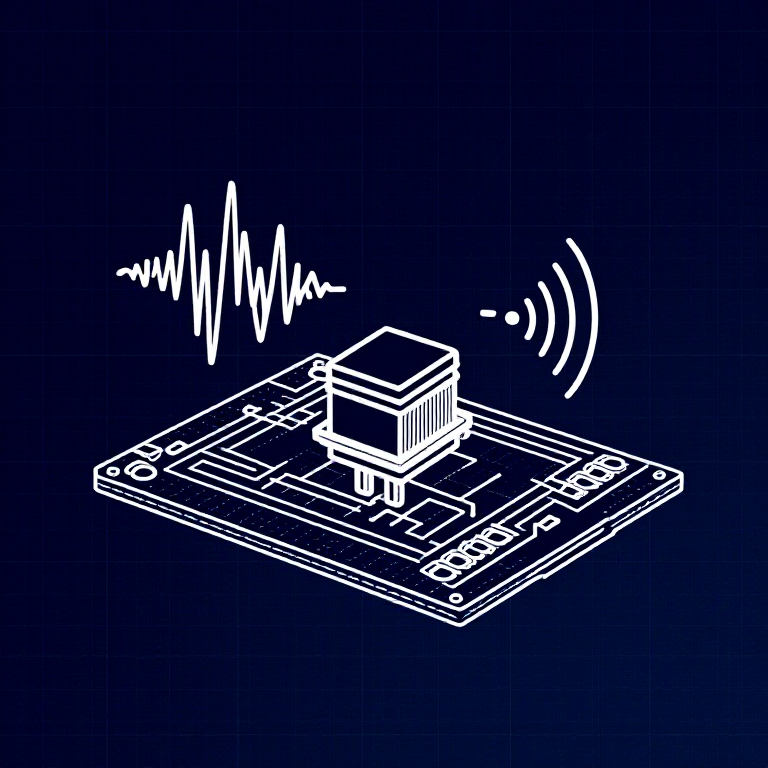
A piezo buzzer converts electrical signals into sound. Using Arduino's built-in tone() function, you can play specific musical frequencies. This sketch plays a simple melody using character arrays for notes and integer arrays for timing.
Parts Needed
- 1x Arduino Uno + USB cable
- 1x Breadboard
- 1x Piezo Buzzer
- 3x Jumper Wires
Note Frequency Reference
| Note | Freq |
|---|---|
| c | 262 Hz |
| d | 294 Hz |
| e | 330 Hz |
| f | 349 Hz |
| g | 392 Hz |
| a | 440 Hz |
| b | 494 Hz |
| C | 523 Hz |
Materials for this step:
 SparkFun Inventors Kit - V3.21 kit
 Jumper Wires2 pieces
Tools needed:
Hardware Hookup
Hardware Hookup
Wiring Instructions
- Place the piezo buzzer in the breadboard. It has two pins — one marked with "+".
- Connect the positive pin (+) to Arduino Digital Pin 9 (PWM).
- Connect the negative pin to GND.
Tip: If the buzzer doesn't fit easily, try rotating it slightly to align with diagonal breadboard holes.
Materials for this step:
Jumper Wires2 piecesArduino Code
Arduino Code
Open the Arduino IDE and upload the following sketch to your Arduino board.
Materials for this step:
Tools needed:
Test & Experiment
Test & Experiment
What You Should See
You won't see anything — but you'll hear a melody playing from the buzzer! The song plays once and stops.
Troubleshooting
- No sound: The buzzer pins are easy to misplace on the breadboard. Double-check placement and make sure both pins have good contact.
- Want it to stop: Pull the buzzer out while working on other things, plug it back in to test.
Experiments to Try
- Remove the
while(true){}line to make the song loop continuously. - Write your own melody by changing the
notes[]andbeats[]arrays. - Add more notes by expanding the
frequency()function with sharps and flats. - Use a button (from Circuit 5) to trigger the melody on demand.
Ibikoresho
5- $105.00
- Piezo Buzzer1 piece
CC0 Umurenge rusange
Iyi blueprint yasohowe munsi ya CC0. Ushobora gukoporora, guhindura, gukwirakwiza no gukoresha nta kwemererwa.
Shyigikira Umuremyi ugura ibicuruzwa binyuze muri Blueprint ye Komisiyo y'Umuremyi byashyizweho n'Abacuruzi, cyangwa kora verisiyo nshya y'iyi Blueprint ukayinjiza nk'isano muri Blueprint yawe kugira ngo musangire inyungu.