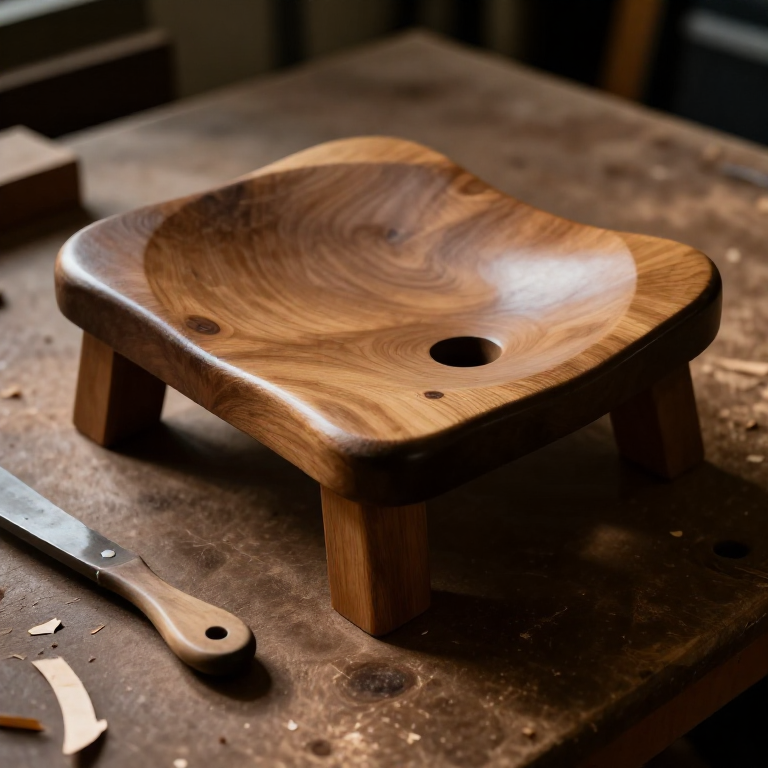


Windsor Chair Seat
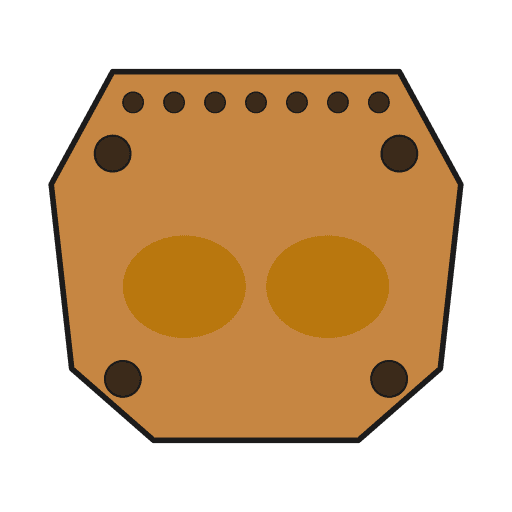
A Windsor chair has no frame. The seat is the frame — a single thick plank that every leg, stick and arm post socket into. Nothing else holds the chair together, which is why the seat is carved from one board and why chairmakers spend more time on it than on all the turned parts put together.
Two jobs happen in that plank. The top is hollowed — saddled — into a shallow dish that spreads a sitter's weight instead of concentrating it on two bones. And the underside is drilled at compound angles that splay the legs outward and rake them fore and aft, so a chair with no stretchers between the seat and the floor still cannot be pushed over.
The saddling is done with three tools in sequence, each flatter than the one before: adze, then scorp, then travisher. Roughly 25 mm deep at the deepest point. Any deeper and you are into the leg sockets.
Amabwiriza
Choose a plank 50 mm thick
Choose a plank 50 mm thick
Take a clear plank at least 50 mm thick and 400 x 450 mm. Elm was the traditional English seat wood because its interlocked grain resists splitting around the sockets; white pine and tulip poplar carve easier and are the usual American choice.
Ibikoresho by'iyi ntambwe:
 Ikibaho cy'Igiti Gikomeye1 igice
Flatten both faces
Flatten both faces
Plane both faces flat and parallel before any layout. Every angle you drill later is measured off the top face, so a face out of true puts every leg out of true with it.
Ibikoresho bikenewe:
 Ikoresho cyo gusiga ibiti
Draw the seat outline and the centre line
Draw the seat outline and the centre line
Lay out the seat shape and mark the centre line down its length. Everything that follows is measured from that line.
Ibikoresho bikenewe:
 Umurongo w'ipima
Mark the four leg positions
Mark the four leg positions
Mark the leg centres, front pair wider apart than the rear pair. The footprint on the floor ends up wider than the seat — that is what makes the chair stable.
Draw a sightline through each leg position
Draw a sightline through each leg position
Draw a line on the seat top from each leg centre pointing where that leg will lean. The sightline is the direction you stand to drill in; it turns a compound angle into a single angle you can actually see.
Set the resultant angle for the bit
Set the resultant angle for the bit
Set a bevel gauge to the resultant angle — the single tilt that combines rake and splay when the drill is aligned along the sightline. Stand it upright beside the drill as a visual reference.
Drill the leg mortises from the top
Drill the leg mortises from the top
Drill each socket from the seat top, sighting along its line and matching the bevel gauge. Drilling from the top is what keeps the visible surface clean; a blowout underneath is hidden.
Ibikoresho bikenewe:
 Igikoresho cyo gutobora cy'intoki
Ream the sockets to a taper
Ream the sockets to a taper
Open each socket with a tapered reamer, keeping the same sightline and angle. A tapered leg tenon in a tapered socket tightens under load — the sitter's weight is what holds the chair together.
Mark the saddle outline
Mark the saddle outline
Pencil the area to be hollowed: two shallow dishes for the sitting bones, a raised pommel between them at the front, and a flat landing at the back edge for the spindle holes.
Mark the depth limit
Mark the depth limit
Gauge a line round the seat edge at about 25 mm below the top face and drill a few depth holes to that line inside the dish. Carve to the bottom of the holes and no further — this is how you avoid breaking into a leg socket.
Rough out with the adze
Rough out with the adze
Take the bulk out with a gutter adze, working across the grain in overlapping strokes. Keep both feet out of the swing line and the seat clamped low and solid.
Ibikoresho bikenewe:
 Ishoka ry'ubugi butambitse
Refine with the scorp
Refine with the scorp
Work the adze marks out with an inshave or scorp, pulling toward yourself in long sweeps. The scorp's curve is flatter than the adze's — each tool in the sequence flattens the last one's tracks.
Smooth with the travisher
Smooth with the travisher
Finish the hollow with a travisher, cutting across and diagonally to the grain. It leaves a surface that needs almost no sanding.
Shape the pommel and the edges
Shape the pommel and the edges
Round the pommel and the front edge with a spokeshave so nothing presses on the back of the thighs. A sharp front edge is the commonest reason a hard chair is uncomfortable.
Ibikoresho bikenewe:
 Ikirwanya gifite imifatiro ibiri
Check the saddle with your hand and a straightedge
Check the saddle with your hand and a straightedge
Run a straightedge across the dish in several directions and feel for flat spots and ridges. Then sit on it. Comfort is measured by sitting, not by looking.
Scrape and finish
Scrape and finish
Scrape the surface and oil it. Leave the tool facets visible if you like — hand-saddled seats have always shown them.
Ibikoresho by'iyi ntambwe:
 Amavuta y'Ubudodo Yatetse100 ml
History & Context
History & Context
A chair with no frame. Nearly every other traditional chair is a frame of rails and stiles with a seat dropped into it. The Windsor inverts that: a solid plank seat is the structural hub, and legs below and sticks above are socketed directly into it. It is why a Windsor can be light and still take generations of use — the loads all pass through one thick piece of wood rather than through a dozen glued joints.
Rake and splay. Splay is how far the legs lean outward viewed from the front; rake is how far they lean fore and aft viewed from the side. Together they widen the base and put the legs in compression along their length. The sightline trick — drawing the direction of lean on the seat and drilling along it — converts a compound angle that is nearly impossible to judge by eye into one tilt against a bevel gauge, and it is the single technique that makes hand-drilled Windsor seats possible without jigs.
Why tapered sockets. A tapered reamed socket with a matching tapered tenon is self-tightening: weight on the seat drives the taper harder home. The joint can also be knocked apart and re-seated, which is why 200-year-old Windsors are still repairable. Glue is a secondary concern in a joint that is doing its work mechanically.
Green wood, dry tenons. Traditional practice pairs a seat at ambient moisture with legs turned from thoroughly dried stock — the drier tenon takes up moisture from the seat, swells slightly and locks. The old rule of thumb runs the other way as well: never fit a wet tenon into a dry seat, because as it dries it shrinks and the joint loosens for good.
The tools survived because nothing replaced them. Adze, scorp and travisher are the same three tools in the same order today as in the eighteenth century. Routers and CNC can hollow a seat, but the sequence of progressively flatter curved tools remains the fastest way to get a compound hollow by hand — and it leaves a surface a machine has to work hard to imitate.
Ibikoresho
2- 1 igiceUmwanya
- Umwanya
Ibikoresho bikenewe
5- Umwanya
- Umwanya
- Umwanya
Iki gishushanyo gikora
CC0 Umurenge rusange
Iyi blueprint yasohowe munsi ya CC0. Ushobora gukoporora, guhindura, gukwirakwiza no gukoresha nta kwemererwa.
Shyigikira Umuremyi ugura ibicuruzwa binyuze muri Blueprint ye Komisiyo y'Umuremyi byashyizweho n'Abacuruzi, cyangwa kora verisiyo nshya y'iyi Blueprint ukayinjiza nk'isano muri Blueprint yawe kugira ngo musangire inyungu.