Drawing Wire Through a Drawplate — Reducing Iron Rod to Fine Wire
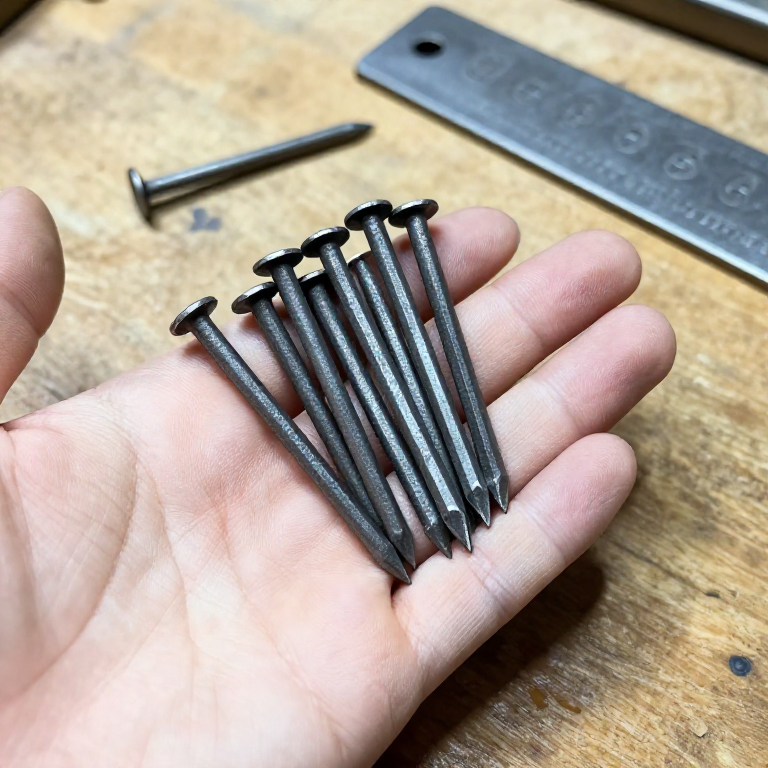
Wire drawing is the process of pulling a metal rod through a series of progressively smaller holes in a hardened steel plate (a drawplate) to reduce its diameter. Known since at least the Viking age and refined in medieval Europe, this technique produces wire of consistent gauge for chainmail, jewellery, pins, needles, musical instrument strings, and countless other uses. The metal is pointed, fed through a hole, gripped with draw tongs, and pulled through with steady force. Between passes the wire is annealed (softened by heating) to prevent it from becoming brittle. This blueprint covers drawing iron wire from a 6 mm rod down to approximately 2 mm — the same method scales to any ductile metal.
Consignes
Select the starting stock
Select the starting stock
Matériaux pour cette étape :
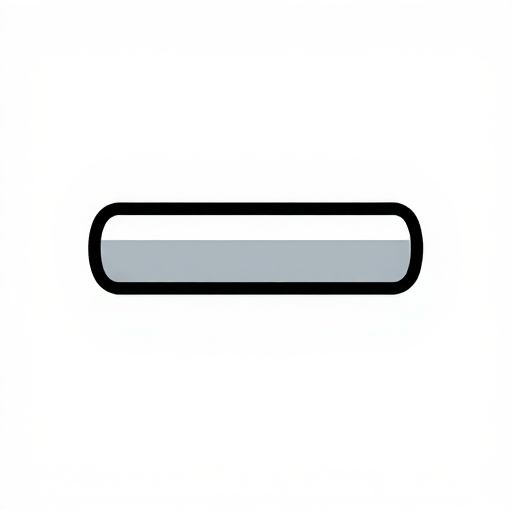 Mild Steel Rod (6mm)1 pièce
Prepare the drawplate
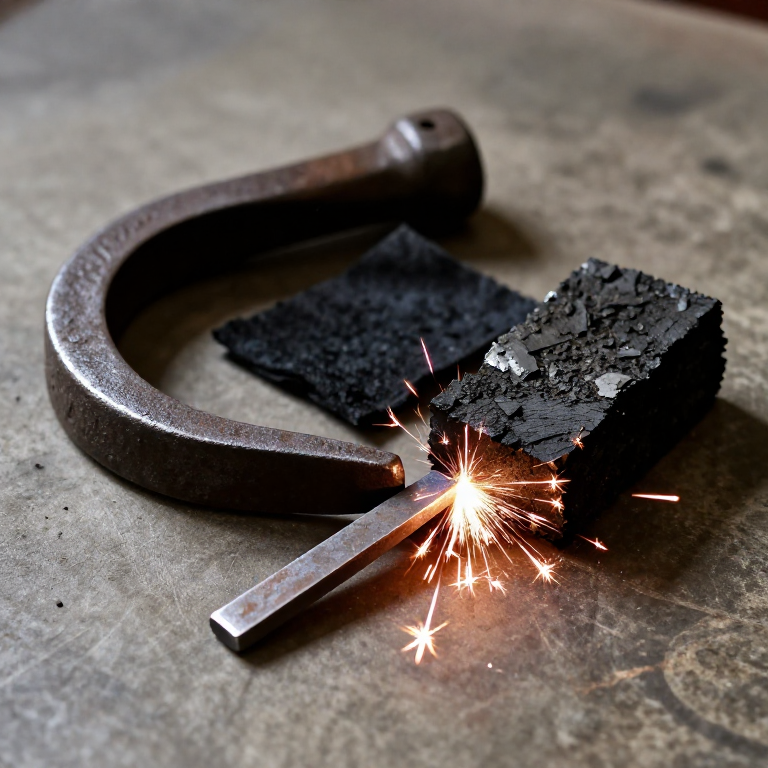
Prepare the drawplate
Outils nécessaires :
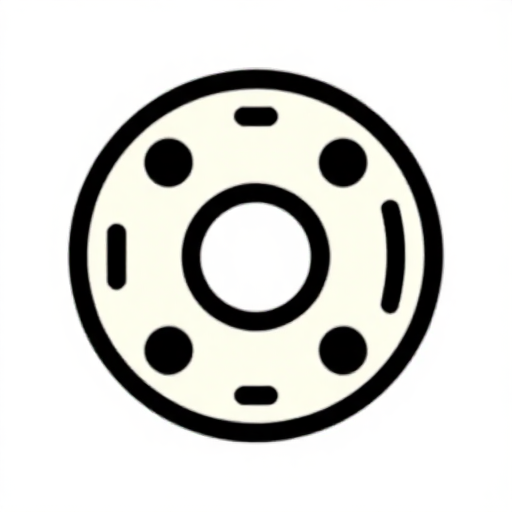 Steel Drawplate
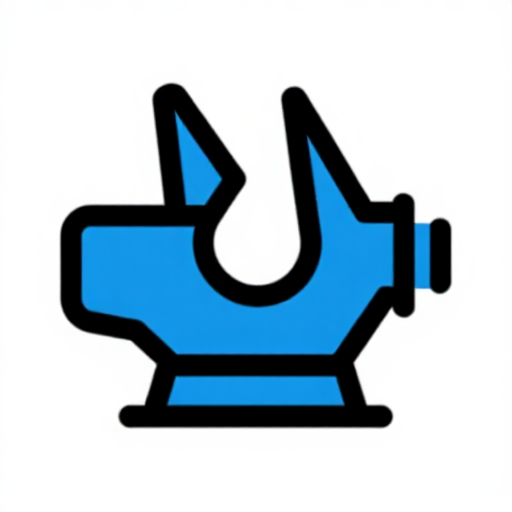 Heavy Bench Vice
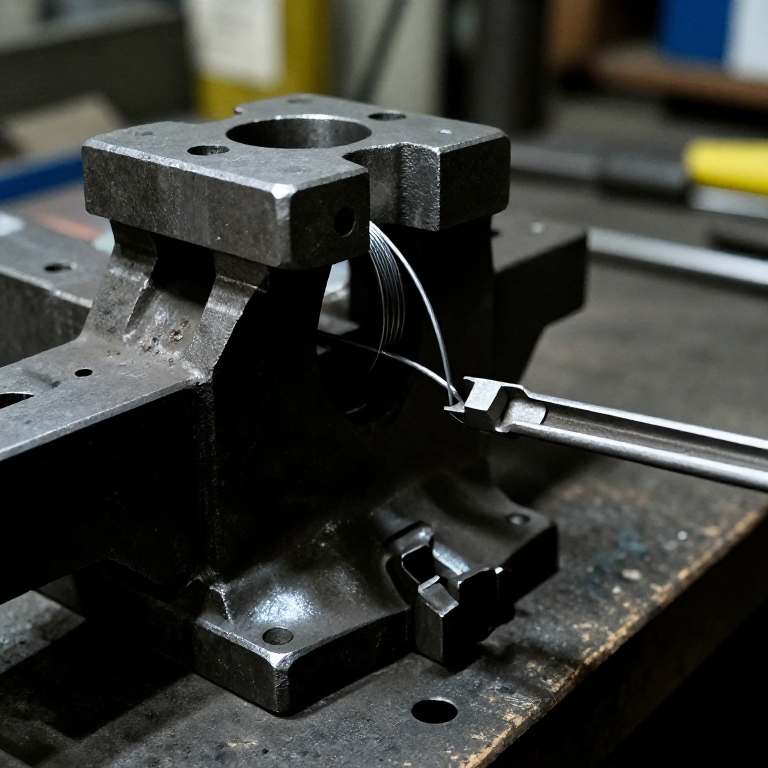
Point the rod
Point the rod
Anneal the rod
Anneal the rod
Lubricate the rod
Lubricate the rod
Matériaux pour cette étape :
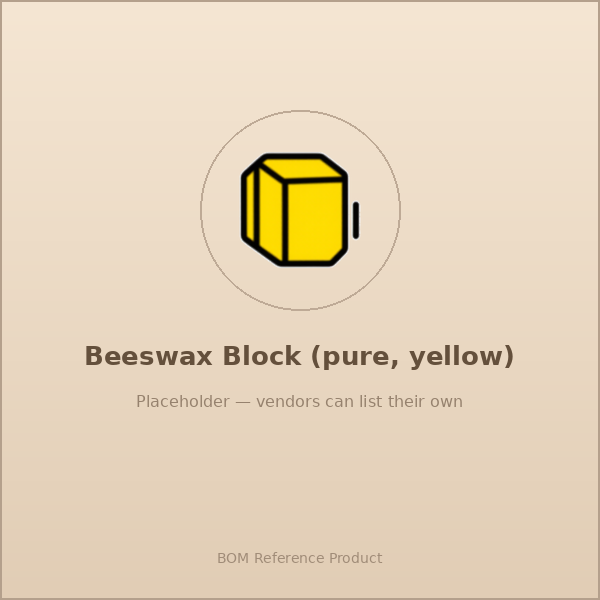 Beeswax Block1 pièce
Feed and grip the rod
Feed and grip the rod
Outils nécessaires :
 Draw Tongs
Pull through the first hole
Pull through the first hole
Move to the next smaller hole
Move to the next smaller hole
Anneal between passes
Anneal between passes
Continue drawing to final gauge
Continue drawing to final gauge
Straighten the wire
Straighten the wire
Final anneal or temper
Final anneal or temper
Matériaux
2- 1 pièceEspace réservé
- 1 pièceEspace réservé
Outils requis
3- Espace réservé
- Espace réservé
- Espace réservé
Matériaux des Blueprints connectés
Blueprints liés
Ces blueprints partagent des connaissances — techniques, matériaux ou principes
Related blueprints
Other builds that share materials, tools, or techniques with this one.


CC0 Domaine public
Ce blueprint est publié sous CC0. Vous êtes libre de copier, modifier, distribuer et utiliser ce travail pour tout usage, sans demander la permission.
Soutenez le Maker en achetant des produits via son Blueprint où il perçoit une Commission Maker définie par les Vendeurs, ou créez une nouvelle itération de ce Blueprint et incluez-le comme connexion dans votre propre Blueprint pour partager les revenus.