فنون
الجمال والعناية
حِرَف
الثقافة والتاريخ
ترفيه
البيئة
الطعام والمشروبات
المستقبل الأخضر
الهندسة العكسية
المشاريع المدرسية
العلوم
رياضة
التقنية
الأجهزة القابلة للارتداء

مترجم
BLUEPRINT NFT

وميض LED — مشروعك الأول مع Arduino
المشروع الإلكتروني الأول الكلاسيكي! بناء دارة وميض LED باستخدام Arduino ولوحة التجارب ومقاوم وLED واحد. مثالي للمبتدئين تماماً — لا يتطلب لحام.
التعليمات
1
1
جمع مكوناتك
جمع مكوناتك
قم بجمع جميع المكونات المدرجة أدناه. لا حاجة للحام — كل شيء يتصل بلوحة التجارب.
المواد لهذه الخطوة:
 SparkFun Inventor's Kit - V3.21 طقم
 Arduino Uno R31 قطعة
 5mm LED (any color)1 قطعة
 220 ohm Resistor (1/4W)1 قطعة
 Breadboard1 قطعة
 Jumper Wires (Male-to-Male)2 قطع
 USB-B Cable1 قطعة
الأدوات المطلوبة:
Computer with Arduino IDE
2
2
مخطط الدائرة الكهربائية
مخطط الدائرة الكهربائية
يتدفق الإشارة من Arduino Pin 13 → مقاومة 220Ω (R1) → LED (D1) → GND. تحد المقاومة من التيار لحماية LED.
المواد لهذه الخطوة:
Arduino Uno R31 قطعة5mm LED (any color)1 قطعة220 ohm Resistor (1/4W)1 قطعة3
3
وصلها
وصلها
- أدرج LED في لوحة التجارب — الرجل الطويل (الأنود +) في صف واحد، الرجل القصير (الكاثود −) في الصف التالي.
- أدرج أحد طرفي مقاومة 220Ω في نفس الصف مع كاثود LED. الطرف الآخر في صف منفصل.
- سلك الوصل من صف الأنود LED → دبوس Arduino 13.
- سلك الوصل من صف المقاومة الحر → Arduino GND.
المواد لهذه الخطوة:
5mm LED (any color)1 قطعة220 ohm Resistor (1/4W)1 قطعةBreadboard1 قطعةJumper Wires (Male-to-Male)2 قطع4
4
تحميل كود الوميض
تحميل كود الوميض
قم بتوصيل Arduino عبر USB. افتح Arduino IDE، واختر Tools → Board → Arduino Uno، والصق الكود، وانقر على Upload.
blink.inoarduino
المواد لهذه الخطوة:
Arduino Uno R31 قطعةUSB-B Cable1 قطعةالأدوات المطلوبة:
Computer with Arduino IDE
5
5
PCB التخطيط (مرجع)
PCB التخطيط (مرجع)
يوضح هذا الدائرة كتخطيط PCB. غير مطلوب لهذا المشروع — لوح التجارب يعمل بشكل مثالي — لكنه يوضح كيف ستبدو نفس الدائرة إذا تم تصنيعها كلوح حقيقي.
6
6
الاختبار والتجربة
الاختبار والتجربة
LED يومض؟ تهانينا! لقد برمجت للتو الأجهزة.
استكشاف الأخطاء:
التجارب التالية:
استكشاف الأخطاء:
- LED لا يضيء؟ اقلب LED — الرجل الطويلة باتجاه Pin 13.
- LED يبقى مضاءً؟ تحقق من تحميل الكود بنجاح.
- لا يحدث شيء؟ تحقق من أن الأسلاك تطابق الرسم التخطيطي في الخطوة 2.
التجارب التالية:
- غير قيم
delay()للتحكم في سرعة الوميض - أضف LED ثانية على Pin 12
- استبدل بـ RGB LED (انظر SIK Circuit 3)
المواد
7- $105.00
- 1 قطعةعنصر نائب
- عنصر نائب
- عنصر نائب
- 1 قطعةعنصر نائب
- عنصر نائب
التكلفة الإجمالية المقدرة
$105.00You can swap these in
Can't get one of the materials? Swap it for an equivalent — these work just as well.
- Instead of Arduino Uno R3, try:
 Prototyping Shield for Arduino Uno (3-Pack)
 - Instead of USB Cable, try:
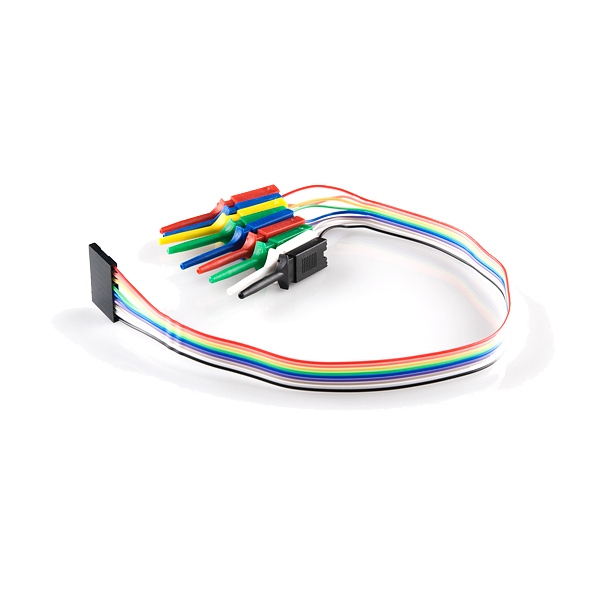 Open Logic Sniffer - Probe Cable Kit
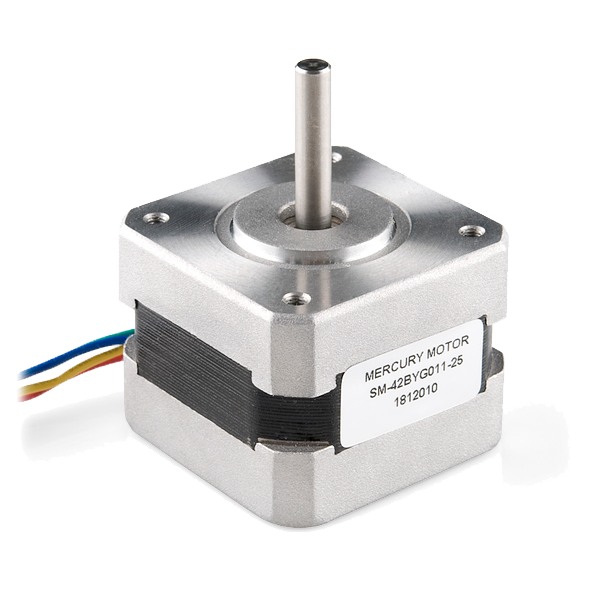 Stepper Motor with Cable
 USB-A to USB-B Cable (1m, 3-Pack)
 Ethernet Cable (Cat6)
 Steel Cable 40mm
 - Instead of 5mm LED Assortment Kit (300pcs, 5 Colors), try:
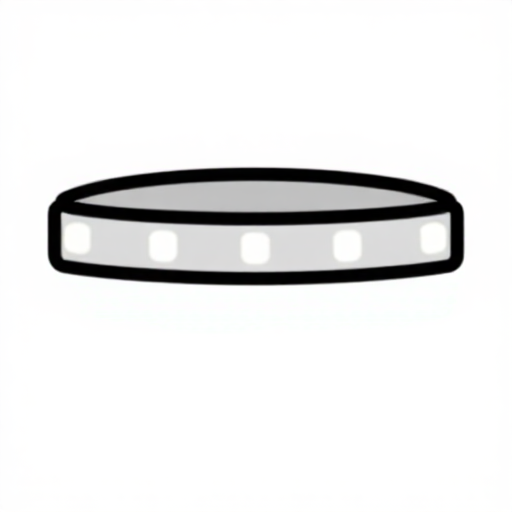 WS2812B NeoPixel LED Strip (1m, 60 LEDs)
 - Instead of Jumper Wire Kit (350pcs, M-M / M-F / F-F), try:
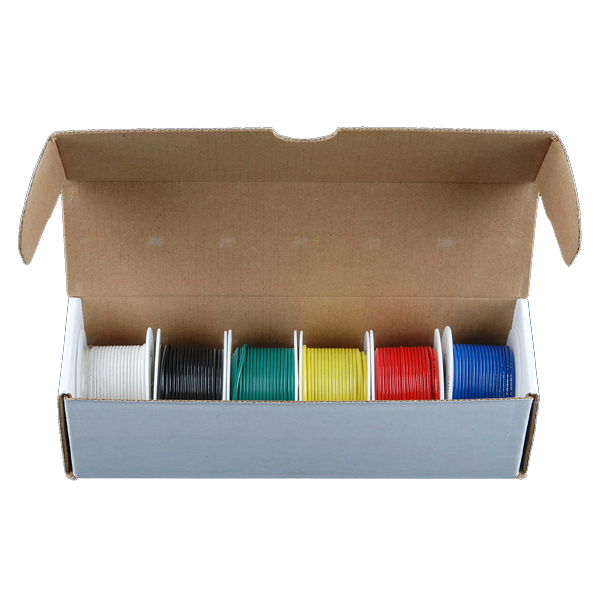 Hook-Up Wire - Assortment (Stranded)
 Tie Wire
 Thin Brass Wire (for cleaning spouts)
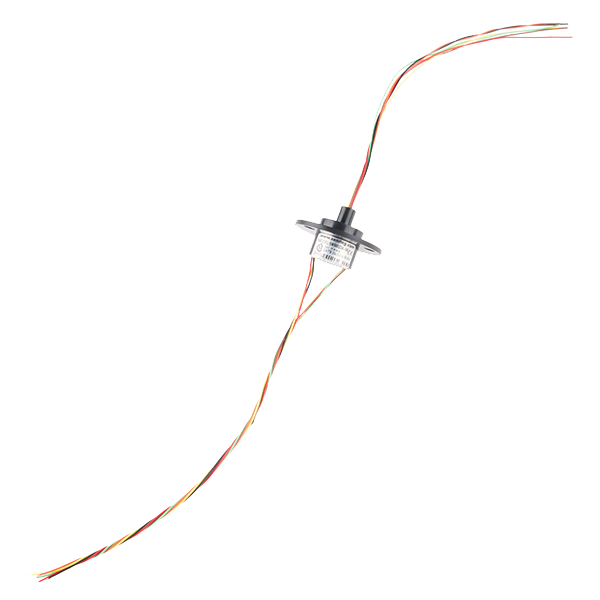 Slip Ring - 6 Wire (2A)
 Bezel Wire
Recommended for this build
Products makers often use with builds like this one.
 Jumper Wires Premium F/F - 15.5 cm (Pack of 10)Used together and in similar builds
 Resistor 330 Ohm 1/6 Watt PTH - 20 packUsed together and in similar builds
 74HC595 Shift Register (10-Pack)Used in similar builds
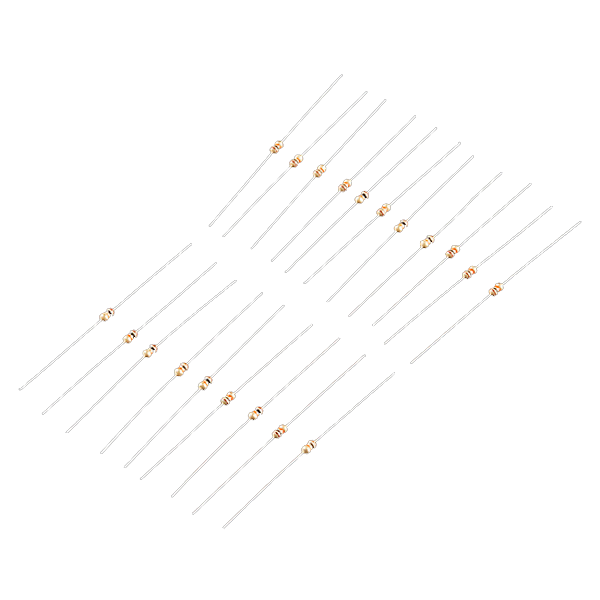 Resistor 10K Ohm 1/6th Watt PTH - 20 packFrequently used with this build's materials
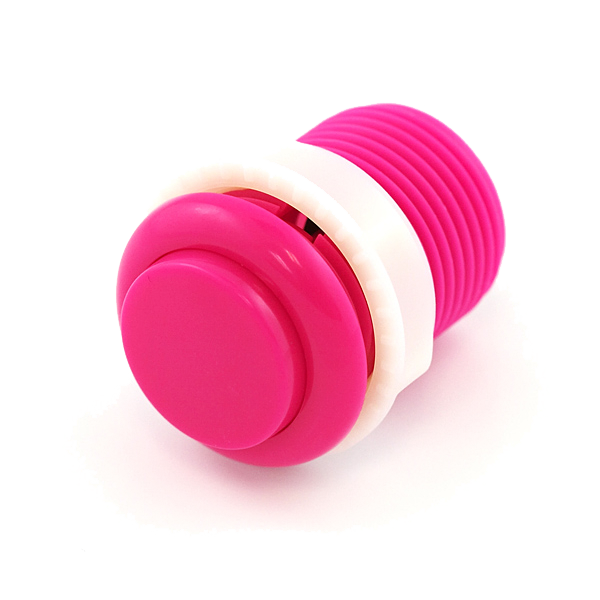 Push Button - 33mmFrequently used with this build's materials
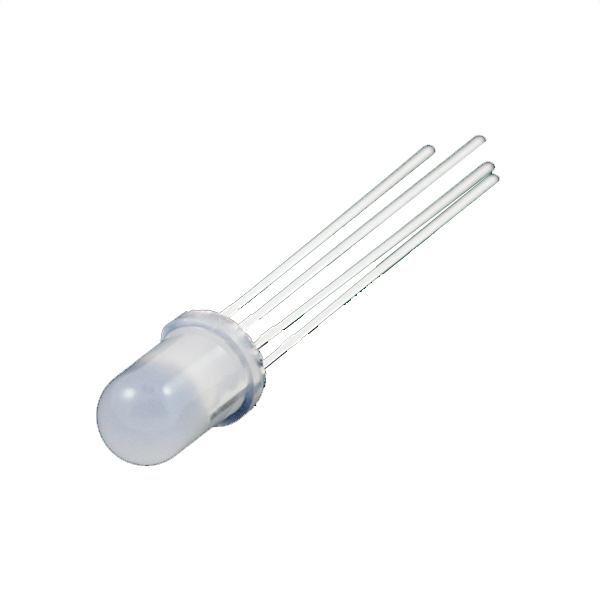 LED - RGB Diffused Common Cathode - 5mmFrequently used with this build's materials
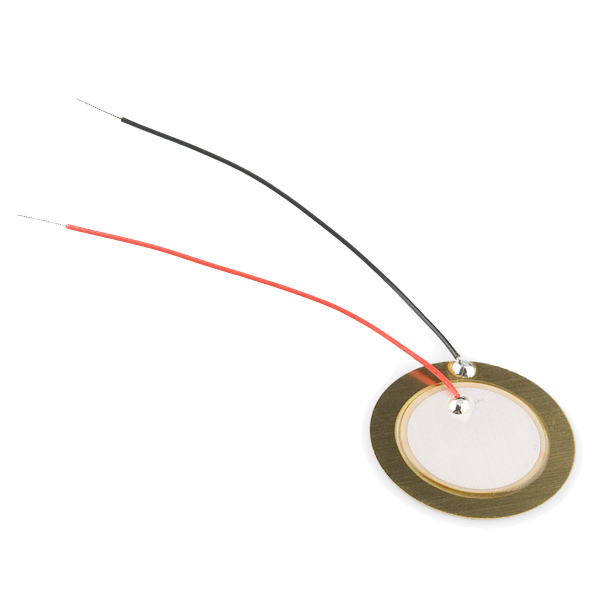 Piezo ElementFrequently used with this build's materials
 Diode KitFrequently used with this build's materials
Related blueprints
Other builds that share materials, tools, or techniques with this one.

Using a Shift Register — SIK Circuit 14electronics/active

Making Charcoal — The First Chemical Processmaterials

Starting Seeds Indoors — Raising Seedlings for a Head Start

Driving a Motor — SIK Circuit 12electronics/electromech

Building Ctesibius' Force Pump — The First Double-Acting Piston Pumpengineering

The Spinning Jenny — Multi-Spindle Yarn Productiontextiles
CC0 ملكية عامة
هذا المخطط مُصدر بموجب CC0. يحق لك نسخه وتعديله وتوزيعه واستخدامه لأي غرض، دون طلب إذن.
ادعم الصانع بشراء منتجات عبر مخططه حيث يكسب عمولة الصانع يحددها البائعون، أو أنشئ نسخة جديدة من هذا المخطط وضمّنه كرابط في مخططك لمشاركة الإيرادات.