فنون
الجمال والعناية
حِرَف
الثقافة والتاريخ
ترفيه
البيئة
الطعام والمشروبات
الهندسة العكسية
العلوم
رياضة
التقنية
الأجهزة القابلة للارتداء
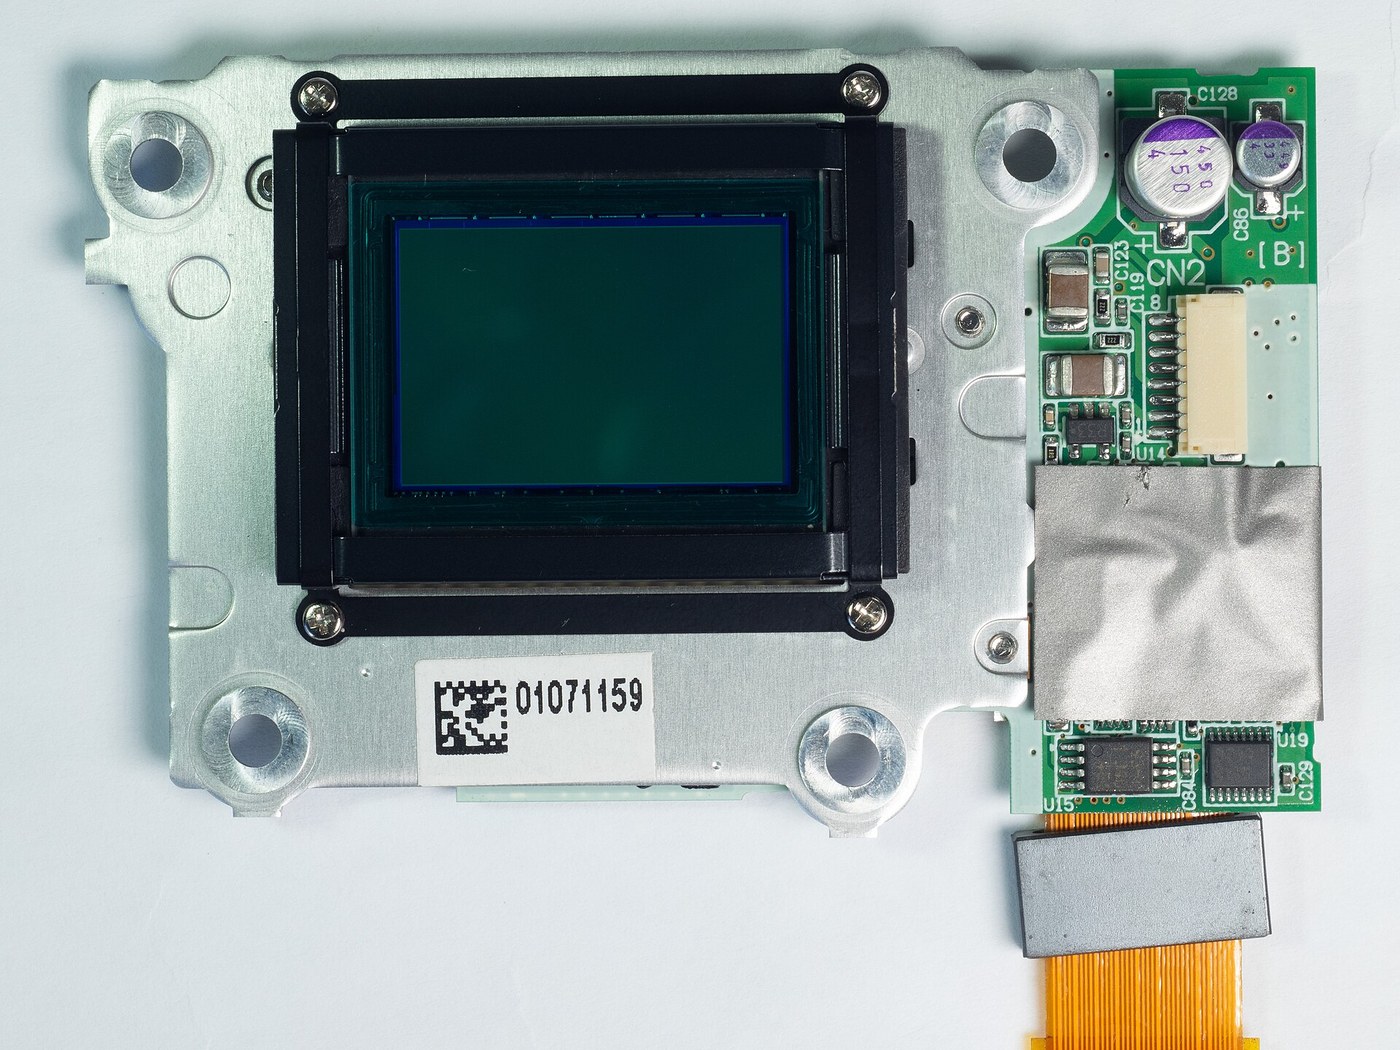


The Charge-Coupled Device
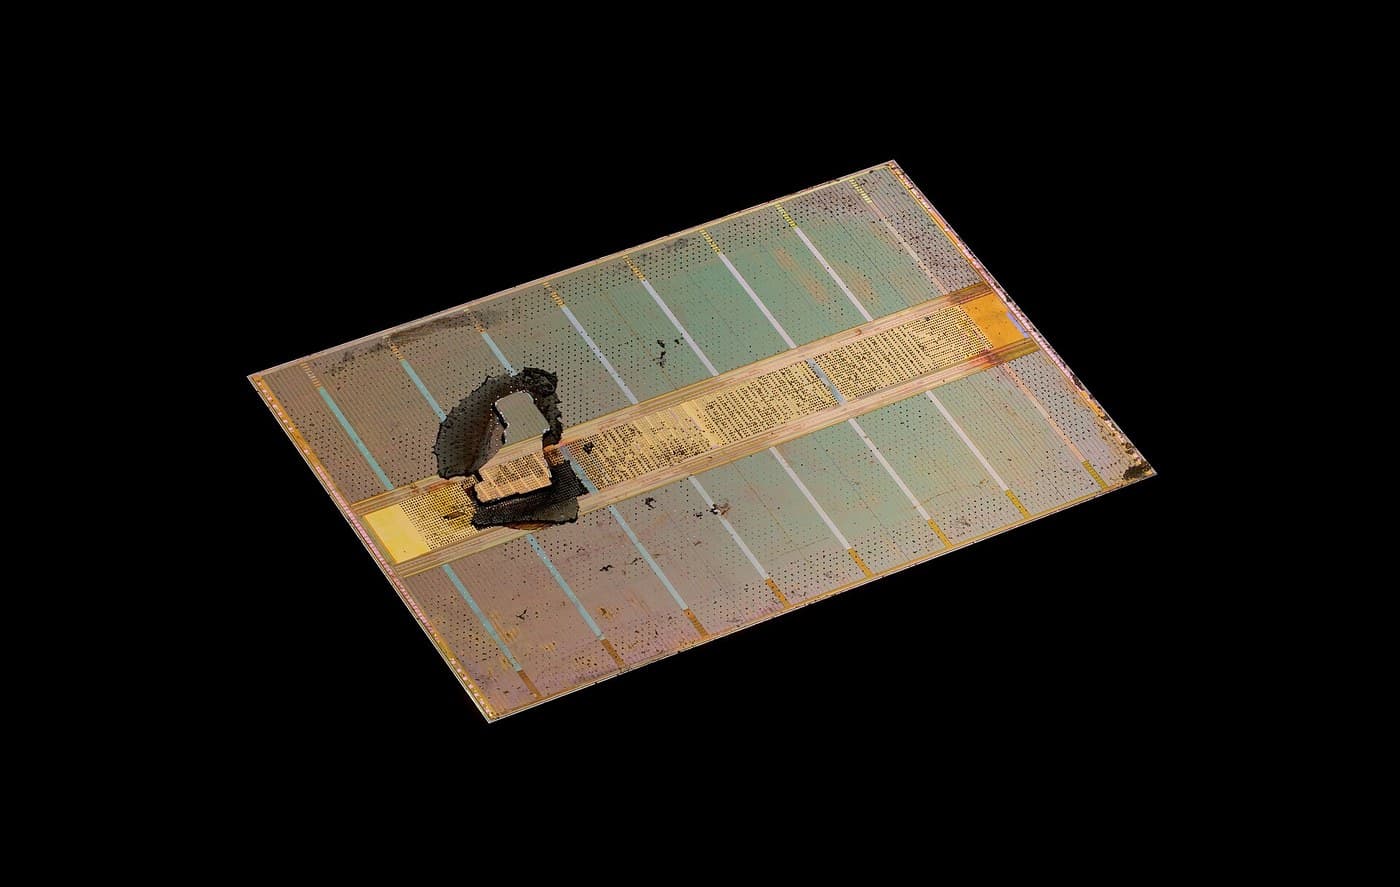
Boyle and Smith, 1969, sketched in an hour on a blackboard; Nobel Prize 2009. A CCD pixel is the DRAM cell read the opposite way: DRAM holds charge and refreshes it in place, a CCD SHIFTS each packet down the row to one amplifier, a bucket brigade for electrons. Because it collects charge on a fixed grid instead of scanning a beam, it kills the vidicon's two diseases — distortion and lag — at a stroke. The price: move charge thousands of times and lose none.
متقدم
6 hours
التعليمات
1
1
The pixel is the DRAM cell, read by moving the charge
The pixel is the DRAM cell, read by moving the charge
The pixel is the DRAM cell. A gate over silicon makes a potential well; in DRAM you fill it to mean a 1, in a CCD light fills it with electrons. The difference is the whole invention: DRAM reads each cell in place (a wire and an amplifier per column); a CCD MOVES the charge, tipping each packet into the next well like water between buckets, to a single amplifier at the end. Almost no wires, but every packet is transferred thousands of times.
2
2
The bucket brigade: how one image becomes one signal
The bucket brigade: how one image becomes one signal
Follow one photon to the output. Expose (each well fills like a bucket in the rain); clock the whole image DOWN row by row into a readout register; clock that register SIDEWAYS into one amplifier that weighs each packet in turn. One amplifier reads the entire image, so there is no pixel-to-pixel gain variation. The vidicon's distortion (no beam) and lag (wells fully cleared) are simply gone; the new failure modes are transfer loss and dark current.
Flow
Loading...
الأدوات المطلوبة:
 حاسوب مكتبي
3
3
Why astronomers freeze their sensors: dark current and transfer efficiency
Why astronomers freeze their sensors: dark current and transfer efficiency
جارٍ تحميل دفتر Jupyter…
الأدوات المطلوبة:
حاسوب مكتبي4
4
Measure real dark current against temperature
Measure real dark current against temperature
You cannot clock a bare CCD, but you can measure the physics that rules it — dark current rising exponentially with temperature — on any cheap photodiode. Read a reverse-biased diode's leakage in the dark at several temperatures; the slope of log(current) vs 1/T gives the doubling temperature, ~6-10 C, the same number that forces observatories to pour liquid nitrogen over their cameras.
ccd_darkcurrent.inocpp
المواد لهذه الخطوة:
 ثنائي ضوئي (BPW34)1 قطعة
 طقم مقاومات1 طقم
الأدوات المطلوبة:
 لوحة تطوير ESP32
 مجسّ حرارة DS18B20
 Breadboard
المواد
2- 1 قطعةعنصر نائب
- عنصر نائب
الأدوات المطلوبة
4- عنصر نائب
- عنصر نائب
- عنصر نائب
- Breadboard - Classicعمولة 10%$9.43
المخططات ذات الصلة
هذه المخططات تشارك المعرفة مع هذا — التقنيات والمواد والمبادئ

CC0 ملكية عامة
هذا المخطط مُصدر بموجب CC0. يحق لك نسخه وتعديله وتوزيعه واستخدامه لأي غرض، دون طلب إذن.
ادعم الصانع بشراء منتجات عبر مخططه حيث يكسب عمولة الصانع يحددها البائعون، أو أنشئ نسخة جديدة من هذا المخطط وضمّنه كرابط في مخططك لمشاركة الإيرادات.