التعاون
فنون
الجمال والعناية
حِرَف
الثقافة والتاريخ
ترفيه
البيئة
الطعام والمشروبات
الهندسة العكسية
العلوم
رياضة
التقنية
الأجهزة القابلة للارتداء
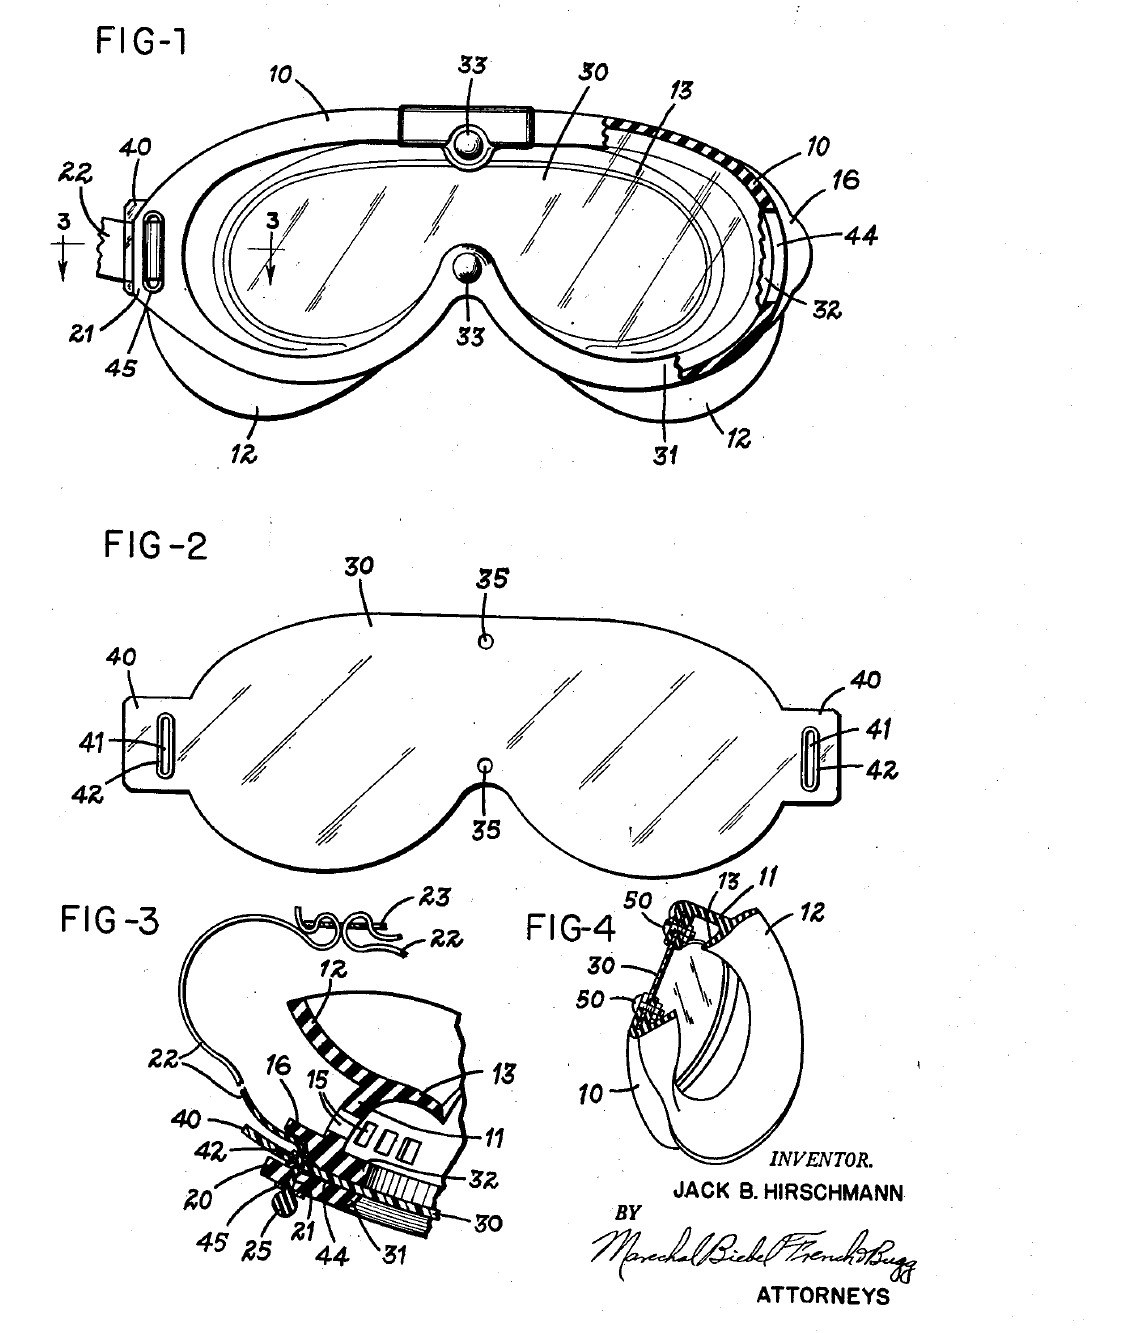


Chemical Splash Goggles: One Sealed Lens in a Moulded Rubber Frame (Hirschmann, 1954)
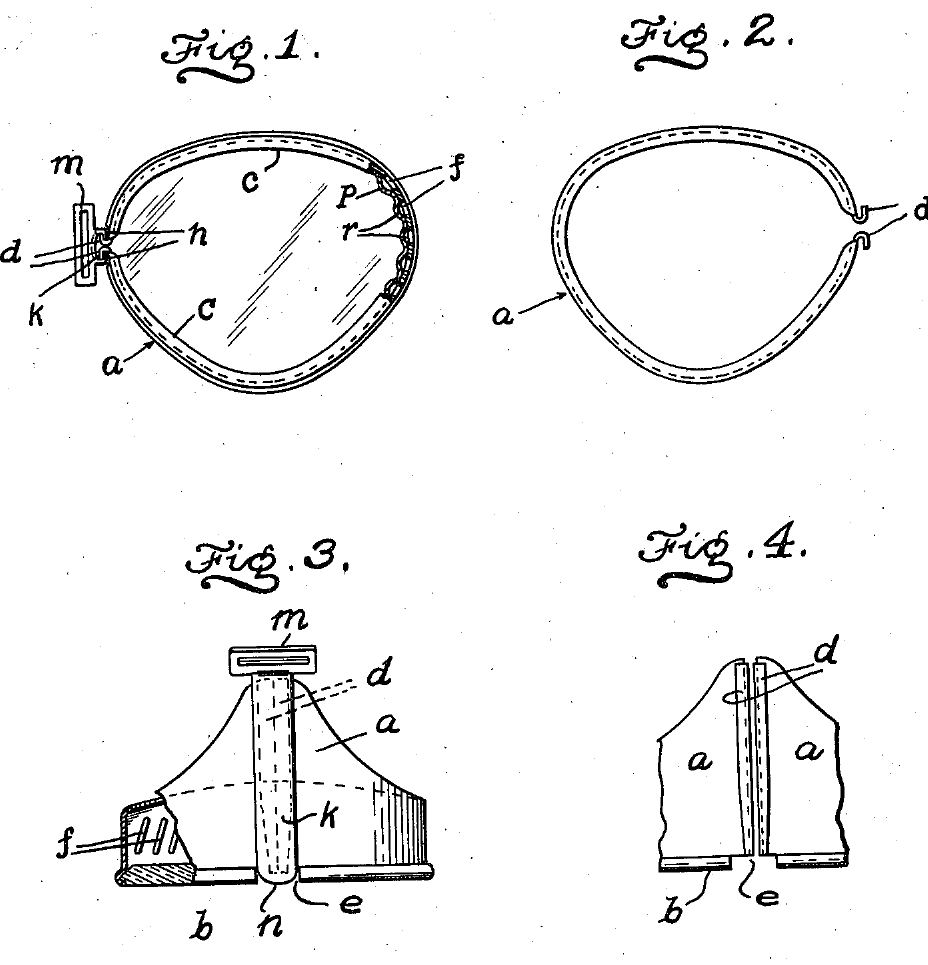
Goggles for work with corrosive liquids. One clear plastic lens covers both eyes and sits sealed all round in a soft moulded rubber frame that seals against the face. The version for gas and corrosive liquids has no vent holes at all, and the strap passes through tabs outside the lens, so nothing can leak through or around the part you look through.
Result: chemical splash goggles with a lens you can pull out and replace, and a strap pull shared evenly between lens and frame, so neither warps.
Source: J. B. Hirschmann, US Patent 2,680,846 (1954), Fig. 4 version. Unknown: sizes, the rubber compound, the strap material and how the frame is moulded. Ours: the mould; the patent tested a cellulose acetate lens. Picture: patent drawing.
متوسط
2 days
التعليمات
1
1
Mould the rubber frame
Mould the rubber frame
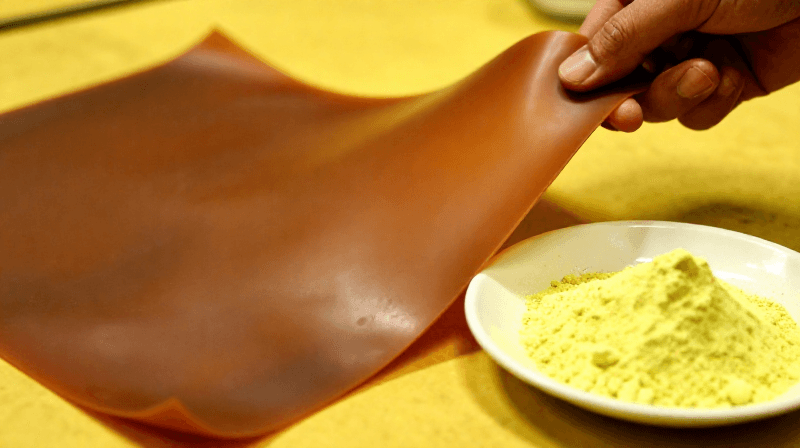
Mould the frame in one piece from rubber. The front rim has one opening shaped for both eyes, narrower above the nose. Behind it, a wall forms the eye chamber and ends in a double flange that seals against the face. Inside the rim, form a channel between an outer and an inner flange to hold the lens edge. At each end, mould a lug with a strap slot and a slit through the channel for the lens tab. For corrosive liquids, leave out all vent holes. Ours: a compression mould.
المواد لهذه الخطوة:
 خليط مطاطي1 frame
الأدوات المطلوبة:
 قالب القولبة بالكبس
 أبعاد غير معروفة
2
2
Cut the lens
Cut the lens
Cut one lens from flexible clear plastic, shaped to match the rim. The patent tested cellulose acetate. Leave a tab at each end, outside the area you look through. Cut a closed slot in each tab and line it with a grommet. Make two holes at the centre for the bolts. Leave no other holes in the viewing area.
المواد لهذه الخطوة:
 لوح بلاستيك شفاف1 lens
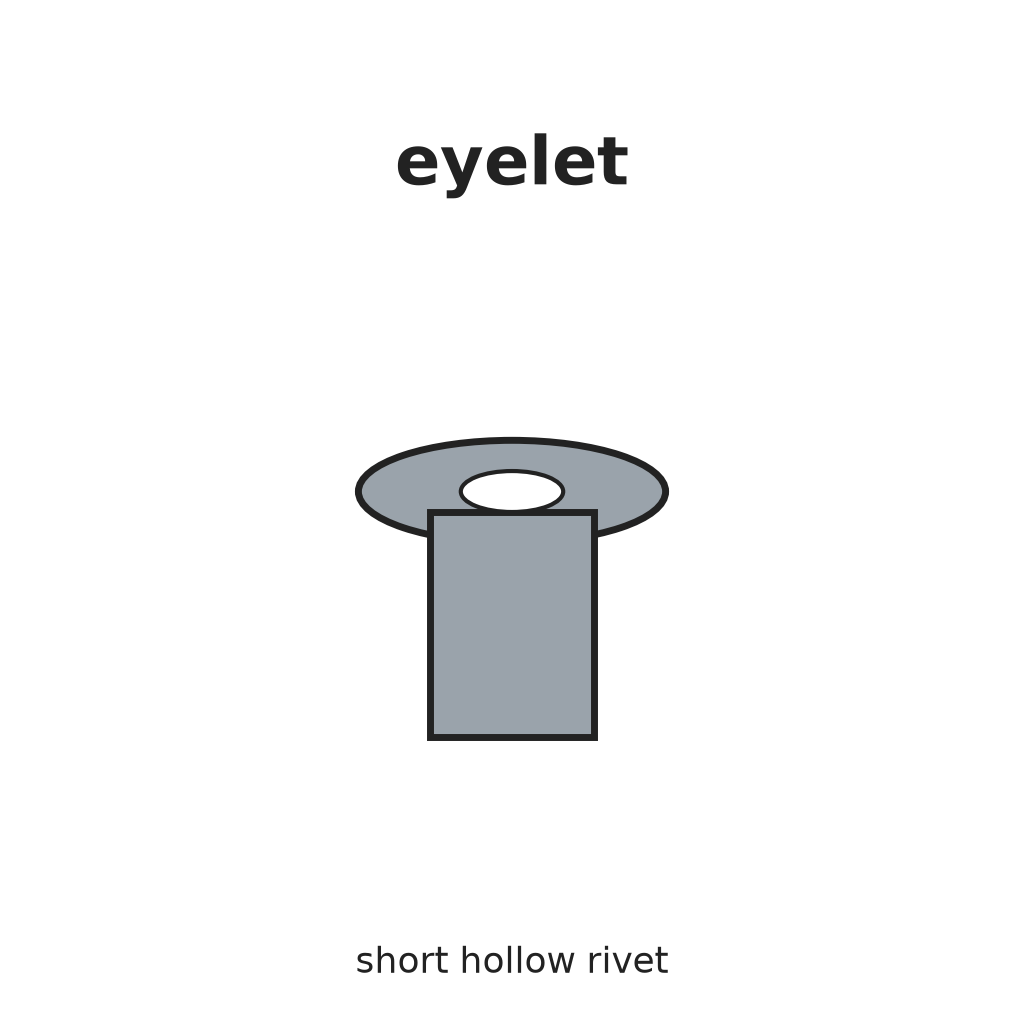 عروة برشام2 tab grommets
الأدوات المطلوبة:
 مقصّ صفائح
 مثقب تعليم المركز
3
3
Seal the lens in the frame
Seal the lens in the frame
Spring the lens edge into the channel all the way round, pushing each tab out through its slit so it lies under the lug, slot over slot. Fasten the centre with two stainless-steel bolts and nuts. (The vented version uses snap fasteners here.)
المواد لهذه الخطوة:
 براغي آلية2 stainless steel
 صامولة سداسية2 stainless steel
الأدوات المطلوبة:
 طقم مفكات
4
4
Fit the head strap
Fit the head strap
Use a strap in two halves, joined at the back by a buckle, each half with a thickened end. Slide a slotted plate of metal or plastic onto each half, then thread it from the front through the lug slot and the lens-tab slot. The thick end stops against the plate and lug. The pull of the strap now goes into both lens and frame, holds the lens in, and stays outside the field of view.
المواد لهذه الخطوة:
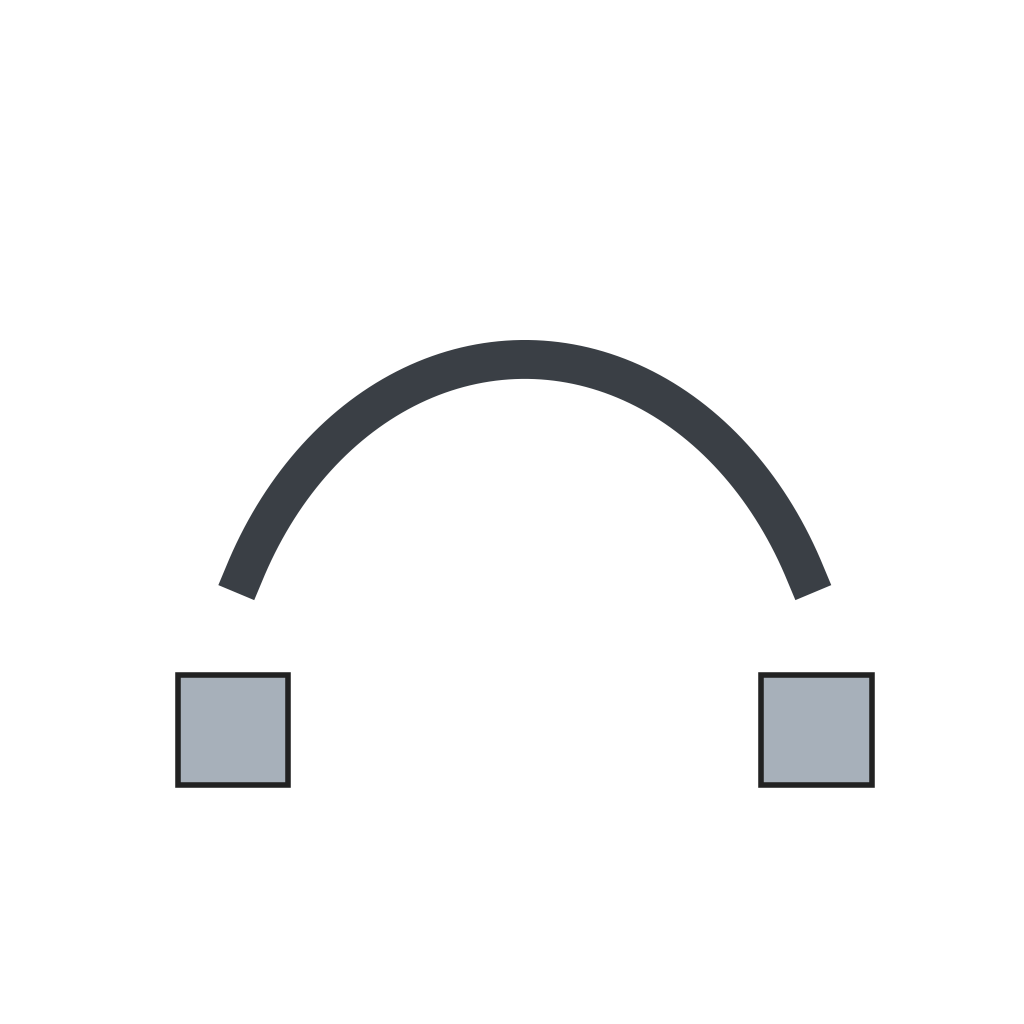 حزام رأس للنظارة الواقية1 two halves
 إبزيم نحاس أصفر بلسان1 قطعة
 مادة غير معروفة1 two slotted plates
الأدوات المطلوبة:
أبعاد غير معروفةالمواد
8- 1 frameعنصر نائب
- 1 lensعنصر نائب
- 2 tab grommetsعنصر نائب
- 2 stainless steelعنصر نائب
- 2 stainless steelعنصر نائب
- 1 two halvesعنصر نائب
- 1 قطعةعنصر نائب
- 1 two slotted platesعنصر نائب
الأدوات المطلوبة
5- عنصر نائب
- عنصر نائب
- عنصر نائب
- عنصر نائب
- عنصر نائب
مواد المخططات المرتبطة
هذا المخطط يصنع

المخططات ذات الصلة
هذه المخططات تشارك المعرفة مع هذا — التقنيات والمواد والمبادئ

CC0 ملكية عامة
هذا المخطط مُصدر بموجب CC0. يحق لك نسخه وتعديله وتوزيعه واستخدامه لأي غرض، دون طلب إذن.
ادعم الصانع بشراء منتجات عبر مخططه حيث يكسب عمولة الصانع يحددها البائعون، أو أنشئ نسخة جديدة من هذا المخطط وضمّنه كرابط في مخططك لمشاركة الإيرادات.