التعاون
فنون
الجمال والعناية
حِرَف
الثقافة والتاريخ
ترفيه
البيئة
الطعام والمشروبات
الهندسة العكسية
العلوم
رياضة
التقنية
الأجهزة القابلة للارتداء
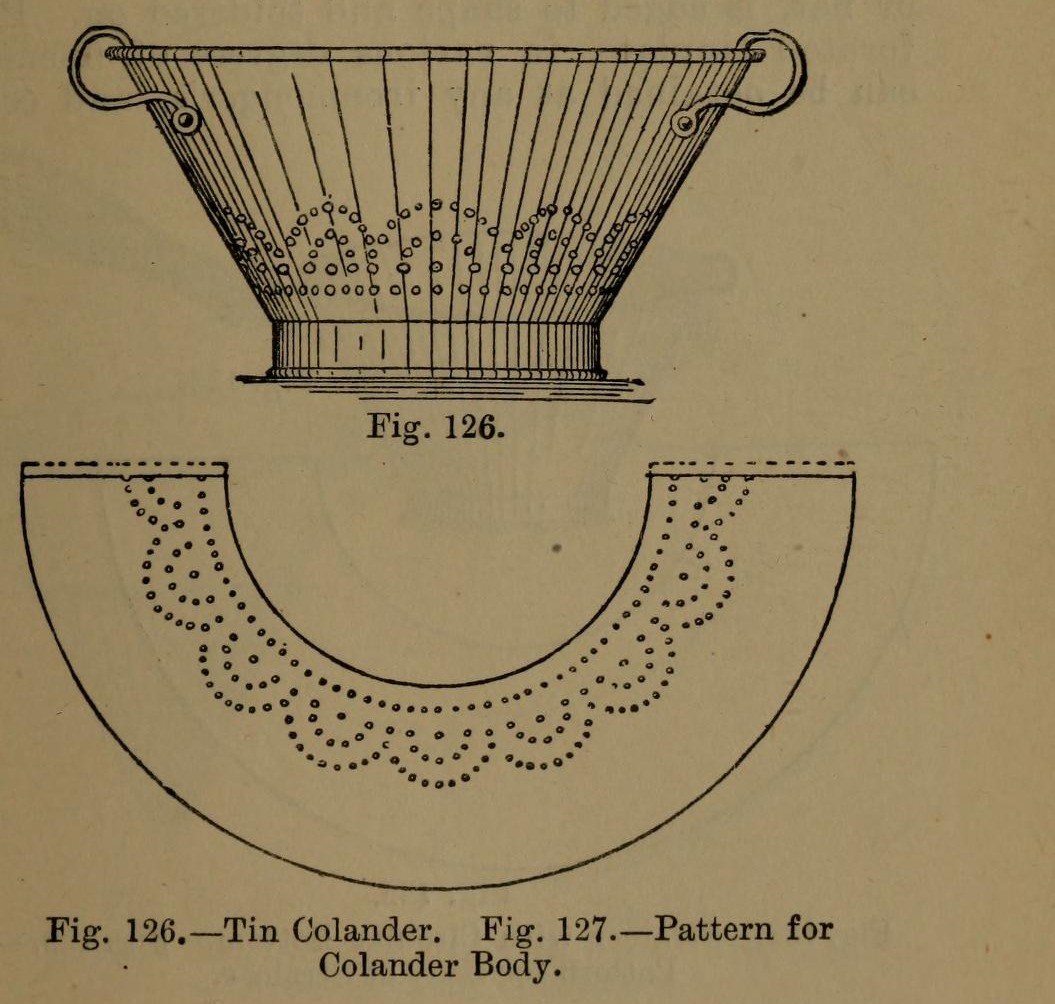


Colander: a Tinplate Colander with Perforated Body and Bottom (Hasluck, 1907)
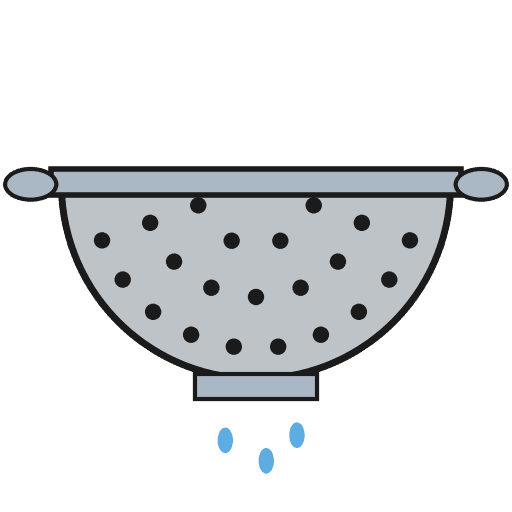
A tinsmith's colander for straining: a tapered tinplate body and a hollowed bottom, both punched full of holes, standing on a wired hoop, with two bow handles.
The body pattern is a ring segment: outer radius = top diameter, inner radius = bottom diameter, which gives sides at 60 degrees.
Source: Paul N. Hasluck, Tinplate Work (1907), pp. 50-51. Unknown: sizes, solder. Picture: Figs. 126-127 of the book.
متوسط
Unknown
التعليمات
1
1
Set out the body pattern
Set out the body pattern
Choose the top and bottom diameters. On tinplate, strike an arc with radius equal to the top diameter and, from the same centre, one equal to the bottom diameter (Fig. 127); the sides then slope at 60 degrees. Mark the rows of holes, add edges for a grooved seam and the wire, and cut it out.
المواد لهذه الخطوة:
 صفيحة من الصفيح1 body
الأدوات المطلوبة:
 فرجار سنّي
 مخطاط
 مقصّ صفائح
2
2
Break, punch and planish the body
Break, punch and planish the body
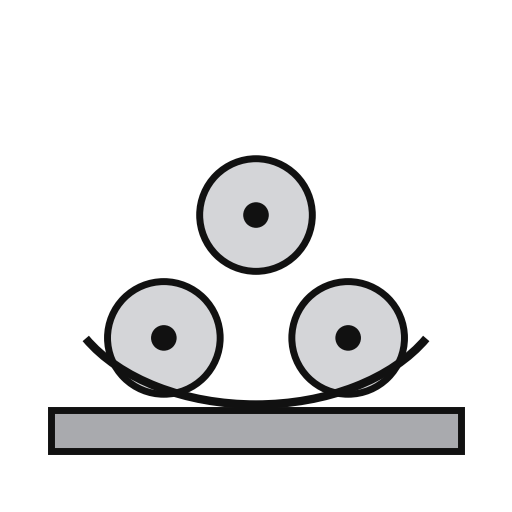
'Break' the pattern through the rollers, turning it the opposite way each pass, so it won't crease when bent. Punch the holes on a hardwood block, then flatten and planish the burrs.
الأدوات المطلوبة:
 أسطوانات ثني الألواح
 خرّامة صفيح
 كتلة خشب صلب
 مطرقة التسوية
3
3
Seam and wire the body
Seam and wire the body
Set off the edges for a grooved seam, bend the body to shape and seam it. Solder the seam inside. Set off an edge on the wide end and wire it with No. 10 B.W.G. wire. If you like, raise a swage about 1 1/2 in below the wired edge: it stiffens the colander and looks better.
المواد لهذه الخطوة:
 سلك حديدي1 No. 10 B.W.G.
 لحام قصدير-رصاص1 seam
الأدوات المطلوبة:
 مطرقة خشبية
 وتد
 كاوية لحام كهربائية
 مساعد صهر
4
4
Make and fit the bottom
Make and fit the bottom
Cut out the bottom, hollow it and edge it to fit the small end. Inside, mark circles from 1 in across at the centre, each 1 in wider than the last, out to the edge. Punch holes at short intervals round them and flatten the burrs on an upturned hollowing hammer. Solder the bottom on.
المواد لهذه الخطوة:
صفيحة من الصفيح1 bottomلحام قصدير-رصاص1 bottomالأدوات المطلوبة:
فرجار سنّيمقصّ صفائحخرّامة صفيحمطرقة التسويةكاوية لحام كهربائيةمساعد صهر5
5
Add the hoop and handles
Add the hoop and handles
Cut a strip 1 1/2 in wide, as long as the circumference of the bottom. Wire it with No. 10 B.W.G., round it, seam it and solder it on as the foot. Rivet a pair of bow handles opposite each other at the top.
المواد لهذه الخطوة:
صفيحة من الصفيح1 hoopسلك حديدي1 hoopلحام قصدير-رصاص1 hoop مقبض2 bow handles
 برشام حديد1 number not given
الأدوات المطلوبة:
مقصّ صفائحكاوية لحام كهربائيةمساعد صهر مطرقة برشمة
6
6
Clean and scald
Clean and scald
Clean with turpentine and whiting, then polish with dry whiting. Before first use, steep it a short time in boiling water, as for any metal article for the kitchen.
الأدوات المطلوبة:
 زيت التربنتين
 كربونات الكالسيوم (الطباشير المطحون)
 ماء
المواد
5- 1 hoopعنصر نائب
- 1 hoopعنصر نائب
- 1 hoopعنصر نائب
- 2 bow handlesعنصر نائب
- 1 number not givenعنصر نائب
الأدوات المطلوبة
15- عنصر نائب
- عنصر نائب
- عنصر نائب
- عنصر نائب
- عنصر نائب
- عنصر نائب
- عنصر نائب
- عنصر نائب
- عنصر نائب
- عنصر نائب
- عنصر نائب
- عنصر نائب
- عنصر نائب
- عنصر نائب
- عنصر نائب
مواد المخططات المرتبطة


هذا المخطط يصنع
CC0 ملكية عامة
هذا المخطط مُصدر بموجب CC0. يحق لك نسخه وتعديله وتوزيعه واستخدامه لأي غرض، دون طلب إذن.
ادعم الصانع بشراء منتجات عبر مخططه حيث يكسب عمولة الصانع يحددها البائعون، أو أنشئ نسخة جديدة من هذا المخطط وضمّنه كرابط في مخططك لمشاركة الإيرادات.