فنون
الجمال والعناية
حِرَف
الثقافة والتاريخ
ترفيه
البيئة
الطعام والمشروبات
الهندسة العكسية
العلوم
رياضة
التقنية
الأجهزة القابلة للارتداء



Fillet and Butt: Sizing the Weld the Joint Actually Needs
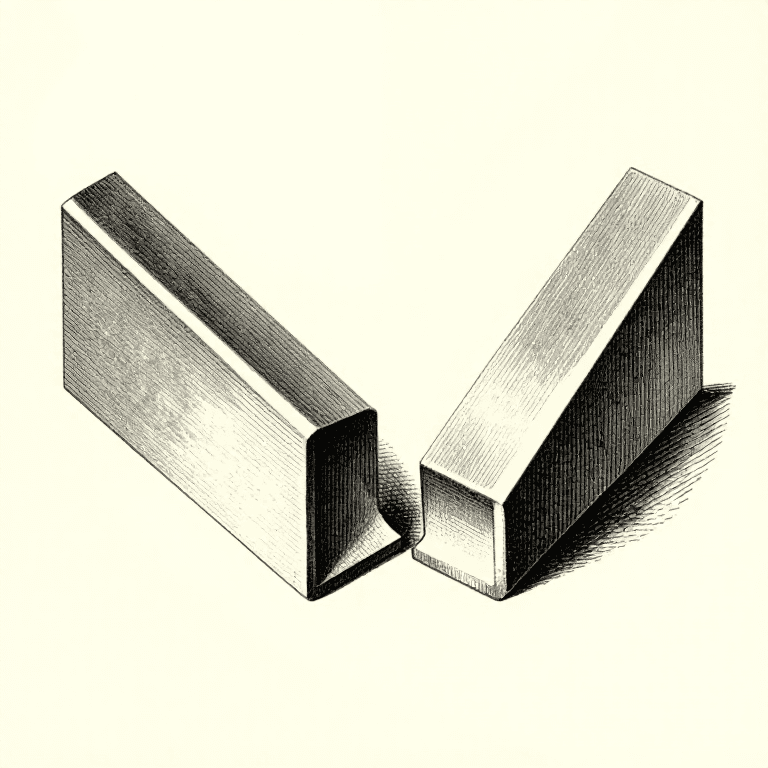
Welds come in two structural families. A **butt** weld replaces the parent section, so a full-penetration butt weld in sound metal is as strong as the plate and needs no sizing at all — it is either full penetration or it is not.
A **fillet** weld adds a triangle of metal in a corner, and it does need sizing, because its strength depends on how big that triangle is.
Almost every beginner sizes fillets by eye and almost every beginner makes them too big. That is worth a number, because a fillet's strength goes with its leg while the metal, the arc time and the distortion go with the leg squared.
متوسط
3 hours
التعليمات
1
1
Leg, throat, and which one carries the load
Leg, throat, and which one carries the load
A fillet weld is quoted by its **leg length** — the distance it runs up each of the two members from the root. That is what you can measure with a gauge on a finished weld, which is why the trade quotes it.
What carries the load is the **throat**: the shortest distance from the root of the joint through the weld to its face. For a normal mitre fillet with equal legs and a flat or slightly concave face, the throat is the leg divided by the square root of two — about 0.707 of it.
A **convex** fillet, piled up proud, has the same throat as a flat one of the same legs. The extra metal on the face adds nothing to the strength and does add a sharp angle at the toes where fatigue cracks start.
A **concave** fillet, hollowed out, has a smaller throat than its legs suggest — so it is weaker than it is measured to be.
المواد لهذه الخطوة:
 لوح صلب طري1 قطعة
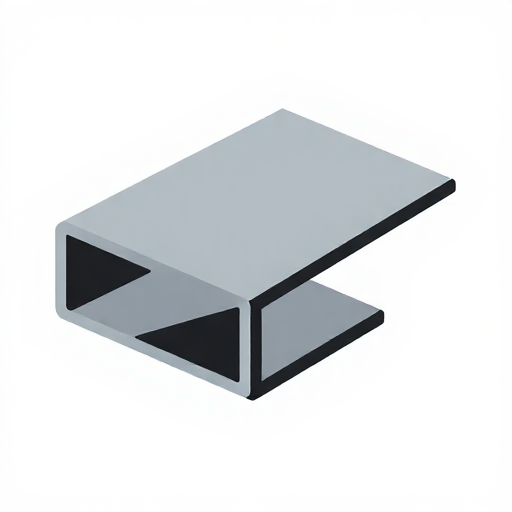 زاوية من الفولاذ الطري1 قطعة
الأدوات المطلوبة:
 مسطرة
مسطرة عدسة صائغ
2
2
Sizing it
Sizing it
جارٍ تحميل دفتر Jupyter…
الأدوات المطلوبة:
 حاسوب مكتبي
3
3
Multi-pass: root, fill, cap
Multi-pass: root, fill, cap
A joint too big for one pass is built up in runs, and the runs have different jobs.
**The root run** has one job: fuse the bottom of the joint. It is run with a smaller electrode at a lower current than the rest, because the root is the hardest place to reach and the easiest to blow through.
**The fill runs** put in volume. Bigger rod, more current, and each run must be chipped and wire-brushed before the next goes on top of it — every scrap of slag left behind becomes an inclusion buried in the finished weld.
**The cap** is the last run and the visible one. It should sit slightly proud and blend into the plate at both toes without a step.
Let each run cool to below about 250 C before the next. Piling runs on while the joint is still glowing puts far more total heat into the work than the same welds laid with a pause, and that is distortion you never have to take out.
المواد لهذه الخطوة:
لوح صلب طري2 قطع قطب اللحام2 عبوات
الأدوات المطلوبة:
 آلة لحام قوسي
 خوذة لحام ذاتية التعتيم
 قفازات لحام
 مطرقة
مطرقة طقم فرش سلكية
 عصا نبش الخبث
4
4
Intermittent welding, and when it is not allowed
Intermittent welding, and when it is not allowed
A long fillet often does not need to be continuous. Short lengths of weld with gaps between them carry the same load if the total welded length is right, and they put in far less heat, so a long light frame stays much straighter.
The gaps are not free, though, and there are three cases where intermittent welding is wrong:
**Anything that must be sealed.** Tanks, pressure parts, anything holding liquid or gas. A gap is a leak.
**Anything outdoors or wet.** The unwelded crevice between the parts holds water by capillary action and rusts from the inside out. This is why intermittent welds on exposed steelwork are often specifically banned.
**Anything cycling under load.** Every weld end is a stress raiser, and intermittent welding multiplies the number of ends. In fatigue, a continuous fillet outlasts an intermittent one of the same total length.
المواد لهذه الخطوة:
 قضيب فولاذ طري مسطّح2 قطعزاوية من الفولاذ الطري1 قطعةقطب اللحام1 عبوة
الأدوات المطلوبة:
آلة لحام قوسيخوذة لحام ذاتية التعتيمقفازات لحاممسطرة كتلة حجر صابوني
المواد
4- 2 قطععنصر نائب
- 1 قطعةعنصر نائب
- 2 عبواتعنصر نائب
- 2 قطععنصر نائب
المخططات ذات الصلة
هذه المخططات تشارك المعرفة مع هذا — التقنيات والمواد والمبادئ
CC0 ملكية عامة
هذا المخطط مُصدر بموجب CC0. يحق لك نسخه وتعديله وتوزيعه واستخدامه لأي غرض، دون طلب إذن.
ادعم الصانع بشراء منتجات عبر مخططه حيث يكسب عمولة الصانع يحددها البائعون، أو أنشئ نسخة جديدة من هذا المخطط وضمّنه كرابط في مخططك لمشاركة الإيرادات.