التعاون
فنون
الجمال والعناية
حِرَف
الثقافة والتاريخ
ترفيه
البيئة
الطعام والمشروبات
الهندسة العكسية
العلوم
رياضة
التقنية
الأجهزة القابلة للارتداء
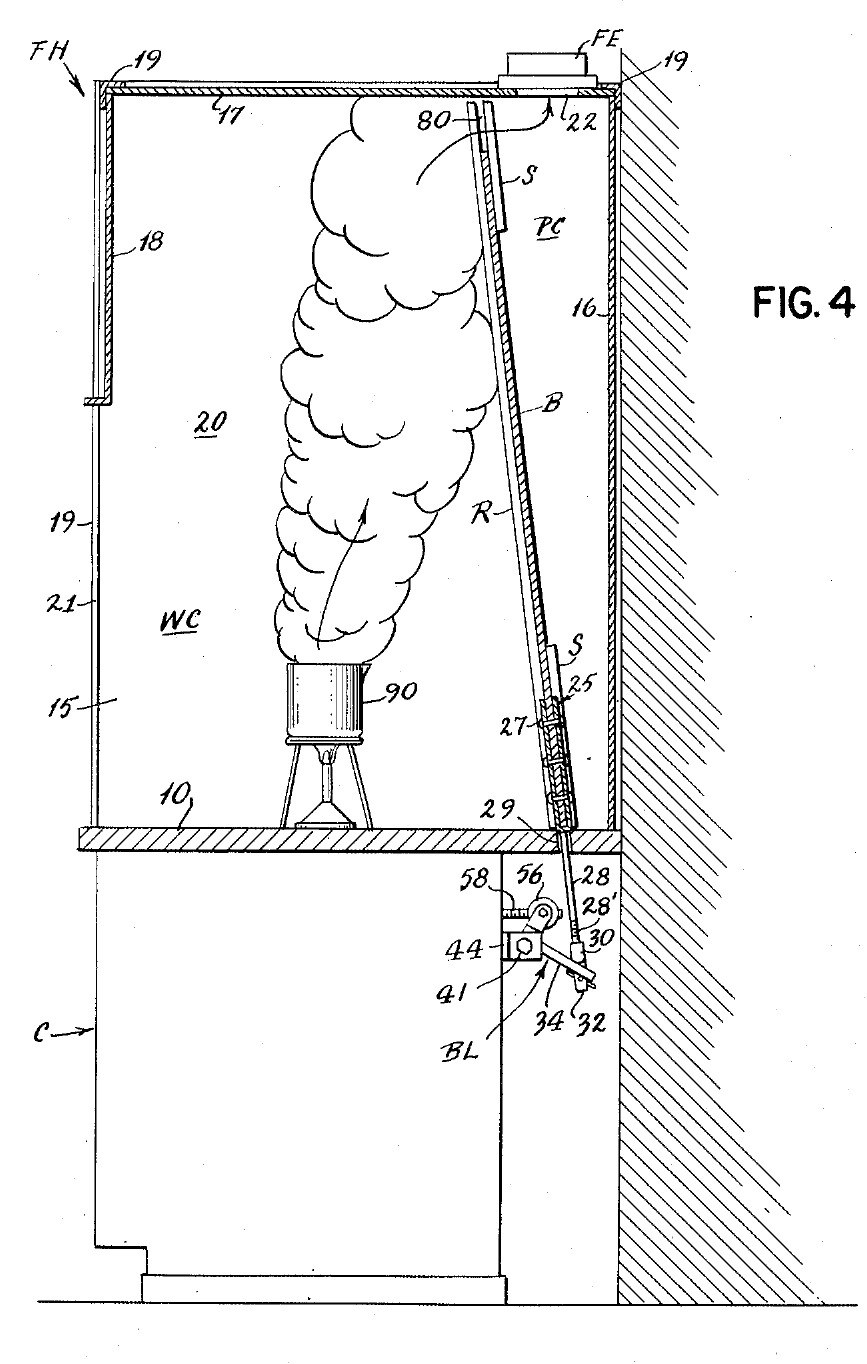


Fume Hood (Ducted): Sloping Stone Baffle Set from Outside by a Crank (Liptay, US 2,779,265, 1957)
A bench fume hood on a stone counter, drawn off through a duct with a fan. Inside, a sloping stone baffle leaves a gap at the top and one at the bottom. A crank under the counter slides the baffle: one gap grows as the other shrinks, so the air sweeps light fumes out at the top or heavy fumes out at the bottom, with no one reaching inside.
Result: a ducted hood whose air flow can be set for light or heavy fumes during work.
Source: J. M. Liptay, US 2,779,265 (1957). Unknown: sizes, air flow, the fan and most materials. Picture: the patent drawing.
متقدم
Unknown
التعليمات
1
1
Build the cabinet and stone counter
Build the cabinet and stone counter
Build a sheet metal cabinet. Fix spaced sheet metal channels to its front panel and rear wall, and lay a stone slab on them as the counter. Bore a hole through the slab near the back, at the middle, for the baffle's lifting rod. Not given: sizes, the metal.
المواد لهذه الخطوة:
 معدن غير معروف1 cabinet and channels
 لوح حجري مسطح1 counter
الأدوات المطلوبة:
 مقصّ صفائح
 مثقاب عمودي
 أبعاد غير معروفة
2
2
Build the hood
Build the hood
On the counter, make a frame of corner angle irons. Fix to it two sides, a rear wall, a roof and a front panel. Leave the front open below the front panel: this is the large opening where you work and where air comes in. Cut the fume outlet in the roof, towards the back. Not given: the panel material, sizes.
المواد لهذه الخطوة:
 زاوية من الفولاذ الطري1 corner frame
 مادة غير معروفة1 sides, rear wall, roof, front panel
الأدوات المطلوبة:
 منشار حديدأبعاد غير معروفة
3
3
Fit the exhaust pipe and fan
Fit the exhaust pipe and fan
Fix an exhaust pipe over the roof outlet, with a fan in it, to draw the fumes out. Not given: the pipe, the fan, the air flow.
المواد لهذه الخطوة:
 مجاري الهواء1 exhaust pipe
 نافخ هواء1 fan
الأدوات المطلوبة:
 مفتاح ربط قابل للضبط
4
4
Fit the sloping baffle
Fit the sloping baffle
Make a solid stone baffle almost as wide as the hood. Set it sloping up and forward from the rear wall, so it splits the inside into the work space in front and a duct behind that widens upward to the outlet. Guide it on sloping rails in front and strips behind, fixed to the sides, so it can slide. Leave a gap between its top and the roof, and one between its bottom and the counter. Not given: the rails' metal, sizes.
المواد لهذه الخطوة:
لوح حجري مسطح1 baffleمعدن غير معروف1 rails and stripsالأدوات المطلوبة:
أبعاد غير معروفة5
5
Make the lifting rod
Make the lifting rod
Cut a notch in the middle of the baffle's lower edge. Make a V-shaped yoke whose legs straddle the baffle front and back, rivet the legs to it, and give the yoke a rod that hangs down through the hole in the counter. Thread the rod's lower end. Not given: the metal.
المواد لهذه الخطوة:
معدن غير معروف1 yoke, rod, rivetsالأدوات المطلوبة:
 طقم برشمة
 طقم أدوات قطع اللولب
6
6
Fit the bell crank
Fit the bell crank
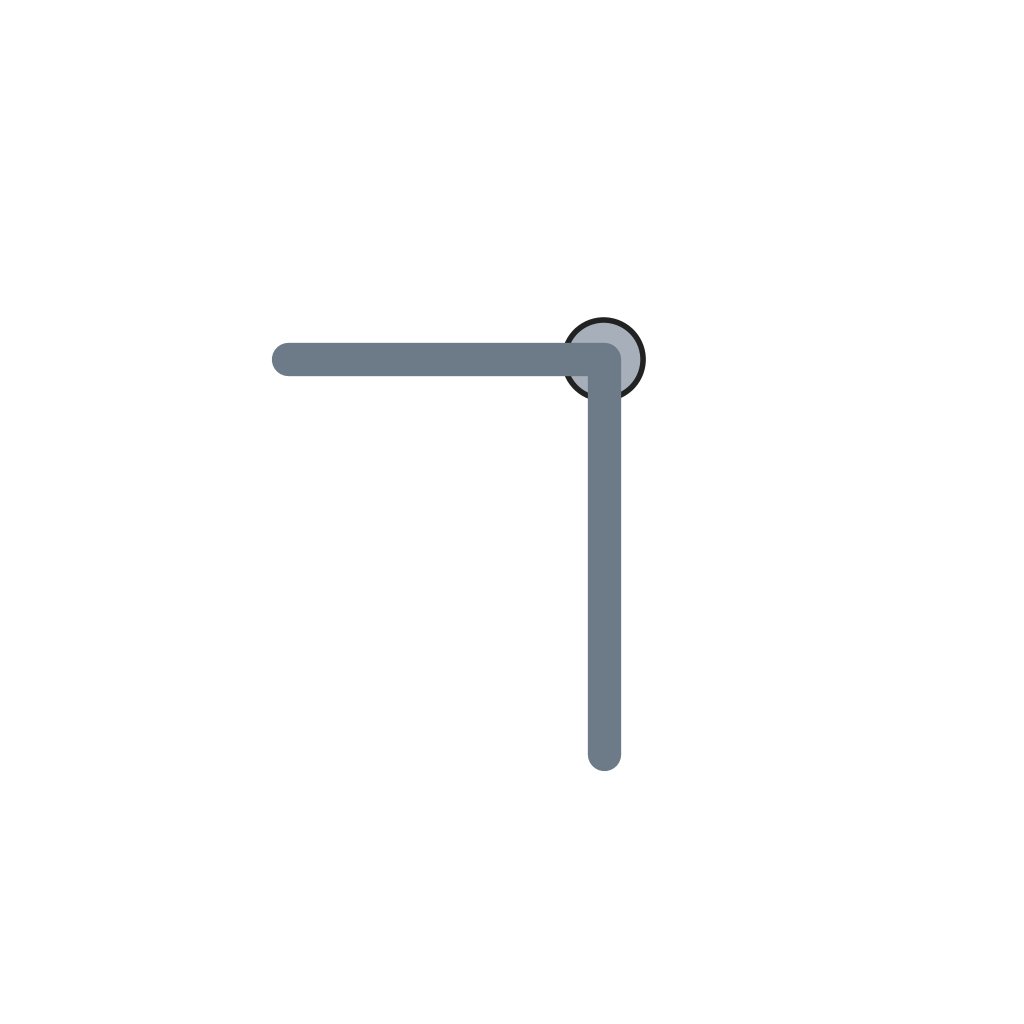
Under the counter, pivot a bell crank lever on a bolt through the lugs of a bracket fixed to the cabinet's rear channel. Screw a coupling onto the rod's threaded end. The coupling's two curved lips rock on the lever's long arm, and its tongue hangs through a slot in the arm, held by a cotter pin. On the short arm, a yoke turns on two bolts set fast in the threaded cross-holes of a round nut. Ours: hex bolts and nuts.
المواد لهذه الخطوة:
 ذراع زاوية قائمة1 bell crankمعدن غير معروف1 bracket, coupling, round nut
 تشكيلة براغي سداسية3 قطع
 صامولة سداسية1 قطعة
 مسمار مشقوق1 قطعة
الأدوات المطلوبة:
طقم أدوات قطع اللولبمفتاح ربط قابل للضبط7
7
Fit the crank and set the baffle
Fit the crank and set the baffle
Screw a metal operating rod through the round nut and run it forward to the cabinet front. Screw its front socket onto the shaft of a hand crank and pin it with a cotter pin. Weld an angle iron to the inside of the front panel to stiffen it. Clamp a bushing through the panel with a nut, and set a ball bearing between two rings on the shaft, between the bushing and the crank. Turning the crank tips the bell crank, which raises the rod and baffle or lets them slide down by their own weight: as one gap grows the other shrinks. Air comes in at the front; the upper stream carries light fumes to the top gap, the lower stream heavy fumes to the bottom gap. Open the top fully for light fumes, the bottom fully for heavy ones, or set any point between, without reaching inside. A sliding safety sash may be fitted over the front opening, to watch dangerous reactions safely.
المواد لهذه الخطوة:
معدن غير معروف1 operating rod, crank, bushingمسمار مشقوق1 قطعةصامولة سداسية1 قطعةزاوية من الفولاذ الطري1 stiffener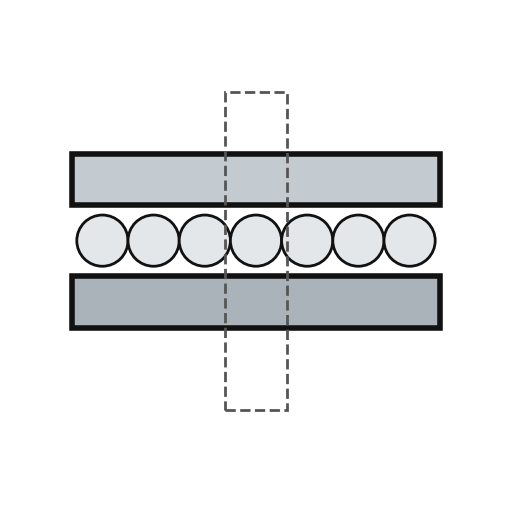 محمل كريات دفعي1 قطعة
الأدوات المطلوبة:
 آلة لحام قوسيطقم أدوات قطع اللولبمفتاح ربط قابل للضبط
المواد
11- 1 operating rod, crank, bushingعنصر نائب
- 1 baffleعنصر نائب
- 1 stiffenerعنصر نائب
- 1 sides, rear wall, roof, front panelعنصر نائب
- 1 exhaust pipeعنصر نائب
- 1 fanعنصر نائب
- 1 bell crankعنصر نائب
- 3 قطععنصر نائب
- 2 قطععنصر نائب
- 2 قطععنصر نائب
- 1 قطعةعنصر نائب
مواد المخططات المرتبطة
إسناد 10%
Hot-Rolled Steel Angles and Channels
بواسطة Forge
أشغال المعادن
26
0
0
0
2
0
إسناد 10%
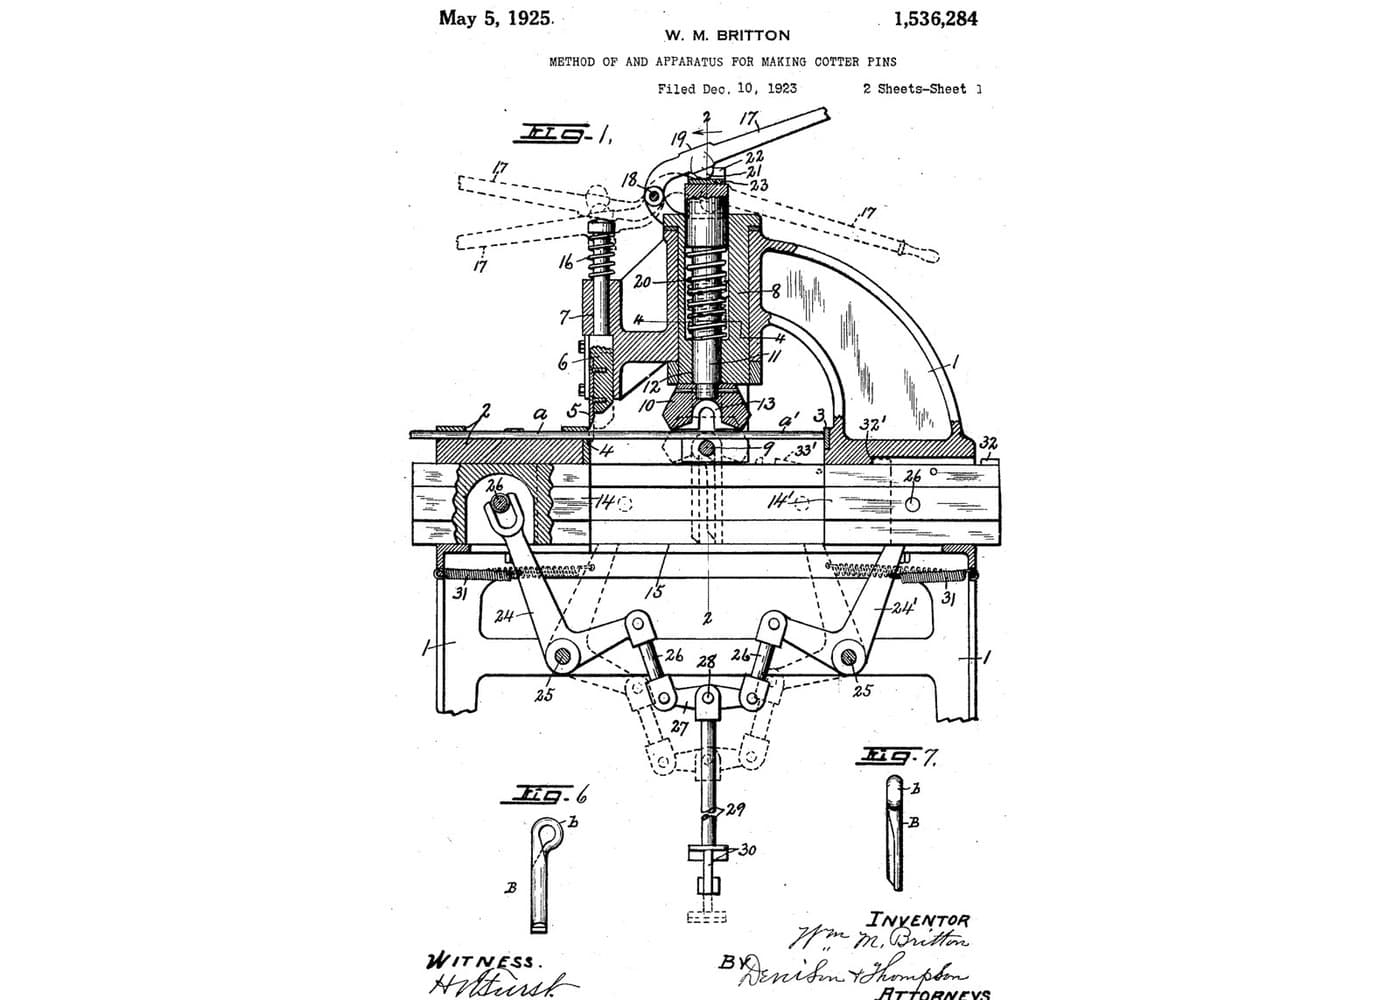
Split Pins: Half-Round Wire Folded, Pinched and Twisted (Britton 1925)
بواسطة Forge
أشغال المعادن
4
0
0
0
1
0
إسناد 10%
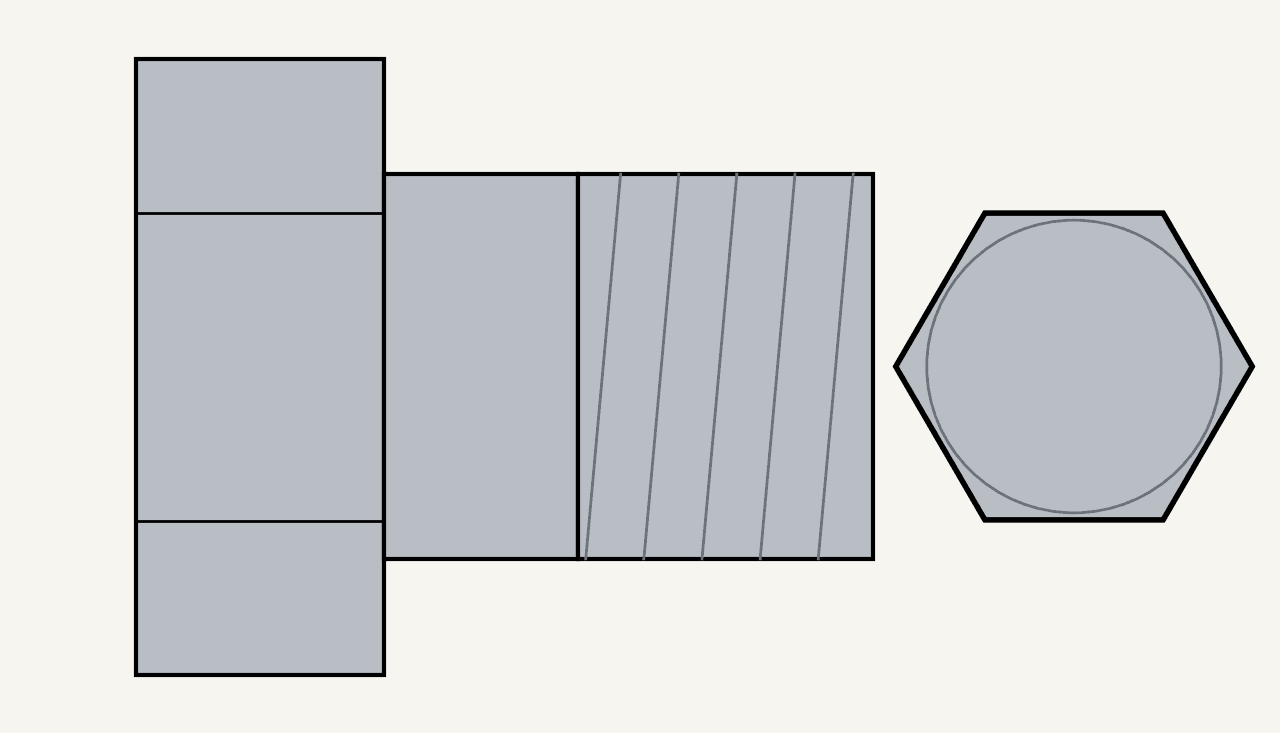
Hex Bolts Turned from Hex Bar
بواسطة Forge
أشغال المعادن
49
0
0
0
1
0
إسناد 10%
Hex Nuts from Hex Bar
بواسطة Forge
أشغال المعادن
50
0
0
0
1
0
هذا المخطط يصنع

المخططات ذات الصلة
هذه المخططات تشارك المعرفة مع هذا — التقنيات والمواد والمبادئ

CC0 ملكية عامة
هذا المخطط مُصدر بموجب CC0. يحق لك نسخه وتعديله وتوزيعه واستخدامه لأي غرض، دون طلب إذن.
ادعم الصانع بشراء منتجات عبر مخططه حيث يكسب عمولة الصانع يحددها البائعون، أو أنشئ نسخة جديدة من هذا المخطط وضمّنه كرابط في مخططك لمشاركة الإيرادات.