فنون
الجمال والعناية
حِرَف
الثقافة والتاريخ
ترفيه
البيئة
الطعام والمشروبات
الهندسة العكسية
العلوم
رياضة
التقنية
الأجهزة القابلة للارتداء
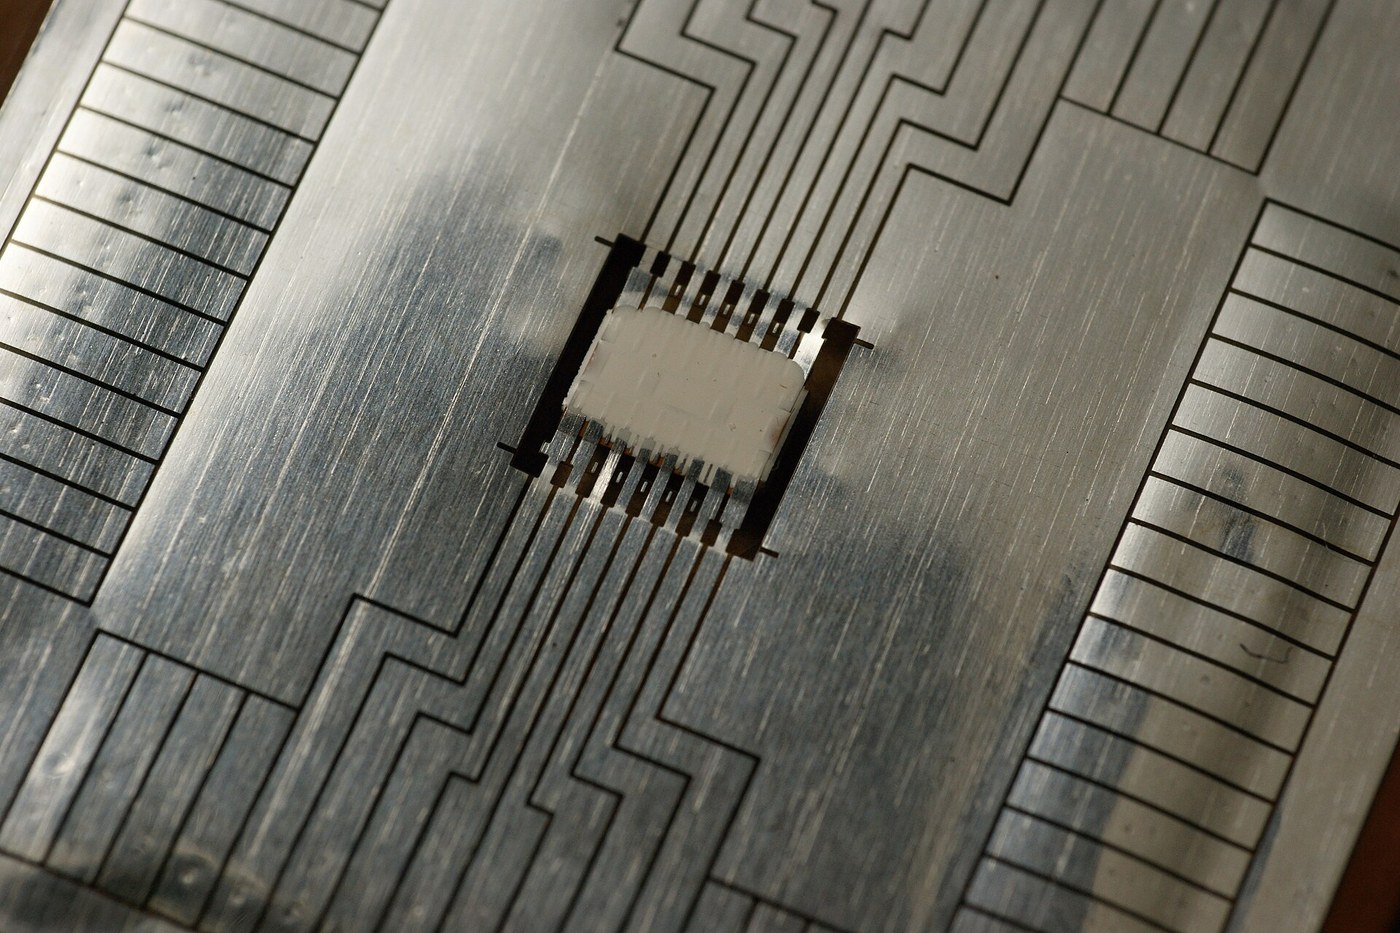


The Lead Frame and the DIP
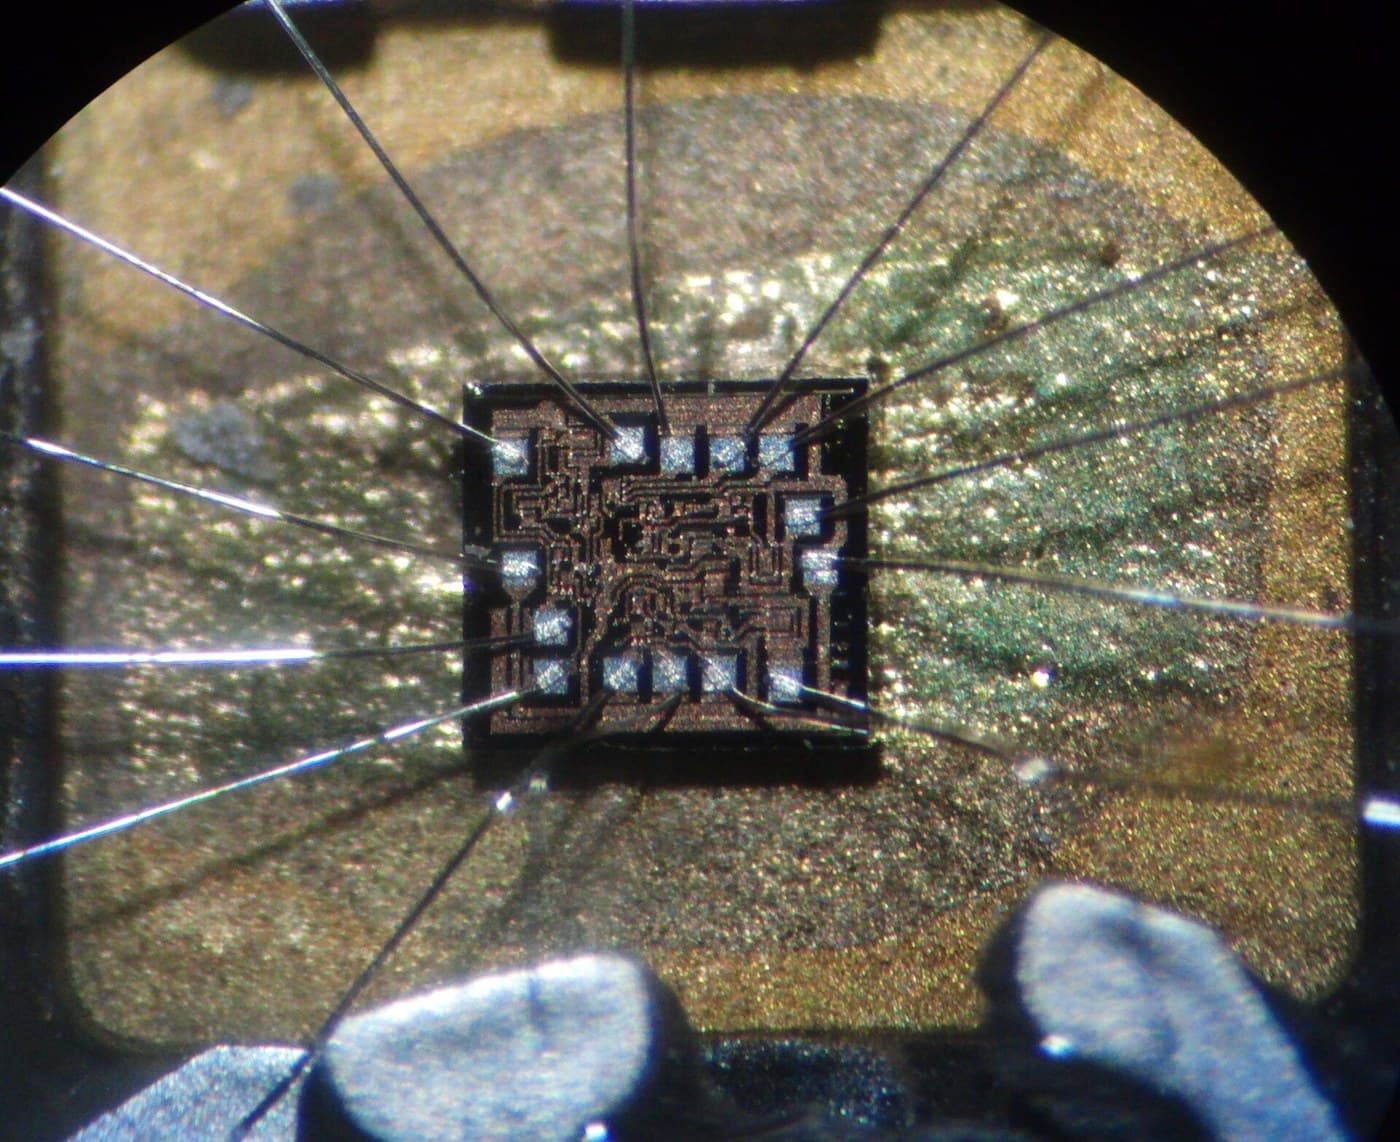
A die is a chip of silicon a few millimetres across, half a millimetre thick, with bond pads a hundred micrometres wide. It is brittle, it is destroyed by moisture and by handling, and its contacts are far too small and far too close together for any human or any circuit board to touch.
The package solves four problems at once, and it is worth naming them separately because they pull in different directions: it must FAN OUT the connections from a hundred-micrometre pitch to something a board can use; it must SEAL the die against moisture and contamination; it must CONDUCT HEAT away; and it must survive being handled, shipped, inserted and soldered.
The dual in-line package, devised by Bryant Rogers at Fairchild in 1964, solved all four so well that it defined the physical shape of electronics for twenty years. Two rows of leads on a tenth-inch pitch, rows either three tenths or six tenths of an inch apart — dimensions chosen to suit the perforated board and the drilling equipment of the day, and which then locked in so hard that breadboards still use them.
At the centre of every package is a LEAD FRAME: a single flat stamping of copper alloy carrying a central paddle for the die and a radiating set of leads. The die is attached to the paddle and wire-bonded to the lead tips, then the whole assembly is moulded in epoxy, and only afterwards are the temporary bridges that held the frame together cut away. Until that final trim every lead is shorted to its neighbours by the frame itself — which is what makes the thing handleable during assembly, and it is a genuinely clever piece of manufacturing design.
You will make a lead frame from brass shim, form it, mould a package around a dummy die, and trim it — which is exactly the industrial sequence at a scale you can hold.
متوسط
6 hours
التعليمات
1
1
Etch a lead frame, mould a package, trim it
Etch a lead frame, mould a package, trim it
The industrial frame is stamped from strip at thousands per minute, or photochemically etched for fine pitches. Etching is what you can do, and you already have the process from the photolithography blueprint.
THE MATERIAL. 0.25 millimetre brass or phosphor bronze shim. Real frames use copper alloys such as C194 for thermal conductivity, or an iron-nickel alloy where matching the thermal expansion of the moulding matters more than heat. Brass is a fine stand-in and it etches in the same ferric chloride.
DESIGN THE FRAME at four times DIP scale so it is buildable by hand: leads on a 2.5 millimetre pitch instead of 2.54 tenths, a paddle 15 millimetres square, tie bars at the corners, and a dam bar crossing all the leads 8 millimetres out from the paddle. Draw it, print it on transparency, and etch it exactly as you etched copper board.
FORM THE LEADS. The frame comes off the etch flat. A DIP's leads step DOWN from the moulding and then run vertically, so the frame must be bent twice per lead. Make a simple forming jig from two pieces of aluminium bar with the step machined or filed into them, and press the lead comb between them. Doing all the leads in one press is the point — bending them individually guarantees they will not be coplanar, and a DIP whose pins are not coplanar will not go into a socket.
MOUNT A DUMMY DIE. A 5 millimetre square of silicon wafer, glass, or even ceramic tile, bonded to the paddle with a drop of epoxy. Nothing electrical is happening here; you are practising the mechanical sequence.
MOULD IT. Real packages are transfer moulded: epoxy pellets softened and forced into a heated steel cavity at pressure, cured in a couple of minutes. You can cast instead. Make a two-part silicone mould around a wooden or printed master of the package body, place the frame with the die into it, and pour black casting epoxy.
THE DAM BAR EARNS ITS NAME HERE. Cast without it and epoxy runs out between the leads and sets there as flash, and you will spend longer cleaning it off than the moulding took. Cast with it and the resin stops at the bar. That is worth doing wrong once deliberately.
TRIM AND TEST. When cured, cut the tie bars and the dam bar with a sharp chisel or a fine saw against a backing block. Now — and only now — check with a multimeter that every lead is isolated from every other. Before trimming they will all read as shorted, which is the correct answer and a good demonstration of what the frame was doing.
A MISSED CUT IS A REAL DEFECT. Leave one dam-bar segment uncut and two adjacent pins stay shorted inside a part that looks perfect. That failure mode is exactly why finished packages are electrically tested rather than visually inspected.
المواد لهذه الخطوة:
 رقاقة نحاس أصفر (لألسنة الآلات)2 قطع
 مقاوم ضوئي بغشاء جافّ1 قطعة
 محلول كلوريد الحديد الثلاثي1 لتر
 شفافيات طباعة نفث الحبر5 قطع
 راتنج إيبوكسي أسود للصبّ500 millilitre
 مطاط سيليكون للقوالب500 gram
 عارضة ألمنيوم مسطّحة1 metre
الأدوات المطلوبة:
 آلة تغليف حراري
 مصفوفة ثنائيات ضوئية فوق بنفسجية
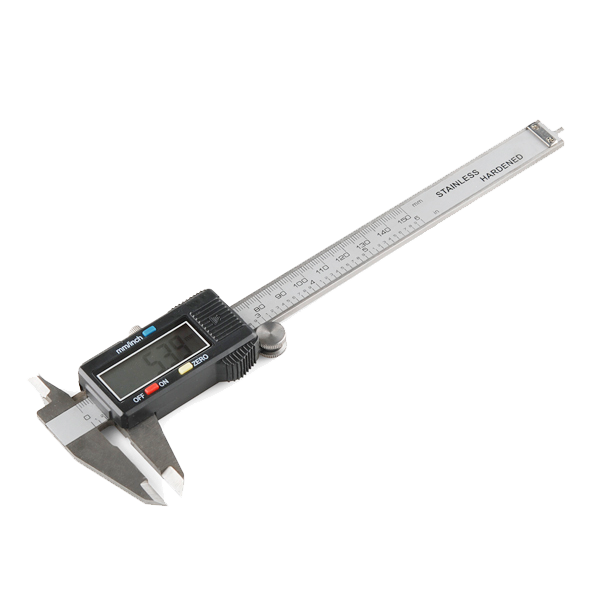 Digital Calipers - 152.4 mm
 مقياس متعدد رقمي بدرجة مختبرية
 ملزمة مقعد ثقيلة
 مجهر رقمي
2
2
Why the DIP stopped scaling
Why the DIP stopped scaling
جارٍ تحميل دفتر Jupyter…
الأدوات المطلوبة:
 حاسوب مكتبي
المواد
7- عنصر نائب
- 1 قطعةعنصر نائب
- عنصر نائب
- عنصر نائب
- 500 millilitreعنصر نائب
- 500 gramعنصر نائب
- 1 metreعنصر نائب
الأدوات المطلوبة
7- عنصر نائب
- عنصر نائب
- Digital Calipers - 152.4 mmعمولة 10%$14.19
- عنصر نائب
- عنصر نائب
- عنصر نائب
- عنصر نائب
المخططات ذات الصلة
هذه المخططات تشارك المعرفة مع هذا — التقنيات والمواد والمبادئ


CC0 ملكية عامة
هذا المخطط مُصدر بموجب CC0. يحق لك نسخه وتعديله وتوزيعه واستخدامه لأي غرض، دون طلب إذن.
ادعم الصانع بشراء منتجات عبر مخططه حيث يكسب عمولة الصانع يحددها البائعون، أو أنشئ نسخة جديدة من هذا المخطط وضمّنه كرابط في مخططك لمشاركة الإيرادات.