التعاون
فنون
الجمال والعناية
حِرَف
الثقافة والتاريخ
ترفيه
البيئة
الطعام والمشروبات
الهندسة العكسية
العلوم
رياضة
التقنية
الأجهزة القابلة للارتداء
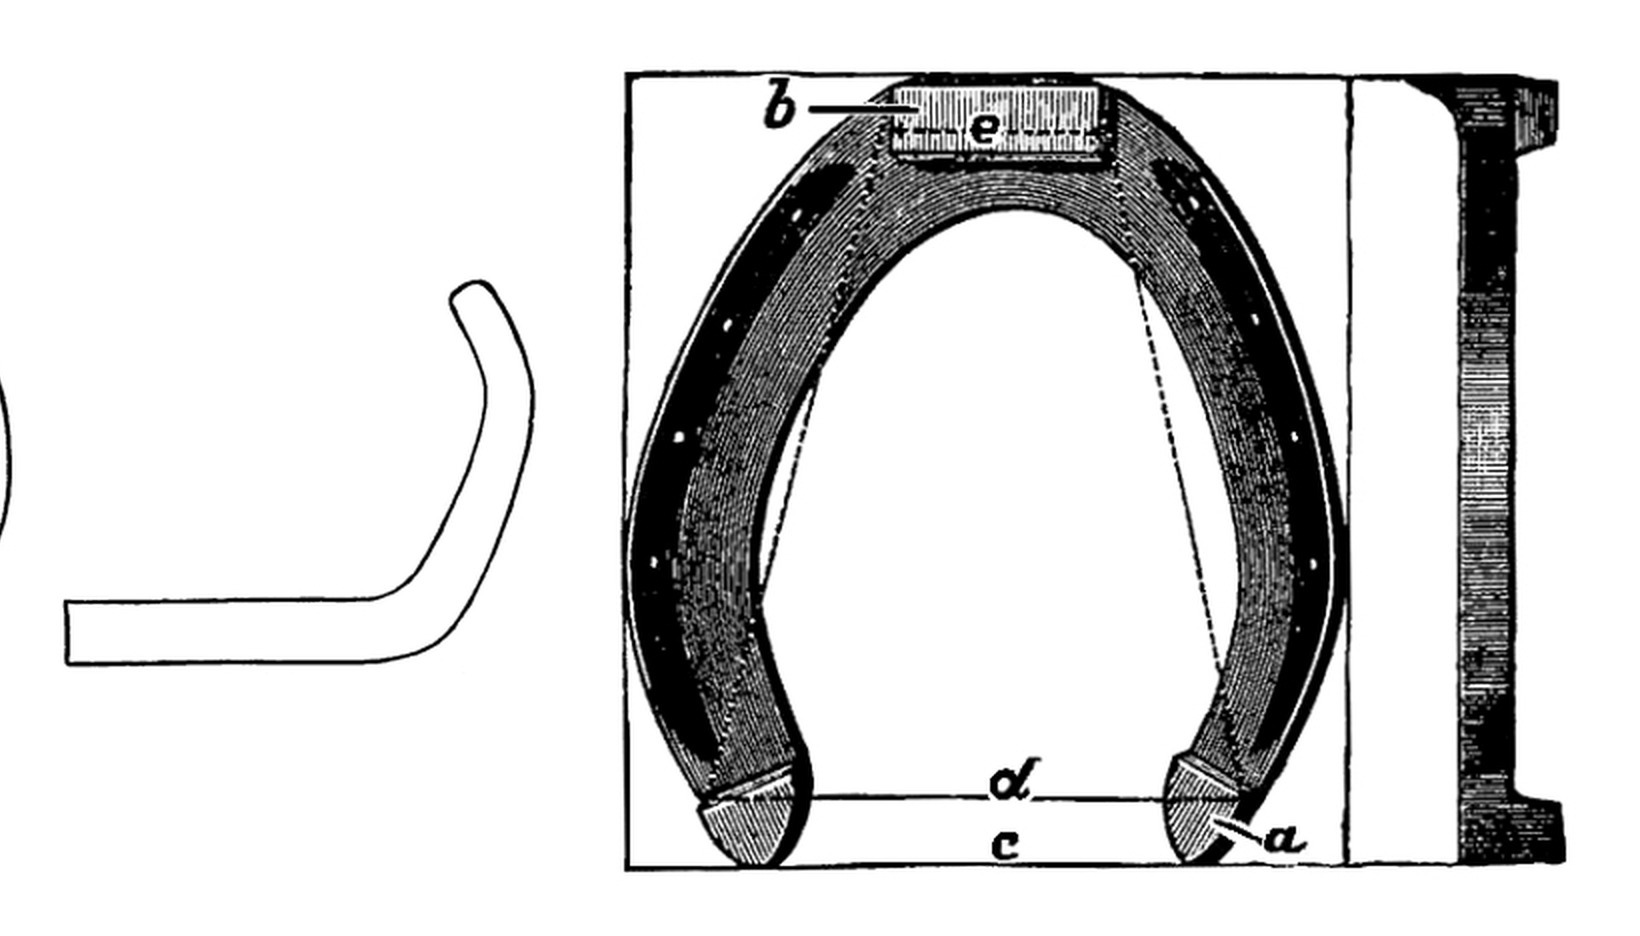


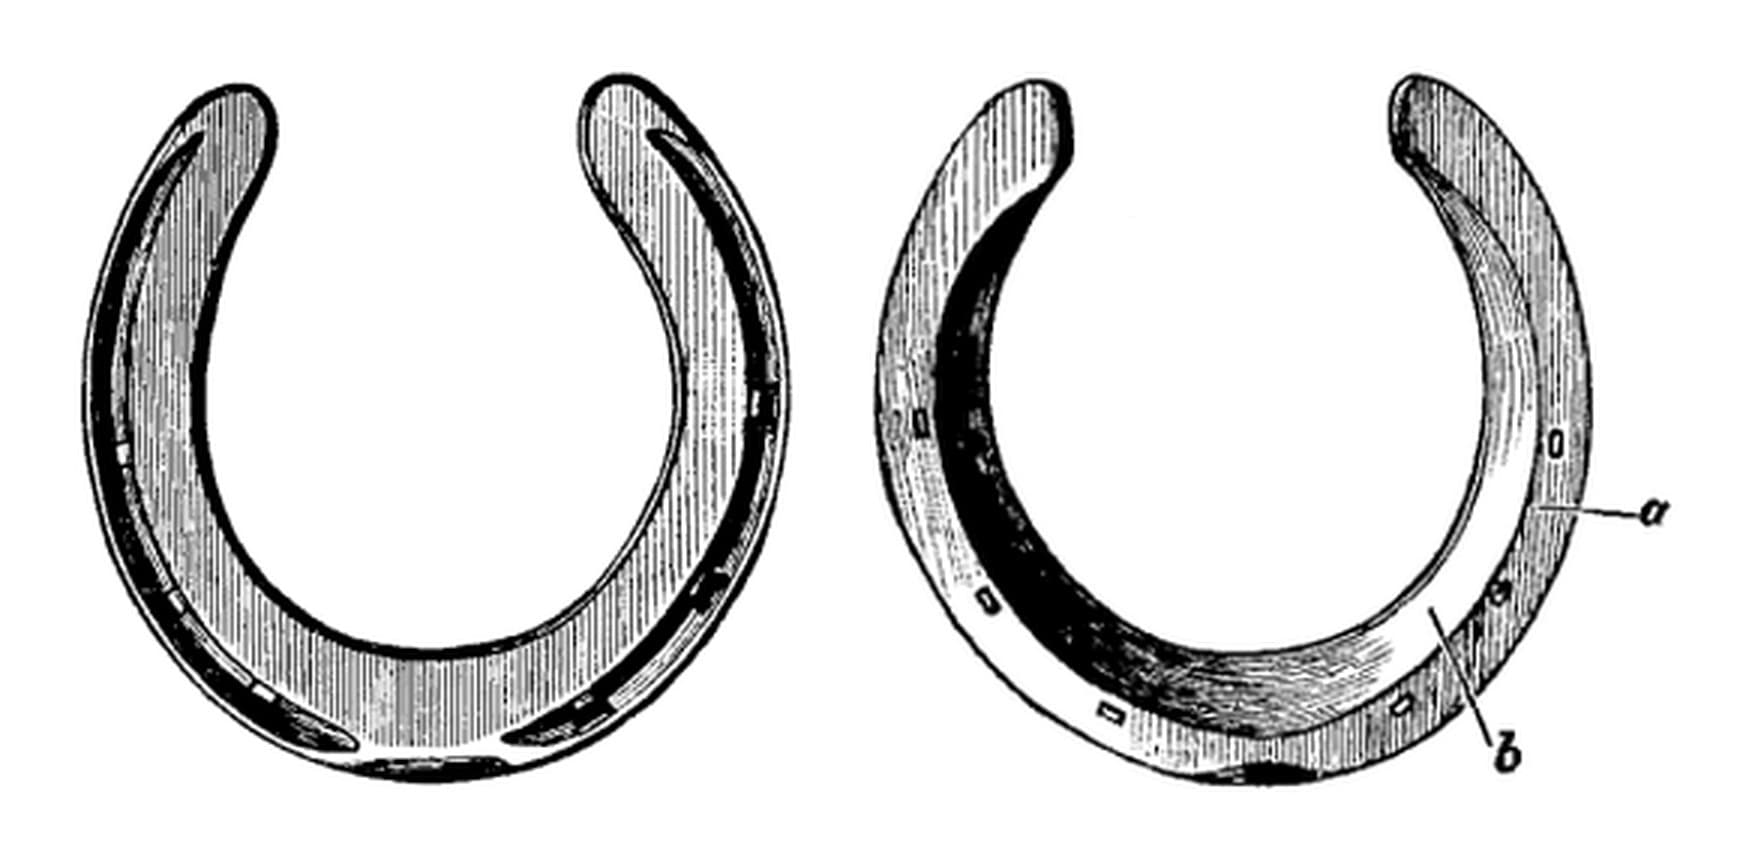
Hind Horseshoe: Round-Pointed Toe, No Seating, Nail Holes in the Front Two-Thirds (Lungwitz and Adams, Text-Book of Horseshoeing, 1913)
A flat hind horseshoe from Lungwitz and Adams, A Text-Book of Horseshoeing (1913). It is made "in like manner" as the front shoe, but the branches are bent to a different curve, giving a round-pointed toe, the hoof side is not concaved, and the nail holes run further back.
Fitting and nailing the shoe to the horse, calks and clips are not covered here.
متوسط
8-15 minutes a pair, once practised
التعليمات
1
1
Bar length and sizes
Bar length and sizes
جارٍ تحميل دفتر Jupyter…
2
2
Read Lungwitz and Adams
Read Lungwitz and Adams
"The hind shoe is made in like manner, but the branches are not bent in a circle but given that form shown in Fig. 106."
3
3
Measure and cut the bar
Measure and cut the bar
Measure the hoof from the point of the toe to the buttress and its greatest width; add them for the bar length. Trace the outline on stiff paper if you want to keep it. Cut the bar.
المواد لهذه الخطوة:
 قضيب حديد مطاوع1 قطعة
الأدوات المطلوبة:
 شريط قياس
 قلم رصاص
 ألواح ورق سميك
 كور الحدّاد
 إزميل قطع على السندان
 كلّابة حدادة
4
4
Bend the outer branch to the hind curve
Bend the outer branch to the hind curve
Heat the bar white-hot just beyond its middle and bend it over the sledge head on the anvil face with the turning hammer, as for the front shoe, but bend the branch to the flatter, angled curve of his Fig. 106, not to a circle. The outer branch is made first, the right shoe first in a pair. Draw out the end with the sledge.
الأدوات المطلوبة:
كور الحدّاد سندان صغير بمنقار
 مِزلجة
 مطرقة التدويركلّابة حدادة
5
5
Bevel, flatten and shape
Bevel, flatten and shape
Bevel the branch on the horn, then flatten it. Bending the toe of a hind shoe backs up the inner edge and thins the outer, so hammer the shoe smooth and even. Shape it so the toe is round-pointed, "yet not too much so", as in his Fig. 116.
الأدوات المطلوبة:
سندان صغير بمنقارمطرقة التدويركلّابة حدادة6
6
Round the inner edge and fuller
Round the inner edge and fuller
Concaving is not necessary: just round the inner edge of the web. Fuller the ground side as for the front shoe, to about two-thirds of the thickness.
الأدوات المطلوبة:
سندان صغير بمنقار فولر (حديد شقّ الأخاديد)مِزلجةمطرقة التدويركلّابة حدادة
7
7
Stamp the nail holes
Stamp the nail holes
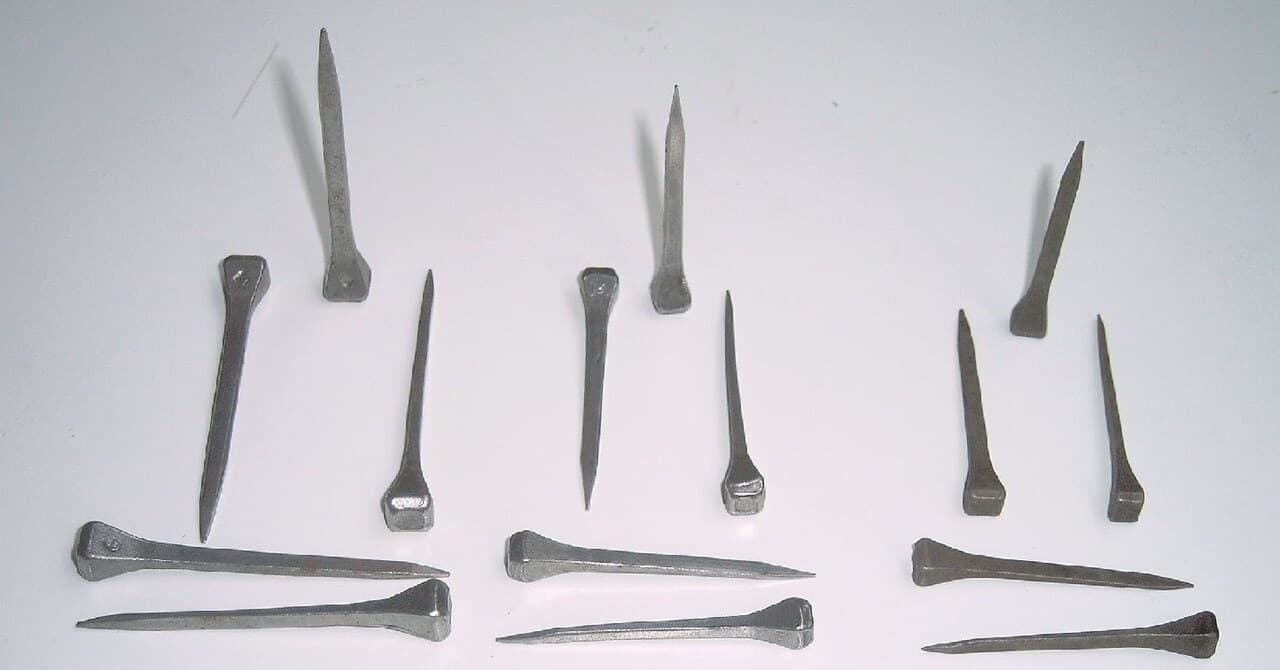
Stamp and pritchel the nail holes in the front two-thirds of the shoe, none at the toe: usually one more than a front shoe, seldom more than eight. Set each as far from the outer edge as the wall is thick; on a hind hoof the wall is nearly as thick at the quarters as at the toe.
الأدوات المطلوبة:
سندان صغير بمنقار مخرم ساخن
 مِخرَز ثقوب المساميرمطرقة التدويركلّابة حدادة
8
8
Make the second branch and finish
Make the second branch and finish
Make the inner branch the same way, turned to the left. Go over the outer edge on the horn and hammer the bearing surface smooth and level. Rough it out in two heats if you can.
الأدوات المطلوبة:
كور الحدّادسندان صغير بمنقارمطرقة التدويرفولر (حديد شقّ الأخاديد)مخرم ساخنمِخرَز ثقوب المساميركلّابة حدادة9
9
Troubleshooting
Troubleshooting
Hind shoe troubleshooting.
Flow
Loading...
10
10
History and honest limits
History and honest limits
From **A Text-Book of Horseshoeing**, by A. Lungwitz and John W. Adams, 11th edition, J. B. Lippincott, 1913 (Project Gutenberg 66786), chapter III F. His Fig. 116 shows a hind shoe with toe- and heel-calks; the calks and the toe-clip are not made here, as this chapter gives no method for forging heel-calks or drawing clips. Fitting and nailing are not covered. The metric figures are ours.
المواد
1- 1 قطعةعنصر نائب
الأدوات المطلوبة
12- 1 vendor sell this, none ship to you yetعنصر نائب
- 1 vendor sell this, none ship to you yetعنصر نائب
- عنصر نائب
- عنصر نائب
- عنصر نائب
- عنصر نائب
- عنصر نائب
- عنصر نائب
- عنصر نائب
- عنصر نائب
- عنصر نائب
- عنصر نائب
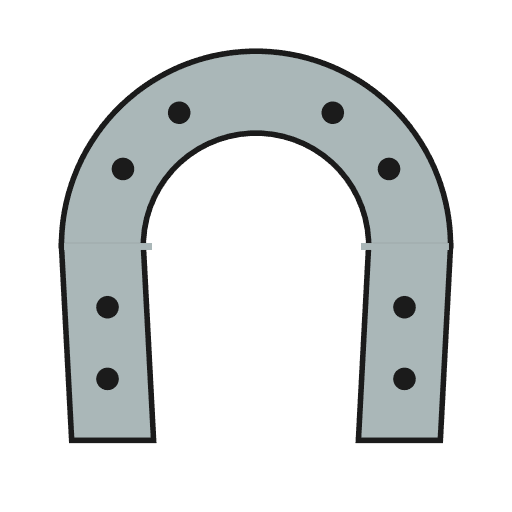
هذا المخطط يصنع
المخططات ذات الصلة
هذه المخططات تشارك المعرفة مع هذا — التقنيات والمواد والمبادئ
CC0 ملكية عامة
هذا المخطط مُصدر بموجب CC0. يحق لك نسخه وتعديله وتوزيعه واستخدامه لأي غرض، دون طلب إذن.
ادعم الصانع بشراء منتجات عبر مخططه حيث يكسب عمولة الصانع يحددها البائعون، أو أنشئ نسخة جديدة من هذا المخطط وضمّنه كرابط في مخططك لمشاركة الإيرادات.