Designing and 3D-Printing a Self-Watering Planter — FDM Printing with PLA
التعليمات
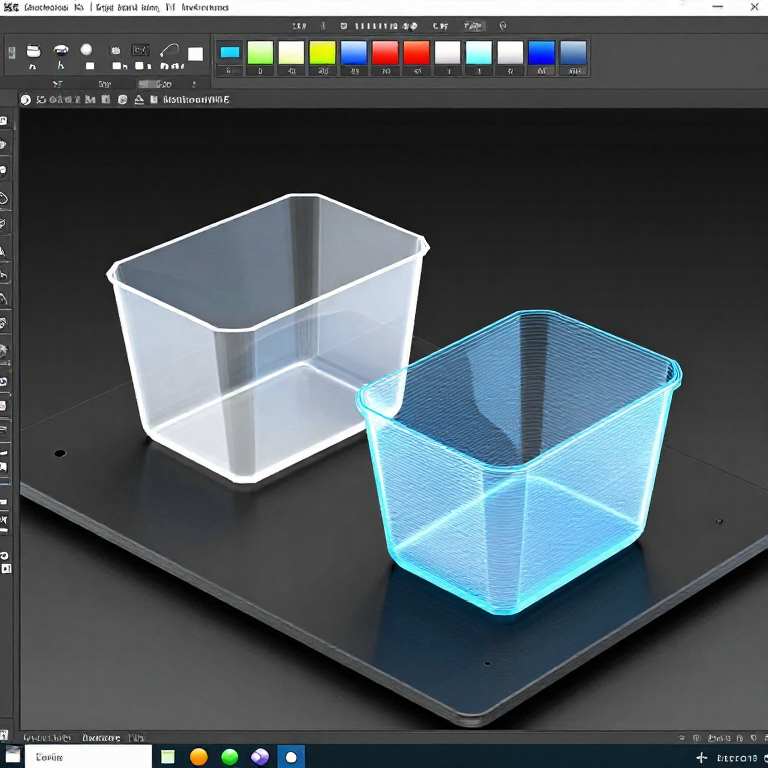
Design the Two-Part Planter in CAD
Design the Two-Part Planter in CAD
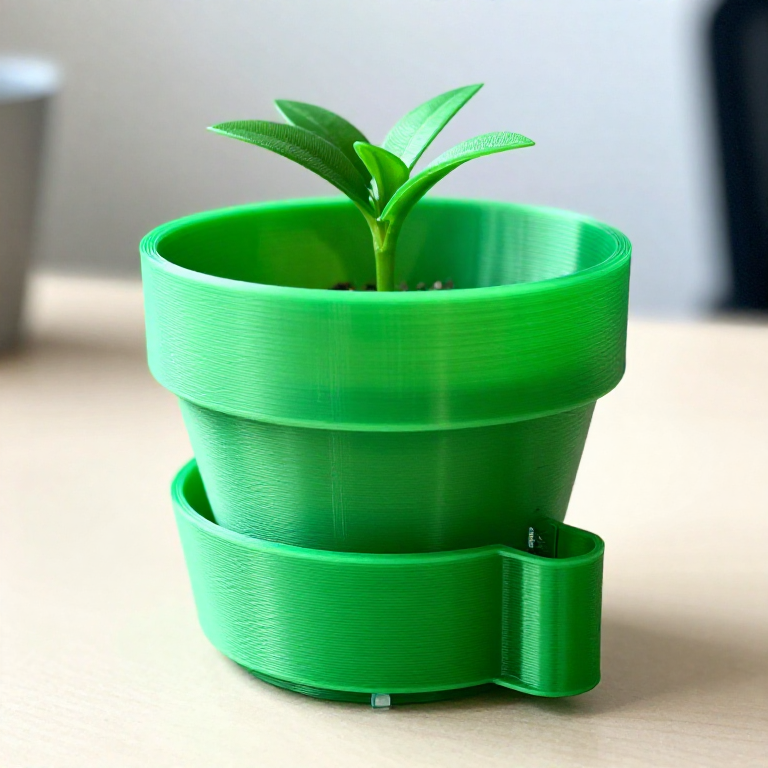
The self-watering planter consists of two nesting parts: an outer reservoir container and an inner plant basket that sits above the water line with holes for wicks. Open your CAD software and design the outer container as a simple cylinder or tapered vessel with a sealed bottom (no drainage holes — this holds water). Design the inner basket with a mesh or perforated bottom that sits on a ledge inside the outer container, elevating the soil above the water reservoir. Include a small tube or channel on the side that extends from the reservoir to above the basket — this is the water fill port. Design 2-3 small holes in the inner basket bottom for cotton wicks to pass through into the reservoir below. Ensure wall thickness is at least 2mm for FDM printing strength.
Prepare the Print in Slicer Software
Prepare the Print in Slicer Software
Export the CAD model as STL files (one per part) and import into your slicer software. For a watertight outer reservoir, use at least 3 perimeter walls (shells) and 100% infill on the bottom 5-10 layers. Standard infill (15-20%) is fine for the upper walls and the inner basket. Set layer height to 0.2mm for a balance of speed and quality. PLA prints at 200-210 degrees C nozzle temperature and 60 degrees C bed temperature. Add supports where needed (overhangs greater than 45 degrees). Orient the parts for minimal support material — printing cups upright eliminates the need for internal supports. Check the estimated print time and filament usage before starting.
Print and Post-Process
Print and Post-Process
Load PLA filament, level the print bed, and start the print. Monitor the first few layers closely — good bed adhesion is critical for a successful print. FDM printing builds the object layer by layer from the bottom up, with each layer fusing to the one below it. Print time for a medium planter is typically 6-12 hours. After printing, remove the parts from the bed and carefully remove any support material with pliers or a craft knife. Sand any rough edges or support scars with 120-grit sandpaper. Test the reservoir for water-tightness by filling it and leaving it for 30 minutes — PLA with sufficient wall thickness and perimeters is naturally watertight, but under-extruded prints may leak through gaps between layers.
Assemble the Wicking System
Assemble the Wicking System
Thread cotton rope wicks through the holes in the inner basket bottom so they hang down into the reservoir space below. The wicks should extend at least 5cm into the reservoir and 5-10cm up into the soil zone above. Cotton rope works through capillary action: water molecules adhere to the cotton fibres and are drawn upward against gravity, continuously transporting moisture from the reservoir to the soil. Two to three wicks provide sufficient moisture for a small planter. Nest the inner basket into the outer reservoir — it should sit on the internal ledge with the wicks dangling into the empty reservoir below.
المواد لهذه الخطوة:
 PLA Filament200-400g (depending on planter size) غ
Plant and Fill the Reservoir
Plant and Fill the Reservoir
Fill the inner basket with potting soil, arranging the wick tops so they are spread through the soil volume. Plant your chosen plant and water the soil from the top to establish initial moisture contact between soil and wicks. Fill the reservoir through the side fill tube until water appears at the fill port level. The wicking system now maintains consistent soil moisture automatically — as the plant consumes water and the soil dries slightly, capillary action draws more water up through the wicks. Check the reservoir level weekly through the fill tube and top up as needed. Self-watering planters are particularly effective for herbs, small vegetables, and tropical houseplants that prefer consistently moist soil. PLA is biodegradable under industrial composting conditions but is stable at room temperature, so the planter will last for years of indoor use.
المواد
2- 200-400g (depending on planter size) قطعةعنصر نائب
- 30-50cm قطعةعنصر نائب
الأدوات المطلوبة
3- عنصر نائب
- عنصر نائب
- عنصر نائب
Related blueprints
Other builds that share materials, tools, or techniques with this one.


CC0 ملكية عامة
هذا المخطط مُصدر بموجب CC0. يحق لك نسخه وتعديله وتوزيعه واستخدامه لأي غرض، دون طلب إذن.
ادعم الصانع بشراء منتجات عبر مخططه حيث يكسب عمولة الصانع يحددها البائعون، أو أنشئ نسخة جديدة من هذا المخطط وضمّنه كرابط في مخططك لمشاركة الإيرادات.