فنون
الجمال والعناية
حِرَف
الثقافة والتاريخ
ترفيه
البيئة
الطعام والمشروبات
الهندسة العكسية
العلوم
رياضة
التقنية
الأجهزة القابلة للارتداء
Prepared Core Blade Production — Upper Palaeolithic Flint Knapping
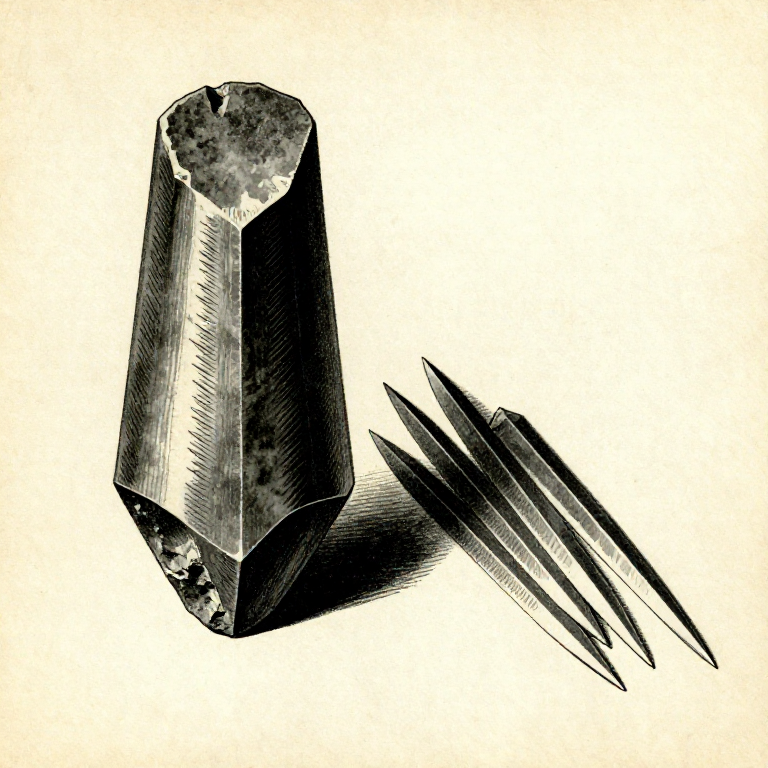
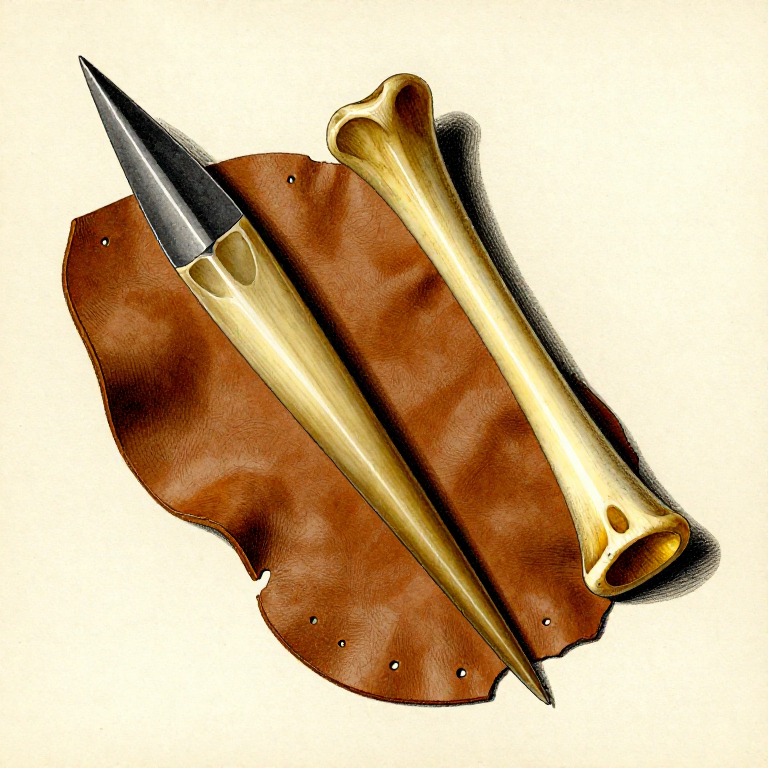
Prepared core blade production was one of the most significant technological advances of the Upper Palaeolithic (roughly 40,000 to 10,000 years ago). Rather than knapping individual tools from a nodule one at a time, the blade core technique involves shaping a flint or obsidian nodule into a carefully prepared conical or cylindrical core from which multiple long, thin, parallel-sided blades can be struck in rapid sequence. A single well-prepared core can yield 10 to 20 usable blades, each with razor-sharp edges and a consistent cross-section. This represented a massive improvement in material efficiency — the same volume of raw flint produced five to ten times more cutting edge than earlier Acheulean hand-axe technology. The key innovation is platform preparation: creating and maintaining a flat striking platform at the top of the core, and shaping the core geometry so that each blade removal sets up the correct ridge for the next. Blade removal uses indirect percussion — a bone or antler punch placed on the platform edge and struck with a hammerstone — which gives far more control than direct striking. The resulting blades served as blanks for knives, scrapers, burins, and composite tools when hafted into bone or wooden handles.
متقدم
2-3 hours
التعليمات
1
1
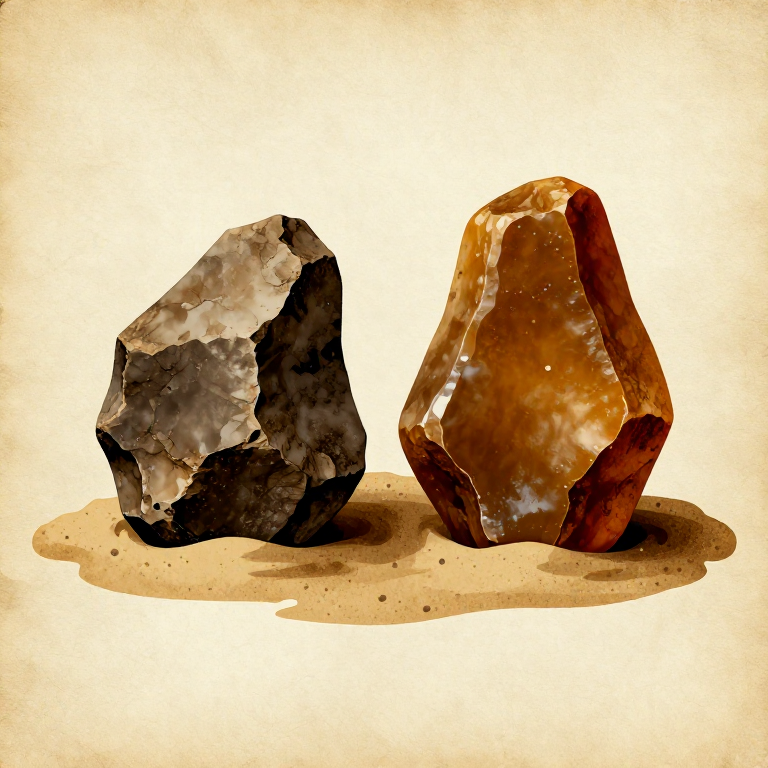
Select a Suitable Flint Nodule
Select a Suitable Flint Nodule
Choose a flint or chert nodule weighing 1.5 to 3 kg with a roughly cylindrical or oval shape. The nodule must be free of internal fractures — test by tapping it with another stone and listening for a clear ring (a dull thud indicates hidden cracks). Nodules with a thick cortex (the chalky outer rind) are preferred as the cortex protects the interior flint.
المواد لهذه الخطوة:
 Flint Nodule1 قطعة
2
2
Remove the Cortex by Decortication
Remove the Cortex by Decortication
Using a hard hammerstone weighing 500 to 800 g, strike the nodule to remove the chalky outer cortex. Work around the entire surface, striking at roughly 45-degree angles to detach broad cortex flakes. The goal is to expose the glassy interior flint on all surfaces. Save any large cortex flakes — they can serve as expedient cutting tools.
الأدوات المطلوبة:
 Hammerstone
3
3
Establish the Core Shape
Establish the Core Shape
Shape the decorticated nodule into an elongated cone or cylinder by removing large shaping flakes from the sides. Strike from the top downward at about 60 degrees to the surface. The core should have a roughly circular cross-section and a length at least 1.5 times its diameter. Aim for a core 10 to 15 cm tall and 6 to 8 cm in diameter.
الأدوات المطلوبة:
Hammerstone4
4
Create the Striking Platform
Create the Striking Platform
The top of the core must have a flat, level platform. Remove a single large flake across the top by striking the core laterally, or grind the top flat by abrading it on a sandstone slab. The platform should be perpendicular to the long axis of the core. A flat, stable platform is essential — if it is angled or uneven, blade removals will fail or produce curved blades.
المواد لهذه الخطوة:
 Sandstone1 قطعة
الأدوات المطلوبة:
Hammerstone5
5
Create the Initial Guiding Ridge
Create the Initial Guiding Ridge
A blade detaches along the line of a ridge on the core surface. Create the first ridge (called a cresting ridge or crete) by removing small alternating flakes from two opposing sides along one face of the core, forming a raised ridge running from platform to base. This ridge guides the first blade removal and must be straight.
الأدوات المطلوبة:
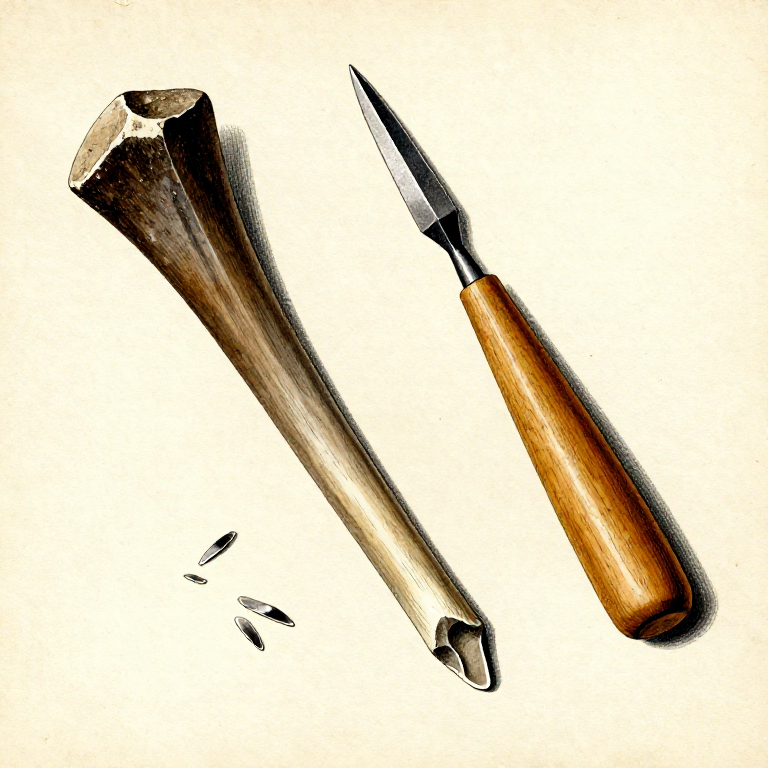
 Antler Baton
6
6
Abrade the Platform Edge
Abrade the Platform Edge
Before each blade removal, abrade the platform edge at the point of intended impact using a small piece of sandstone. Rub the edge vigorously to create a small abraded area that is slightly roughened and bevelled inward. This prevents the platform from crumbling on impact and ensures the force transfers cleanly into blade detachment rather than platform collapse.
المواد لهذه الخطوة:
Sandstone1 قطعة7
7
Remove the First Blade Using a Punch
Remove the First Blade Using a Punch
Hold the core firmly with the platform facing upward, braced against your thigh (protected with a thick leather pad). Place the tip of the antler punch precisely on the abraded platform edge, directly above the cresting ridge. The punch should angle inward at about 5 to 10 degrees from vertical. Strike the top of the punch sharply with the hammerstone. A properly directed blow detaches a long blade that runs the full length of the core following the ridge.
الأدوات المطلوبة:
Antler BatonHammerstone8
8
Examine the First Blade and the Scar
Examine the First Blade and the Scar
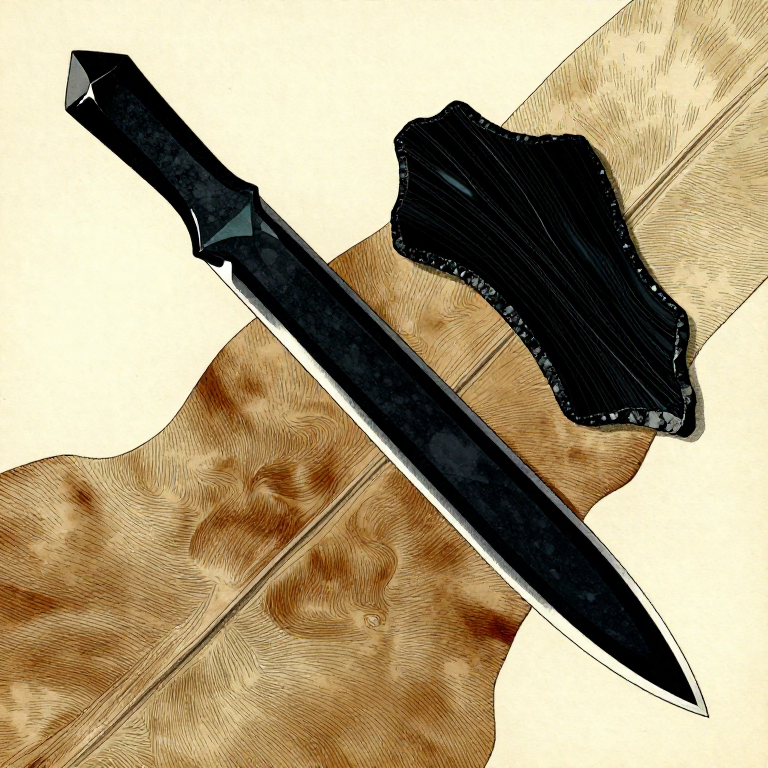
Inspect the detached blade — it should be long and thin with parallel edges and a triangular or trapezoidal cross-section. The scar left on the core is equally important: it should be a long, flat, concave channel running from platform to base. The edges of this scar (called arrises) now serve as guiding ridges for the next blade removals on either side.
9
9
Remove Sequential Blades Around the Core
Remove Sequential Blades Around the Core
Abrade the platform edge adjacent to the previous blade scar. Place the punch at the intersection of the platform and the arris left by the previous removal. Strike to detach the next blade. Each successful blade removal creates two new arrises — work around the core circumference, removing blades in sequence. A well-prepared core yields 10 to 20 blades before requiring maintenance.
الأدوات المطلوبة:
Antler BatonHammerstone10
10
Correct Hinge Fractures Immediately
Correct Hinge Fractures Immediately
If a blade terminates prematurely (a hinge fracture — where the blade curls and stops partway down the core), it leaves a step on the core surface that will cause all subsequent blades to terminate at the same point. Correct this by removing a thick flake from below the hinge, or by removing a blade from the opposite direction (from the base upward) to bypass the step.
الأدوات المطلوبة:
Hammerstone11
11
Rejuvenate the Striking Platform
Rejuvenate the Striking Platform
After several blade removals, the platform becomes uneven and pitted. Rejuvenate it by striking a single large flake across the entire top surface (a core tablet), re-exposing a fresh, flat platform. This removes all the blade scars at the platform edge and provides a clean surface for the next series of removals. Core tablets are a diagnostic artefact at archaeological sites.
الأدوات المطلوبة:
Hammerstone12
12
Maintain Core Geometry Between Series
Maintain Core Geometry Between Series
Periodically check that the core remains conical with a circular cross-section. If one side becomes overly flattened, remove a few corrective flakes from that side to restore the curvature. The core must maintain convexity on all faces — a flat or concave surface causes blades to terminate in hinge fractures or plunge through the base.
الأدوات المطلوبة:
Hammerstone13
13
Continue Until the Core Is Exhausted
Continue Until the Core Is Exhausted
Keep removing blades and rejuvenating the platform until the core becomes too small to yield usable blades — typically when it is less than 4 to 5 cm in diameter. A skilled knapper extracts maximum blade length from each removal. The exhausted core can still serve as a scraper or hammer-stone for lighter work.
14
14
Sort and Grade the Produced Blades
Sort and Grade the Produced Blades
Sort the blades by length and quality. Grade A blades are full-length, parallel-sided, and have a consistent thickness of 3 to 5 mm. Grade B blades are shorter or slightly curved but still usable. Discard any blades with hinge terminations or step fractures. Store blades flat in a bark container or leather pouch to protect the edges until they are needed for tool production.
المواد
2- 1 قطعةعنصر نائب
- 2 قطععنصر نائب
مواد المخططات المرتبطة
المخططات ذات الصلة
هذه المخططات تشارك المعرفة مع هذا — التقنيات والمواد والمبادئ
Related blueprints
Other builds that share materials, tools, or techniques with this one.
Making an Antler Pressure Flaker — Precision Flint-Knapping Toolstoneworking
Heat-Treating Flint in a Sand Bed — Transforming Stone for Superior Knappingstoneworking
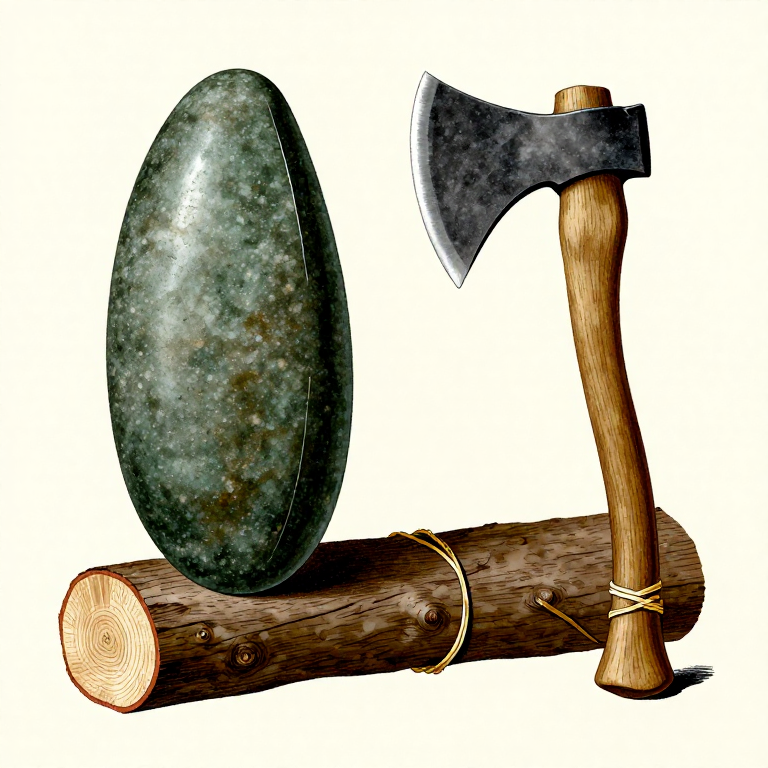
Polishing a Neolithic Ground Stone Axe — The Tool That Cleared the Forestsstoneworking

Carving a Stone Oil Lamp — Soapstone Fat Lamp with Wick Channelstoneworking
Making a Bone Awl — Piercing Tool for Sewing and Basketrystoneworking
Knapping an Obsidian Blade — Pressure-Flaked Volcanic Glassstoneworking
CC0 ملكية عامة
هذا المخطط مُصدر بموجب CC0. يحق لك نسخه وتعديله وتوزيعه واستخدامه لأي غرض، دون طلب إذن.
ادعم الصانع بشراء منتجات عبر مخططه حيث يكسب عمولة الصانع يحددها البائعون، أو أنشئ نسخة جديدة من هذا المخطط وضمّنه كرابط في مخططك لمشاركة الإيرادات.