فنون
الجمال والعناية
حِرَف
الثقافة والتاريخ
ترفيه
البيئة
الطعام والمشروبات
المستقبل الأخضر
الهندسة العكسية
العلوم
رياضة
التقنية
الأجهزة القابلة للارتداء
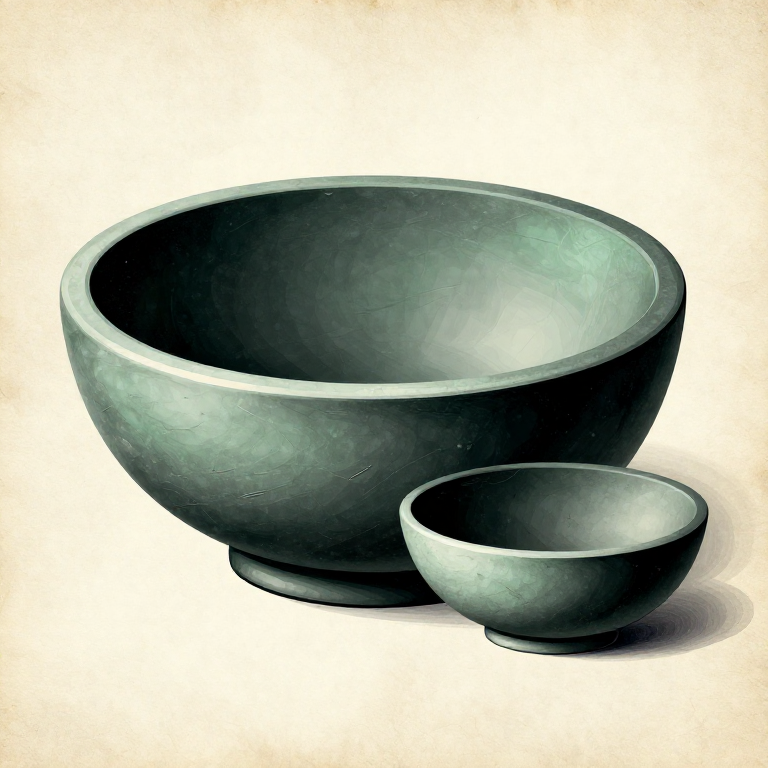
Carving a Stone Bowl by Pecking and Grinding — Soapstone Vessel
Pecked and ground stone bowls represent one of the earliest forms of durable food vessels, predating pottery by thousands of years. Archaeological examples from the Fertile Crescent date to at least 10,000 BCE. Stone bowls were hollowed from a single block of workable stone — most commonly soapstone (steatite), which is soft enough to carve with stone tools yet remarkably heat-resistant, making it ideal for cooking directly over coals. Soapstone ranks only 1 to 2 on the Mohs hardness scale, meaning it can be scratched with a fingernail and carved easily with flint or even harder stone tools. The process involves three phases: roughing out the exterior shape by pecking with a hammerstone, hollowing the interior cavity by sustained pecking and rotary grinding, and finishing the surface by abrasion with sandstone. A completed soapstone bowl can hold liquids, withstand thermal shock from direct fire contact, and last indefinitely. This blueprint teaches the complete carving process using only prehistoric tools.
متقدم
8-12 hours
التعليمات
1
1
Select a Soapstone Block
Select a Soapstone Block
Choose a block of soapstone (steatite) roughly 25 cm long, 20 cm wide, and 12 to 15 cm thick. The stone should be free of visible cracks, inclusions, or colour changes that indicate fracture planes. Test by scratching with a fingernail — soapstone is soft enough to leave a visible scratch mark. A fist-sized block weighs approximately 3 to 5 kg.
المواد لهذه الخطوة:
 Soapstone1 قطعة
2
2
Mark the Bowl Outline on the Stone
Mark the Bowl Outline on the Stone
Using a sharp flint flake, scratch an oval or circular outline on the flattest face of the soapstone block. This line marks the rim of the bowl. Leave at least 2 cm of margin from the edge of the block to the rim line. Scratch a second, smaller oval inside the first to indicate the interior cavity boundary.
الأدوات المطلوبة:
 Flint Knife
3
3
Rough Out the Exterior Shape by Pecking
Rough Out the Exterior Shape by Pecking
Turn the block so the marked face is downward. Using a hammerstone weighing 400 to 600 g, peck away material from the bottom and sides to create a rounded exterior profile. Strike at a shallow angle to chip away small flakes rather than risking a deep fracture. Work evenly around the entire exterior, removing 1 to 2 cm at a time. The goal is a dome-shaped underside.
الأدوات المطلوبة:
 Hammerstone
4
4
Shape the Exterior Walls to Even Thickness
Shape the Exterior Walls to Even Thickness
Continue pecking the exterior until the walls are approximately 1.5 to 2 cm thick everywhere. Check thickness frequently by measuring with your fingers from both sides. Soapstone is forgiving — if you remove too much in one area, simply adjust the bowl shape to compensate. The exterior does not need to be perfectly smooth at this stage.
الأدوات المطلوبة:
Hammerstone5
5
Begin Hollowing the Interior
Begin Hollowing the Interior
Turn the block right-side up. Using the pointed end of the hammerstone or a separate pointed pecking stone, begin removing material from the centre of the marked interior oval. Strike straight down with moderate force to create a shallow depression. Work in concentric circles, always deepening the centre first and widening gradually toward the rim line.
الأدوات المطلوبة:
Hammerstone6
6
Deepen the Cavity by Sustained Pecking
Deepen the Cavity by Sustained Pecking
Continue pecking the interior cavity deeper, working in layers of 3 to 5 mm at a time. Remove loosened dust and chips regularly by tipping the bowl upside down. The cavity should reach 6 to 8 cm deep for a functional bowl. Keep the walls at least 1.5 cm thick — too thin and they crack under thermal stress. This phase takes 3 to 4 hours of sustained effort.
الأدوات المطلوبة:
Hammerstone7
7
Smooth the Interior with Rotary Grinding
Smooth the Interior with Rotary Grinding
Select a rounded sandstone cobble that fits inside the bowl cavity. Add a pinch of clean sand and a few drops of water to the interior. Press the sandstone cobble against the interior wall and rotate it in circular motions. The sand acts as a loose abrasive between the two stones. This grinding action smooths the pecking marks and creates a uniform interior surface. Re-wet and add fresh sand every few minutes.
المواد لهذه الخطوة:
 Sandstone1 قطعة
 Clean Dry Sand200 غ
8
8
Grind the Interior Floor Flat
Grind the Interior Floor Flat
Switch to a flat-faced sandstone piece and grind the bottom of the interior bowl in back-and-forth strokes. The floor should be smooth and gently concave — a flat or slightly dished bottom distributes heat evenly when the bowl is used for cooking. Continue until no pecking marks remain on the floor.
المواد لهذه الخطوة:
Sandstone1 قطعة9
9
Shape and Smooth the Rim
Shape and Smooth the Rim
Grind the rim of the bowl on a flat sandstone slab using long, even strokes. The rim should be level all the way around — test by placing the bowl upside down on a flat surface and checking for wobble. Round the rim edges slightly so they are comfortable to drink from. A sharp rim chips easily in use.
المواد لهذه الخطوة:
 Flat Stone Slab1 قطعة
10
10
Smooth the Exterior Surface
Smooth the Exterior Surface
Grind the entire exterior of the bowl on a large flat sandstone surface. Work in long strokes, rotating the bowl to grind evenly. Remove all pecking marks and high spots. The exterior does not need to be as smooth as the interior, but should be free of sharp projections and deep tool marks.
المواد لهذه الخطوة:
Sandstone1 قطعة11
11
Final Polish with Fine Abrasive
Final Polish with Fine Abrasive
For a polished finish, rub the entire bowl — inside and out — with a piece of wet leather or hide wrapped around a stone, using the finest sand available as abrasive. Soapstone takes a beautiful satin polish with extended rubbing. This step is optional for a cooking vessel but improves the appearance and reduces surface porosity.
المواد لهذه الخطوة:
Clean Dry Sand100 غ12
12
Check Wall Thickness Throughout
Check Wall Thickness Throughout
Inspect the entire bowl by holding it up to bright light — soapstone is slightly translucent when thin, so dangerously thin spots will glow. Tap gently around the rim and walls with a knuckle — a consistent tone means even thickness, while a hollow or high-pitched ring indicates a thin spot. Walls thinner than 1 cm should not be used over direct fire.
13
13
Season the Bowl Before First Use
Season the Bowl Before First Use
Before cooking in the bowl, season it by rubbing the interior with animal fat and placing it near a low fire (not directly on coals) for 30 minutes. The fat penetrates the porous stone and reduces the chance of thermal cracking on first direct-heat use. Allow the bowl to cool slowly — never quench a hot soapstone vessel in cold water.
المواد لهذه الخطوة:
 Animal Fat30 غ
14
14
Test the Finished Bowl
Test the Finished Bowl
Fill the completed bowl with water and leave for one hour to check for leaks through micro-cracks. If it holds water, it is ready for use. Soapstone bowls can be placed directly on a bed of hot coals for cooking — heat the bowl gradually over 10 minutes rather than placing a cold bowl on hot coals. The finished bowl should weigh approximately 1.5 to 2.5 kg depending on wall thickness.
المواد
5- 1 قطعةعنصر نائب
- 3 قطععنصر نائب
- 300 غعنصر نائب
- 1 قطعةعنصر نائب
- عنصر نائب
مواد المخططات المرتبطة
المخططات ذات الصلة
هذه المخططات تشارك المعرفة مع هذا — التقنيات والمواد والمبادئ
Related blueprints
Other builds that share materials, tools, or techniques with this one.

Making a Stone Chisel — Splitting and Grooving Toolstoneworking
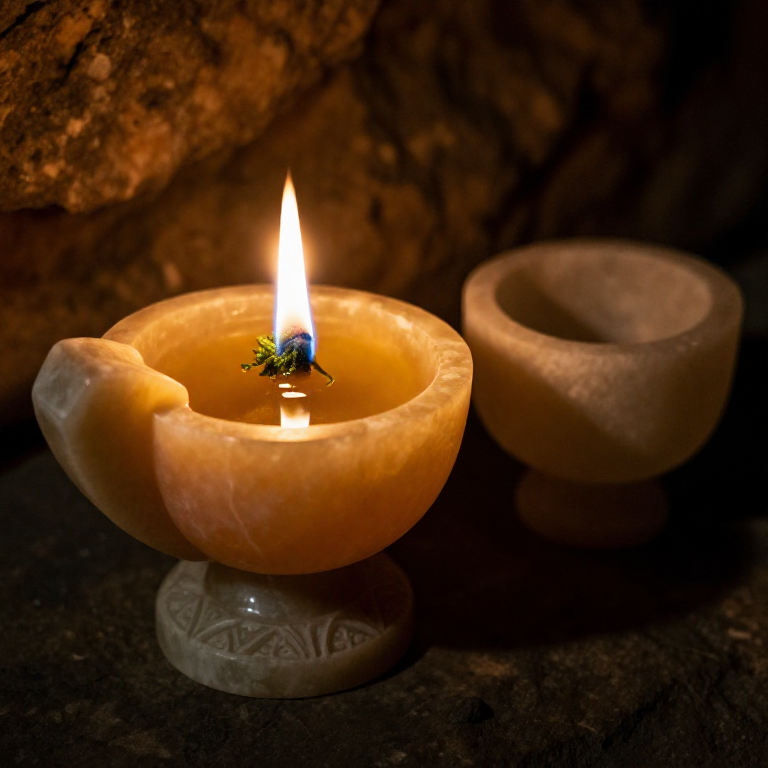
Carving a Stone Oil Lamp — Soapstone Fat Lamp with Wick Channelstoneworking
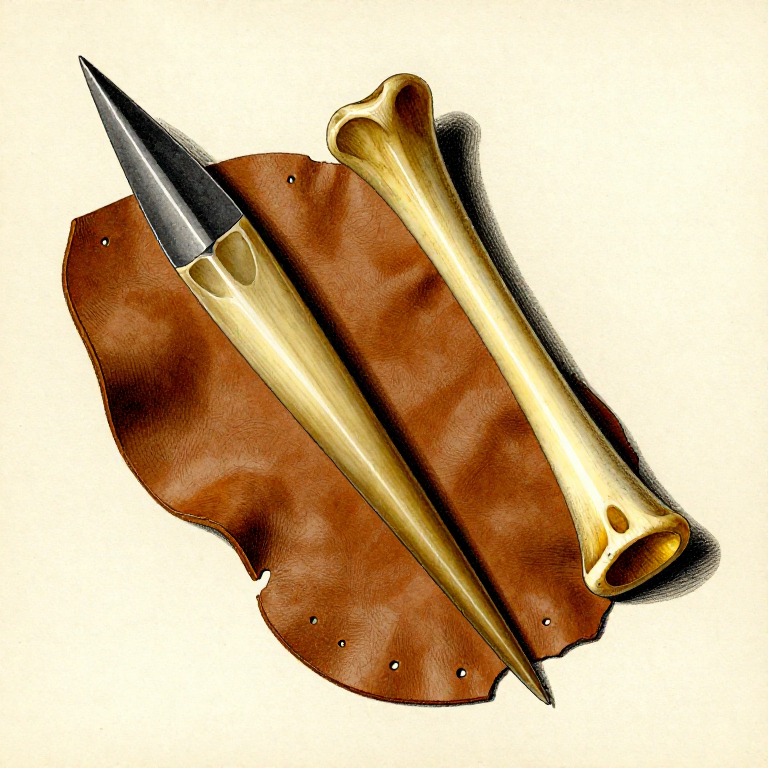
Making a Bone Awl — Piercing Tool for Sewing and Basketrystoneworking
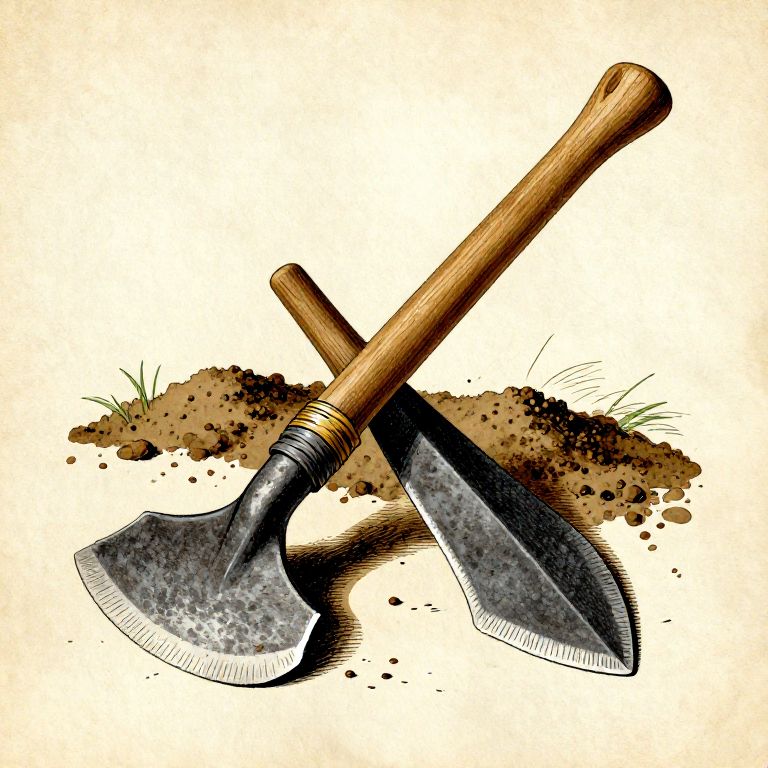
Making a Stone Hoe — The First Agricultural Toolstoneworking
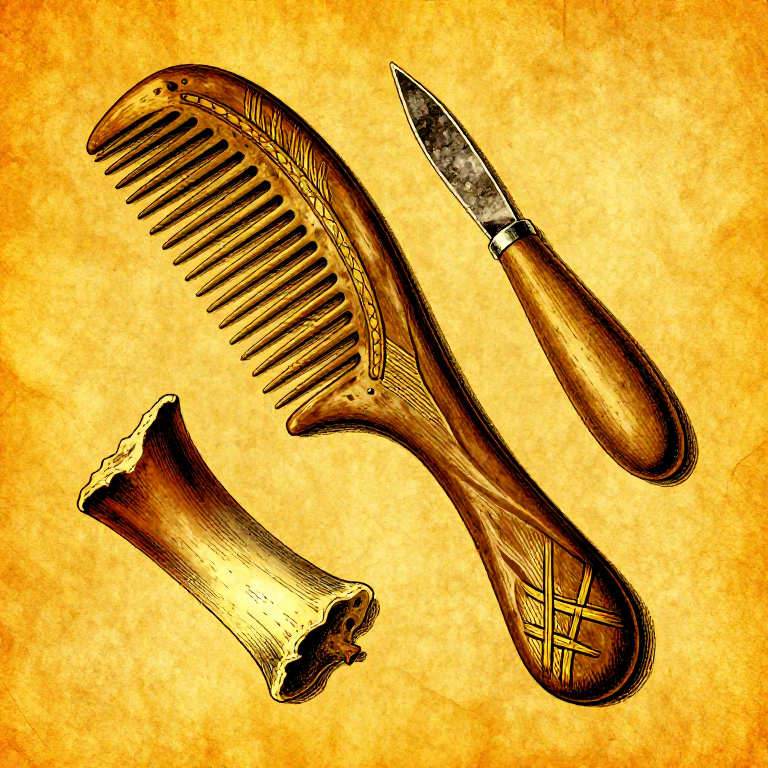
Carving an Antler Comb — Mesolithic Personal Grooming and Textile Toolstoneworking
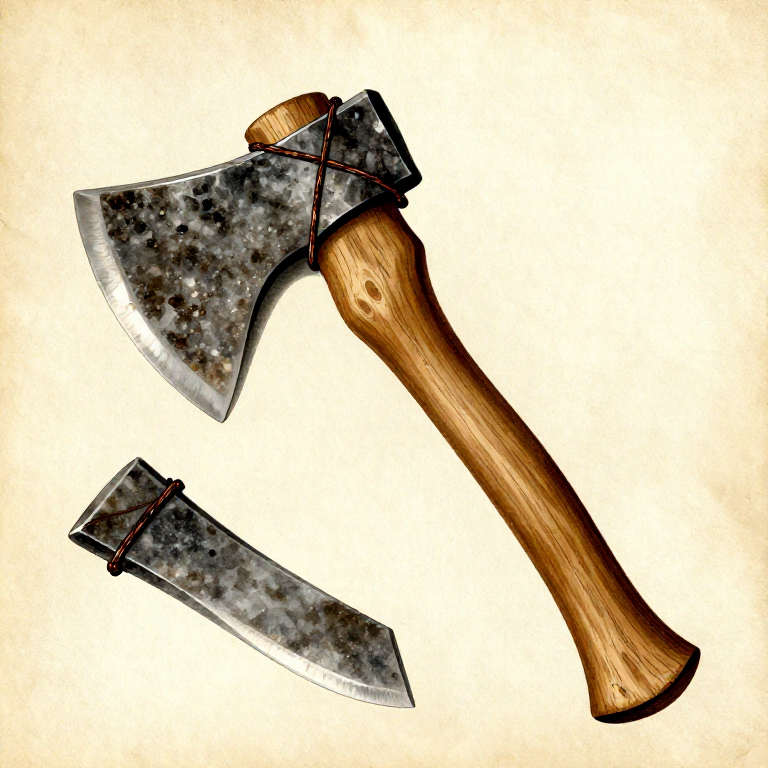
Hafting Stone Tools — Attaching Blades to Handles with Pitch and Sinewstoneworking
CC0 ملكية عامة
هذا المخطط مُصدر بموجب CC0. يحق لك نسخه وتعديله وتوزيعه واستخدامه لأي غرض، دون طلب إذن.
ادعم الصانع بشراء منتجات عبر مخططه حيث يكسب عمولة الصانع يحددها البائعون، أو أنشئ نسخة جديدة من هذا المخطط وضمّنه كرابط في مخططك لمشاركة الإيرادات.