Blowing a Glass Vessel on an Iron Pipe — Roman Glassblowing
التعليمات
Gather Molten Glass on the Blowpipe
Gather Molten Glass on the Blowpipe
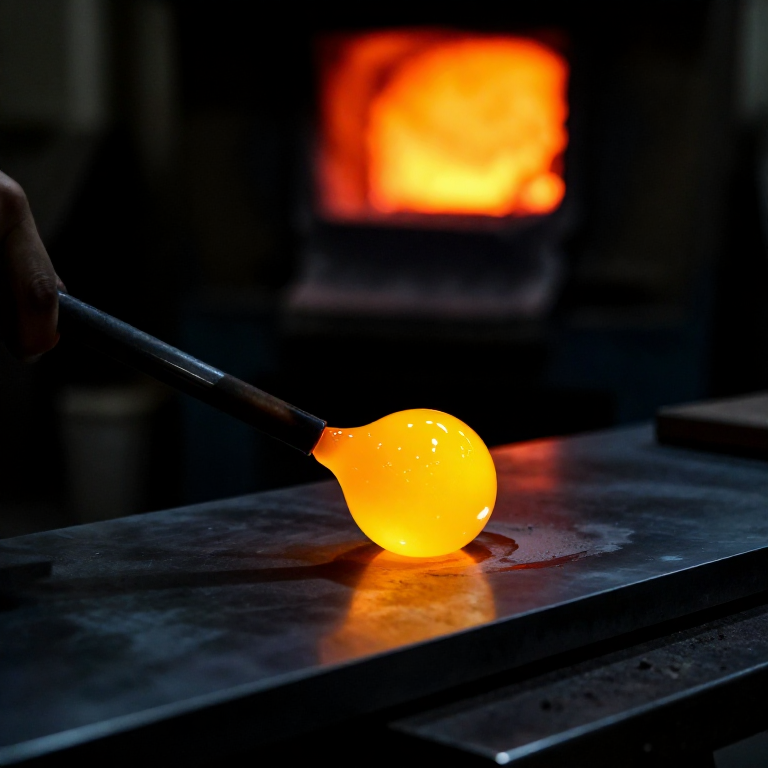
Heat the glass batch in the furnace until fully molten at approximately 1050-1100 degrees Celsius — the melt should be a glowing orange, honey-like liquid. Preheat the tip of the iron blowpipe in the furnace mouth for several minutes so that the glass will adhere to it. Insert the pipe tip into the molten glass and rotate it slowly to gather a symmetrical blob (gob) of glass, approximately the size of an orange for a small cup. Withdraw the pipe and rotate it continuously to keep the soft glass centred — if you stop rotating, gravity will pull the molten glass off-centre or cause it to drip. Roll the gather on the marver (a flat steel or marble plate) to shape it into a smooth, even cylinder and cool the outer skin slightly, creating a temperature gradient that makes the glass easier to control during blowing.
المواد لهذه الخطوة:
الأدوات المطلوبة:
 Hat Block (Wooden, Brim)
Inflate the Initial Bubble
Inflate the Initial Bubble
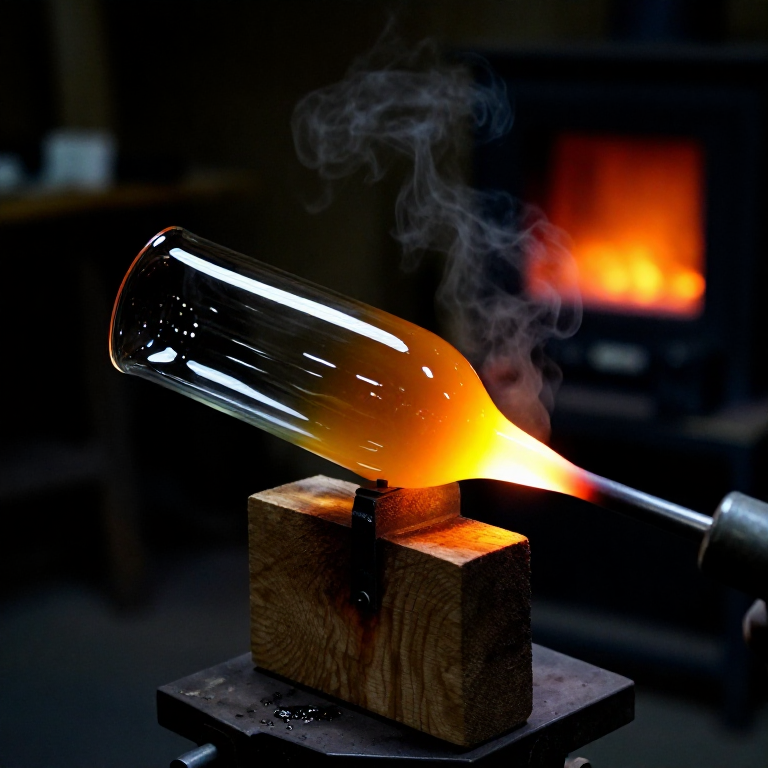
Blow a short, steady puff of air into the far end of the blowpipe while sealing the opening with your thumb between breaths. A small bubble will form inside the glass gather — this is called the parison. The first inflation should be gentle; too much pressure will create a thin-walled, uneven bubble. Continue rotating the pipe constantly. The bubble should be centred within the gather. If the glass has cooled too much to inflate easily (it becomes stiff and resistant), reheat it briefly at the furnace mouth — called a flash — until it softens again. Roman glassblowers worked rapidly, as soda-lime glass has a relatively short working range between soft and rigid states compared to modern borosilicate glass.
Shape the Vessel
Shape the Vessel
Continue inflating with controlled breaths while shaping the exterior with a wet wooden block (fruitwood, traditionally cherry or apple, which chars slowly). Cup the block around the inflating bubble and roll the pipe — the steam from the wet wood prevents the glass from sticking and the curved surface shapes the vessel symmetrically. Alternate between blowing to enlarge and shaping with the block and jacks (large metal tweezers). To form a cup shape, allow the bubble to elongate slightly, then use the jacks to constrict a neck where the vessel will be separated from the pipe. The wall thickness should be approximately 2 to 3 mm — thin enough to be lightweight but thick enough to be durable. Roman free-blown vessels often show slight asymmetries, as achieving perfect symmetry requires the higher precision of mould-blowing.
Transfer to Pontil and Open the Rim
Transfer to Pontil and Open the Rim
To open the vessel and form the rim, it must be transferred from the blowpipe to a pontil rod. Gather a small blob of hot glass on the pontil rod and touch it to the base (bottom) of the vessel while it is still on the blowpipe. Once the pontil is firmly attached, score the glass at the constricted neck near the blowpipe using the jacks and tap the pipe — the vessel should crack cleanly off the blowpipe, leaving the open end (future rim) free. Reheat the rim at the furnace until it softens, then use the jacks to open and flare it outward. The rim can be left with a simple fire-polished edge (the heat rounds any sharp edges) or folded over for additional strength — many surviving Roman vessels show folded rims.
Anneal the Finished Vessel
Anneal the Finished Vessel
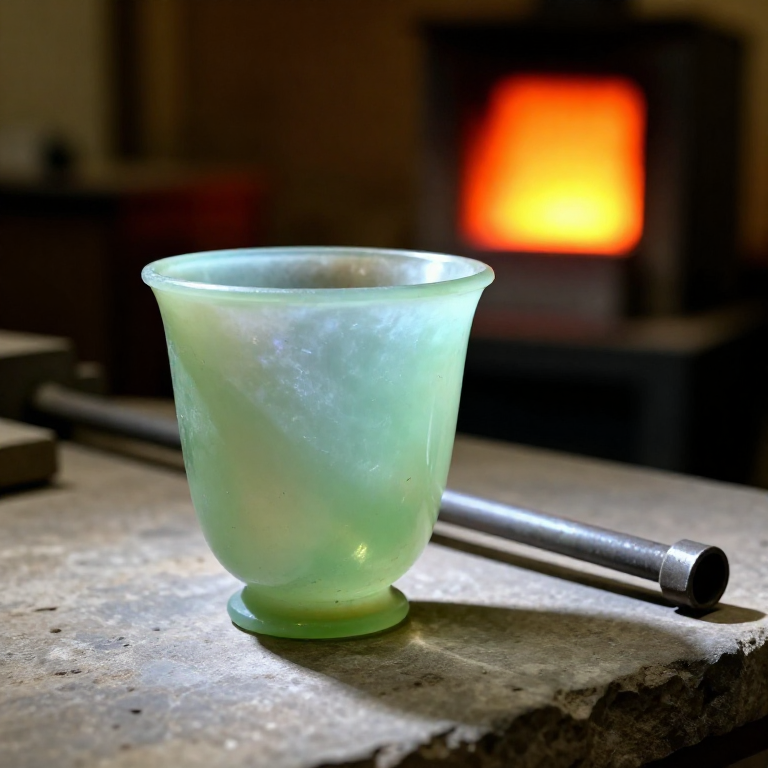
Crack the vessel off the pontil rod by tapping sharply — this leaves a rough pontil mark on the base, a feature visible on virtually all ancient blown glass. Immediately place the vessel in an annealing oven (lehr) held at approximately 480-520 degrees Celsius for soda-lime glass. The purpose of annealing is to relieve internal stresses that develop when different parts of the glass cool at different rates during blowing. Without annealing, the vessel will crack spontaneously within hours or days. Slowly reduce the oven temperature over 4 to 8 hours until it reaches room temperature. The finished vessel can then be ground and polished on the base to smooth the pontil scar if desired. Roman glass typically has a pale green or blue-green tint from iron impurities in the sand, though decolourised glass was made by adding manganese dioxide or antimony.
المواد
2- 200 grams قطعةعنصر نائب
الأدوات المطلوبة
7- عنصر نائب
- عنصر نائب
- عنصر نائب
- عنصر نائب
مواد المخططات المرتبطة


CC0 ملكية عامة
هذا المخطط مُصدر بموجب CC0. يحق لك نسخه وتعديله وتوزيعه واستخدامه لأي غرض، دون طلب إذن.
ادعم الصانع بشراء منتجات عبر مخططه حيث يكسب عمولة الصانع يحددها البائعون، أو أنشئ نسخة جديدة من هذا المخطط وضمّنه كرابط في مخططك لمشاركة الإيرادات.