Driving Multiple LEDs — SIK Circuit 4
التعليمات
Parts & Introduction
Parts & Introduction
This experiment uses 8 LEDs to create light patterns. You'll learn about arrays (grouping related variables) and for loops (repeating actions efficiently). The sketch includes 6 different animation functions you can try.
Parts Needed
- 1x Arduino Uno + USB cable
- 1x Breadboard
- 8x LEDs (any color)
- 8x 330Ω Resistors
- 9x Jumper Wires
المواد لهذه الخطوة:
 SparkFun Inventors Kit - V3.21 طقم
 Arduino Uno R31 قطعة
 Breadboard1 قطعة
 5mm LED8 قطع
 330 Ohm Resistor8 قطع
 Jumper Wires9 قطع
الأدوات المطلوبة:
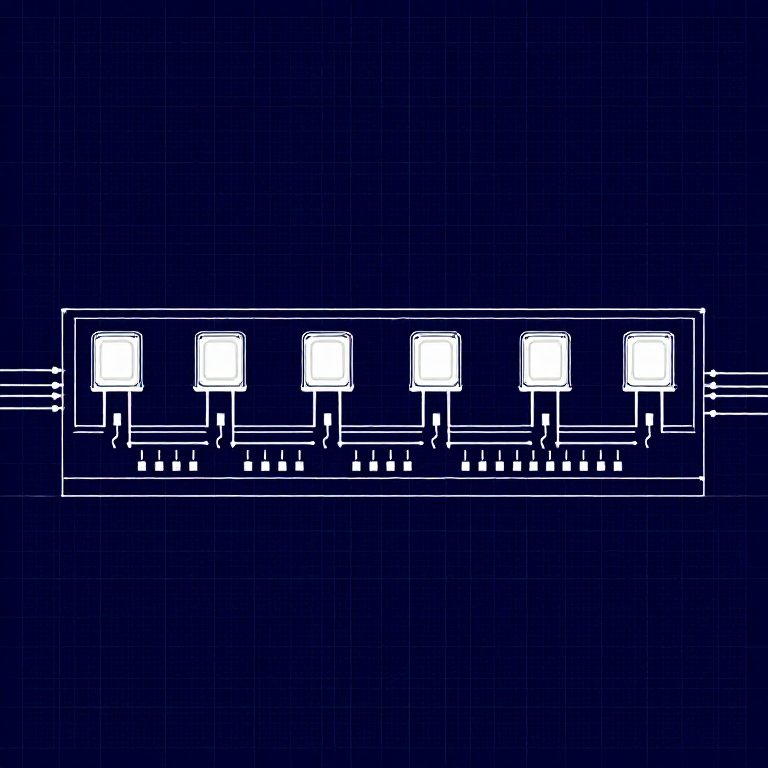
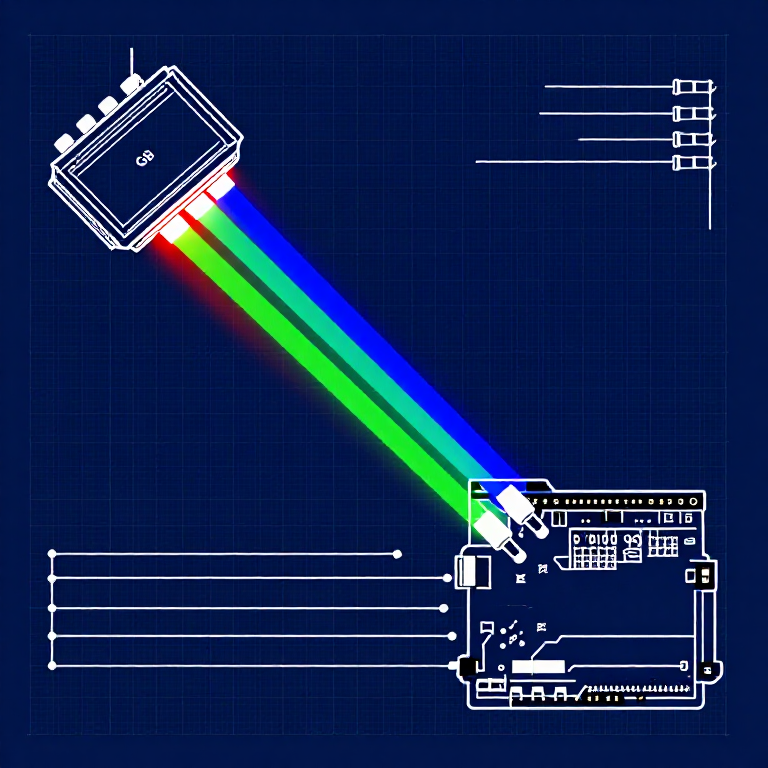
Hardware Hookup
Hardware Hookup
Wiring Instructions
- Place 8 LEDs in a row on the breadboard.
- For each LED, connect the negative leg (shorter) through a 330Ω resistor to GND.
- Connect the positive leg (longer) of each LED to Arduino digital pins 2 through 9 (LED 1 = pin 2, LED 2 = pin 3, etc.).
- Connect the GND rail on the breadboard to Arduino GND.
Tip: Keep the LEDs neatly spaced for the best visual effect.
المواد لهذه الخطوة:
5mm LED8 قطع330 Ohm Resistor8 قطعBreadboard1 قطعةJumper Wires9 قطعArduino Code
Arduino Code
Open the Arduino IDE and upload the following sketch to your Arduino board.
المواد لهذه الخطوة:
Arduino Uno R31 قطعةالأدوات المطلوبة:
Test & Experiment
Test & Experiment
What You Should See
All 8 LEDs light up one after another, then turn off in reverse order. This repeats continuously.
Troubleshooting
- Some LEDs don't light: Easy to insert an LED backwards. Check polarity.
- Out of sequence: With 8 wires, it's easy to cross a couple. Verify LED 1 is on pin 2, then each pin in order.
- Starting fresh: Sometimes pulling everything out and re-wiring is faster than debugging.
Experiments to Try
- Uncomment the other functions in
loop()to try:oneOnAtATime(),pingPong(),marquee(),randomLED(). - Create your own animation pattern!
- Modify the delay times to change the speed.
المواد
6- $105.00
- 1 قطعةعنصر نائب
- 1 قطعةعنصر نائب
- عنصر نائب
- $3.00
You can swap these in
Can't get one of the materials? Swap it for an equivalent — these work just as well.
- Instead of Arduino Uno R3, try:
 Prototyping Shield for Arduino Uno (3-Pack)
 Arduino Uno R3 BoardArduino Uno
 - Instead of 5mm LED Assortment Kit (300pcs, 5 Colors), try:
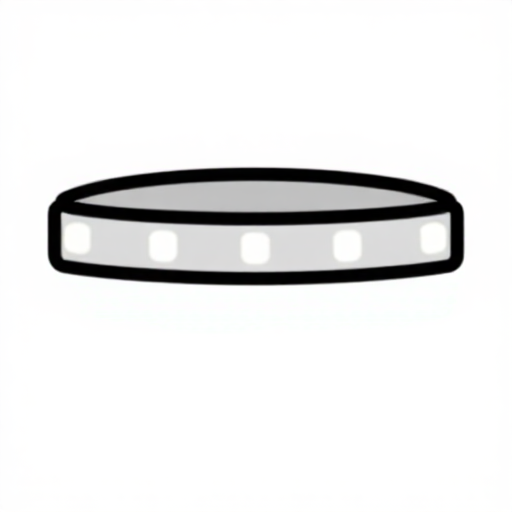 WS2812B NeoPixel LED Strip (1m, 60 LEDs)
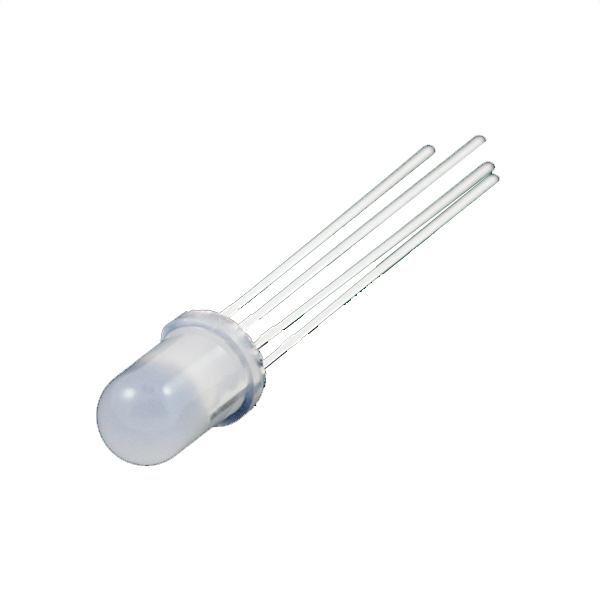
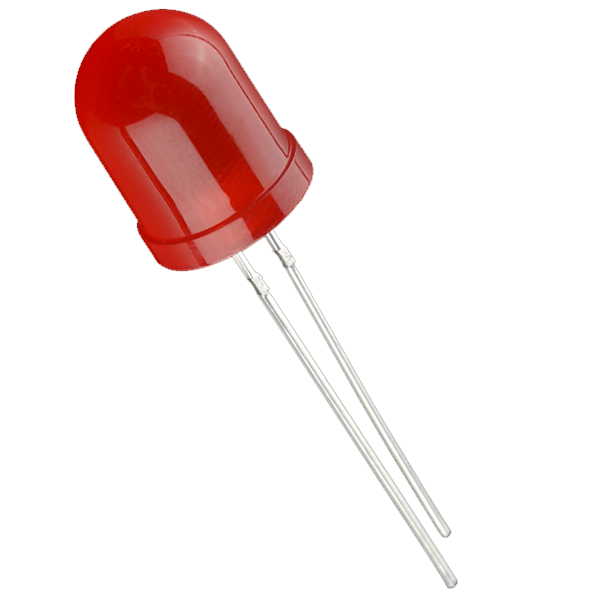 Diffused LED - 10mm
 RGB LED Strip 5050 (5m, Non-Addressable)
 LilyPad Tri-Color LED
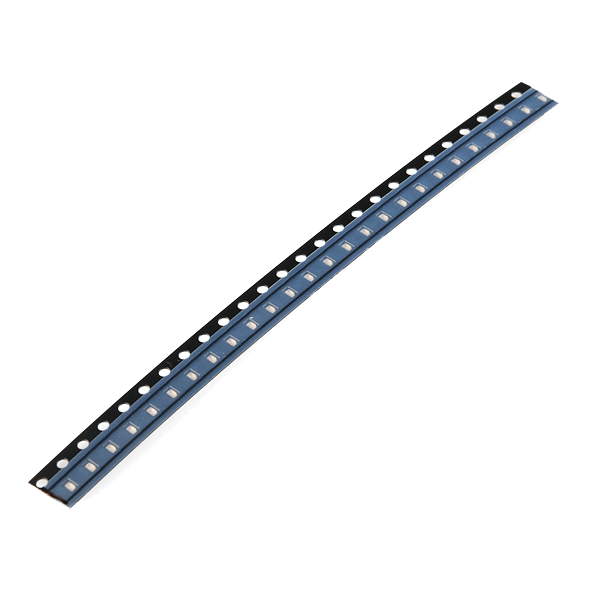 SMD LED 0603 - Strip of 25
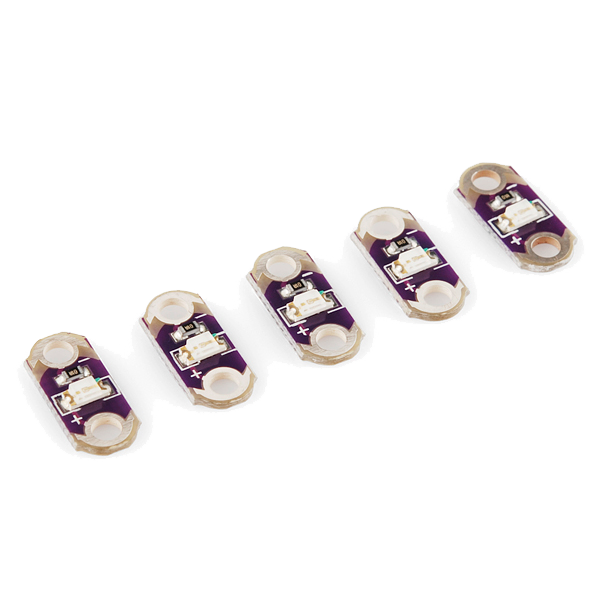 LilyPad LED - 5 pcs
 - Instead of Resistor 330 Ohm 1/6 Watt PTH - 20 pack, try:
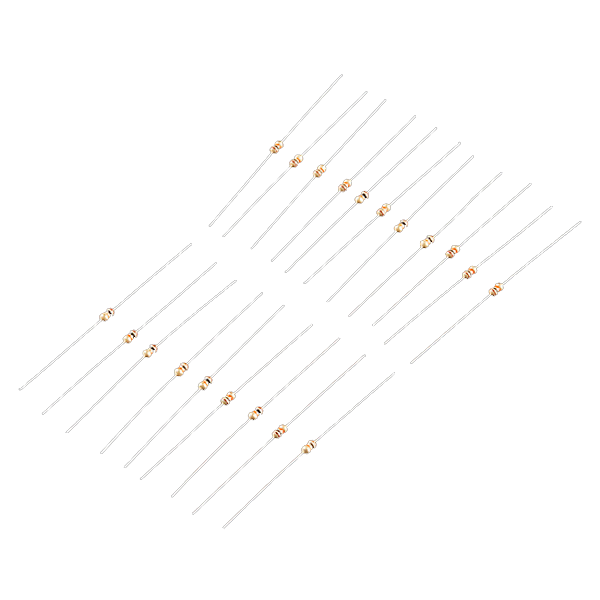 Resistor 10K Ohm 1/6th Watt PTH - 20 pack
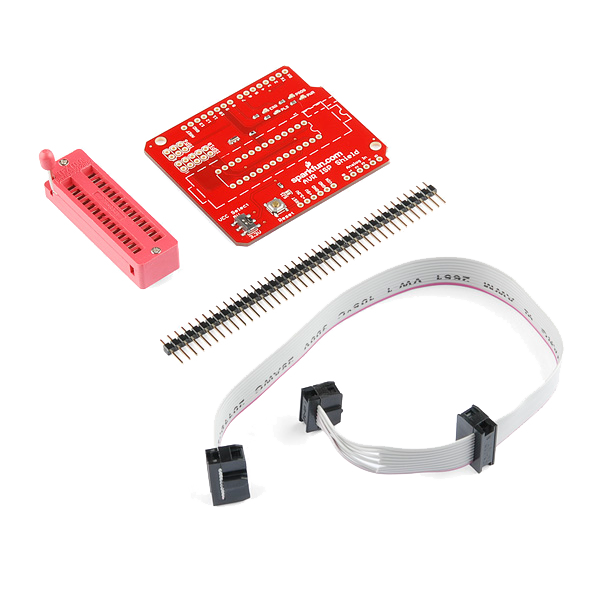 AVR ISP Shield - PTH Kit
 - Instead of Breadboard, try:
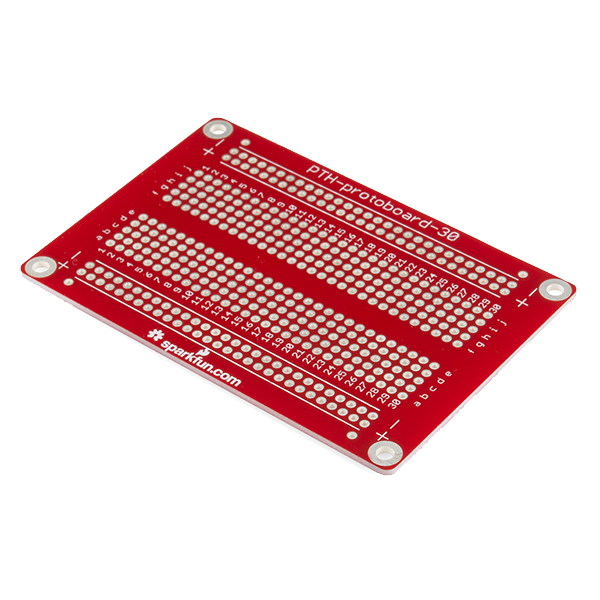 Solder-able Breadboard
Recommended for this build
Products makers often use with builds like this one.
 LED - RGB Diffused Common Cathode - 5mmUsed together and in similar buildsResistor 10K Ohm 1/6th Watt PTH - 20 packFrequently used with this build's materials
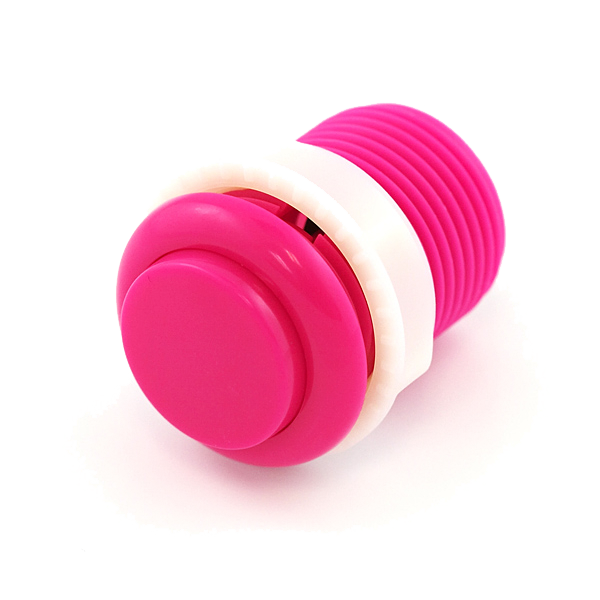 Push Button - 33mmFrequently used with this build's materials
 Diode KitFrequently used with this build's materials
 PotentiometerFrequently used with this build's materials
 Servo MotorFrequently used with this build's materials
 Jumper Wire Kit (350pcs, M-M / M-F / F-F)Frequently used with this build's materials
Related blueprints
Other builds that share materials, tools, or techniques with this one.


CC0 ملكية عامة
هذا المخطط مُصدر بموجب CC0. يحق لك نسخه وتعديله وتوزيعه واستخدامه لأي غرض، دون طلب إذن.
ادعم الصانع بشراء منتجات عبر مخططه حيث يكسب عمولة الصانع يحددها البائعون، أو أنشئ نسخة جديدة من هذا المخطط وضمّنه كرابط في مخططك لمشاركة الإيرادات.