فنون
الجمال والعناية
حِرَف
الثقافة والتاريخ
ترفيه
البيئة
الطعام والمشروبات
الهندسة العكسية
العلوم
رياضة
التقنية
الأجهزة القابلة للارتداء
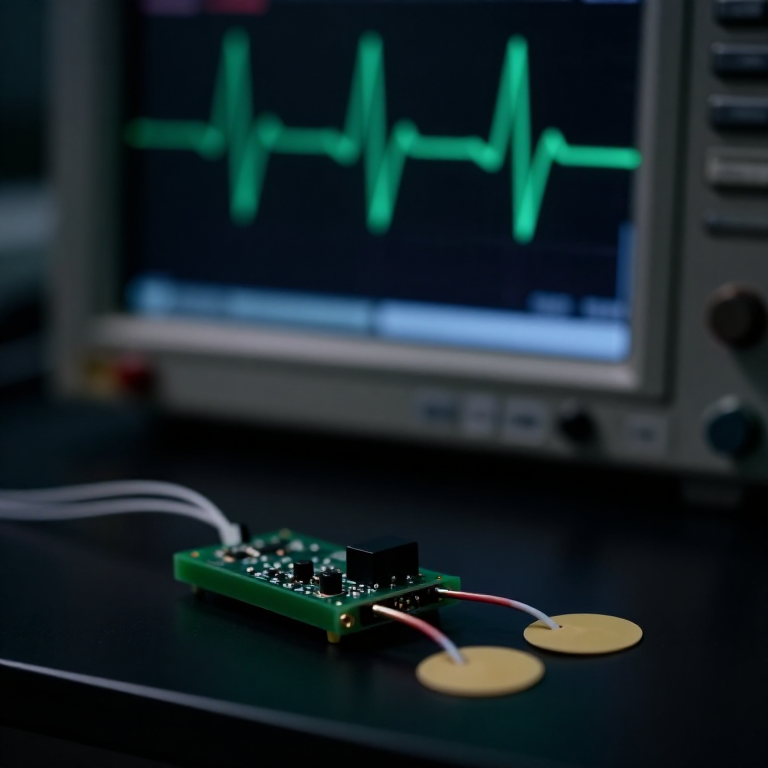


The String Galvanometer and the ECG
The heart is an electrical organ that happens to move blood. Every beat begins as a wave of depolarisation, and because the body is a volume conductor, that wave is measurable as a millivolt-scale potential difference on the skin.
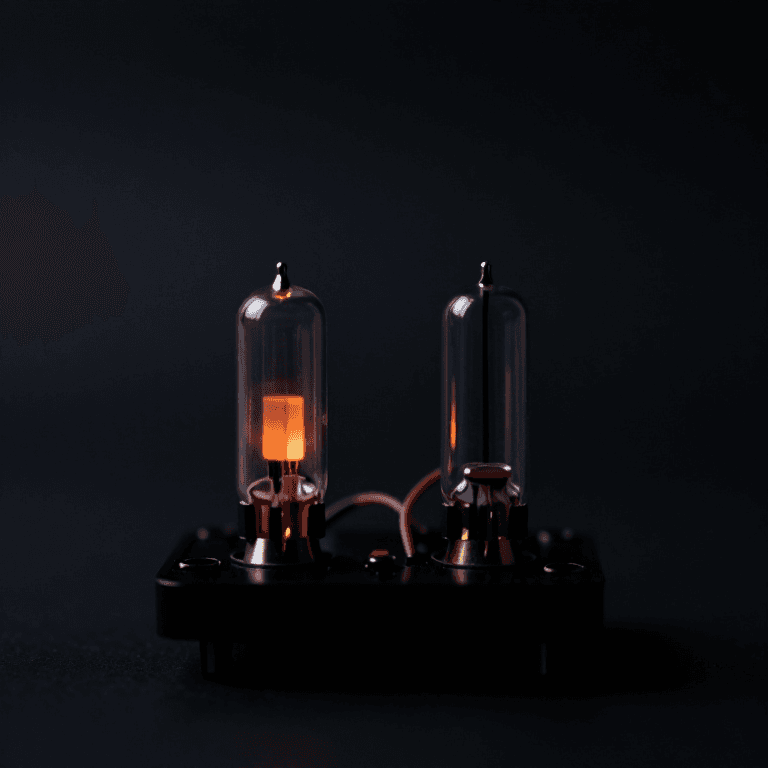
The measurement was the hard part. In 1903 Willem Einthoven built an instrument that could resolve it: a silvered quartz filament, a few microns across, stretched across the gap of a powerful electromagnet. Current through the filament pushed it sideways, a microscope threw its shadow onto a moving photographic plate, and the trace that came out is the one still printed today. The machine weighed around 270 kilograms and took several people to operate. Patients were sometimes recorded in a different building, connected by cable, with their limbs in buckets of saline for electrical contact.
Einthoven also gave us the geometry. Treating the two arms and the left leg as vertices of a triangle around the heart gives three leads, and those leads are not independent — lead II is the sum of leads I and III, a straight consequence of Kirchhoff's voltage law applied to the body. That relation is still the first thing checked when an ECG looks wrong.
You will build a working single-lead ECG on a modern instrumentation front end, and use it to discover why the filter settings on a cardiograph are a clinical decision rather than an engineering preference.
متقدم
7 hours
التعليمات
1
1
The signal, and everything competing with it
The signal, and everything competing with it
Get the scale right before designing anything, because the design is entirely determined by it.
The QRS complex on a limb lead is roughly one millivolt peak. The P wave is a tenth of that. Against those, here is what else arrives at your electrodes.
Mains interference at 50 or 60 hertz couples capacitively into the leads and into you, and arrives common-mode at both electrodes at amplitudes that can exceed the signal by an order of magnitude. Half-cell potentials at the electrode-skin interface are direct-current offsets of up to several hundred millivolts — hundreds of times the signal — and they drift as the gel wets and the skin sweats. Muscle activity from any voluntary contraction is broadband and can bury the trace entirely. Motion of the cable moves charge and looks exactly like a slow deflection.
So the front end has three jobs, in order. Reject the common-mode mains, which is what a high common-mode rejection ratio instrumentation amplifier is for. Block the direct-current half-cell offset without eating the low-frequency content of the signal, which is a high-pass filter with a very low corner. Limit the bandwidth at the top to keep muscle noise out, which is a low-pass.
The second of those is where the clinical argument lives, and step 3 is about nothing else.
الأدوات المطلوبة:
 راسم إشارة رقمي
2
2
Build the front end
Build the front end
Wire the AD8232 module, which is a purpose-built single-lead biopotential front end: an instrumentation amplifier with a very high common-mode rejection ratio, a right-leg drive to actively cancel the common-mode voltage on the body, and switchable filtering.
The electrode placement for a lead-I-like recording is right arm, left arm, and the right leg as the drive reference. In practice, place the two signal electrodes below the collarbones on either side and the reference on the lower right ribs — this gives a clean trace with far less muscle noise than limb placement, because there is less muscle in the path.
Skin preparation matters more than anything else in this build. Wipe the sites with alcohol, let them dry completely, and abrade very lightly. Electrode-skin impedance dominated by dry stratum corneum is the single largest source of a poor trace, and no amount of gain fixes it.
Connect the analog output to an Arduino analog input, and bring the two leads-off detection outputs to digital pins. Those outputs are not a luxury: a detached electrode produces a signal that looks superficially like a heart rhythm and has fooled people.
Power the whole thing from a battery. This is the safety rule for the build and it is not negotiable: never run this while the Arduino is connected by USB to a mains-powered computer with electrodes on a person. Log to an SD card or use an isolated link, and treat the battery requirement as part of the circuit rather than an inconvenience.
المواد لهذه الخطوة:
 وحدة واجهة تخطيط القلب أحادية الاتصال AD82321 قطعة
 أقطاب Ag/AgCl للاستعمال مرّة واحدة1 عبوة
 لوحة Arduino1 قطعة
 بطارية 9 فولت بسلك ومقبس أسطواني1 قطعة
 طقم أسلاك توصيل1 طقم
الأدوات المطلوبة:
 محطة لحام
 مقياس متعدد رقمي بدرجة مختبريةراسم إشارة رقمي
3
3
Acquisition firmware with leads-off handling
Acquisition firmware with leads-off handling
This sketch samples the front end at a fixed 500 hertz using a hardware timer rather than a delay loop, because a jittery sample interval puts noise into the frequency axis and makes every later filter analysis wrong.
It streams samples as plain numbers so any serial plotter can show them live, and it explicitly emits a sentinel when either leads-off detector fires. That sentinel is the important part of the program: a disconnected electrode must produce an obviously invalid reading, never a plausible-looking one.
A simple running estimate of the R-R interval is included so you get a heart rate, with a refractory period after each detection to stop the T wave being counted as a second beat. That refractory blanking is the oldest trick in cardiac signal processing and it is still in every monitor.
ecg_acquire.inoarduino
الأدوات المطلوبة:
 حاسوب عليه بيئة Arduino IDEلوحة Arduino
4
4
What the high-pass filter does to the ST segment
What the high-pass filter does to the ST segment
جارٍ تحميل دفتر Jupyter…
الأدوات المطلوبة:
 حاسوب مكتبي
5
5
Check Einthoven's triangle, then stop
Check Einthoven's triangle, then stop
Record three traces in turn by moving your electrodes: right arm to left arm for lead I, right arm to left leg for lead II, left arm to left leg for lead III. Record each for thirty seconds with the subject still.
Now test the relation. Line the three traces up on a common beat and check that lead II equals lead I plus lead III, sample by sample. It should hold closely, and where it does not, the discrepancy tells you something specific: a large residual means one electrode had poor contact, because the relation is a consequence of Kirchhoff's voltage law and cannot fail if the measurements are good.
This is the most useful thing in the blueprint. You have a self-checking measurement — three numbers with one constraint between them, so the data can tell you it is wrong. Build that property into any instrument you can.
Where this stops, and it stops firmly. You have built a single-lead biopotential recorder and used it to demonstrate real signal-processing physics. A clinical electrocardiograph is a twelve-lead device with defined electrode positions, calibrated amplitude so that one millivolt is exactly ten millimetres, a defined paper speed of twenty-five millimetres per second, medical electrical isolation tested to a standard, and — the part no bench build can supply — interpretation by someone trained to do it. An ECG trace is not self-explanatory, normal-looking traces occur in serious disease, and abnormal-looking ones occur in perfectly well people. Use this to see the electrical heart, learn what a filter does to evidence, and enjoy the fact that a 270-kilogram instrument from 1903 now fits in your palm. Do not use it to answer a question about anybody's health.
المواد لهذه الخطوة:
أقطاب Ag/AgCl للاستعمال مرّة واحدة1 عبوةالأدوات المطلوبة:
راسم إشارة رقميحاسوب مكتبي جلفانومتر تناظري
المواد
5- عنصر نائب
- عنصر نائب
- 1 قطعةعنصر نائب
- عنصر نائب
- 1 طقمعنصر نائب
الأدوات المطلوبة
7- 1 vendor sell this, none ship to you yetعنصر نائب
- عنصر نائب
- عنصر نائب
- عنصر نائب
- عنصر نائب
- عنصر نائب
- عنصر نائب
المخططات ذات الصلة
هذه المخططات تشارك المعرفة مع هذا — التقنيات والمواد والمبادئ

CC0 ملكية عامة
هذا المخطط مُصدر بموجب CC0. يحق لك نسخه وتعديله وتوزيعه واستخدامه لأي غرض، دون طلب إذن.
ادعم الصانع بشراء منتجات عبر مخططه حيث يكسب عمولة الصانع يحددها البائعون، أو أنشئ نسخة جديدة من هذا المخطط وضمّنه كرابط في مخططك لمشاركة الإيرادات.